
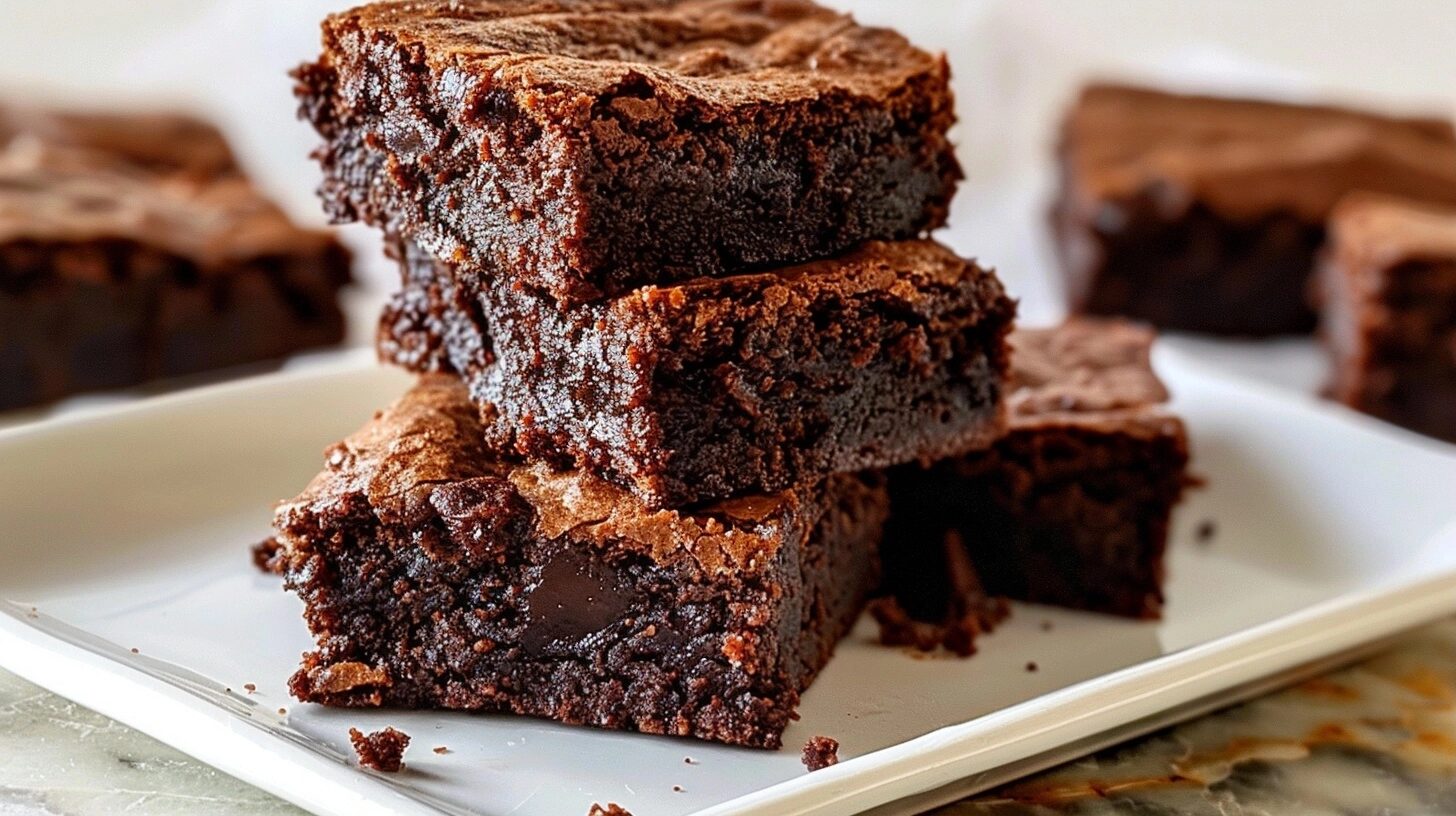
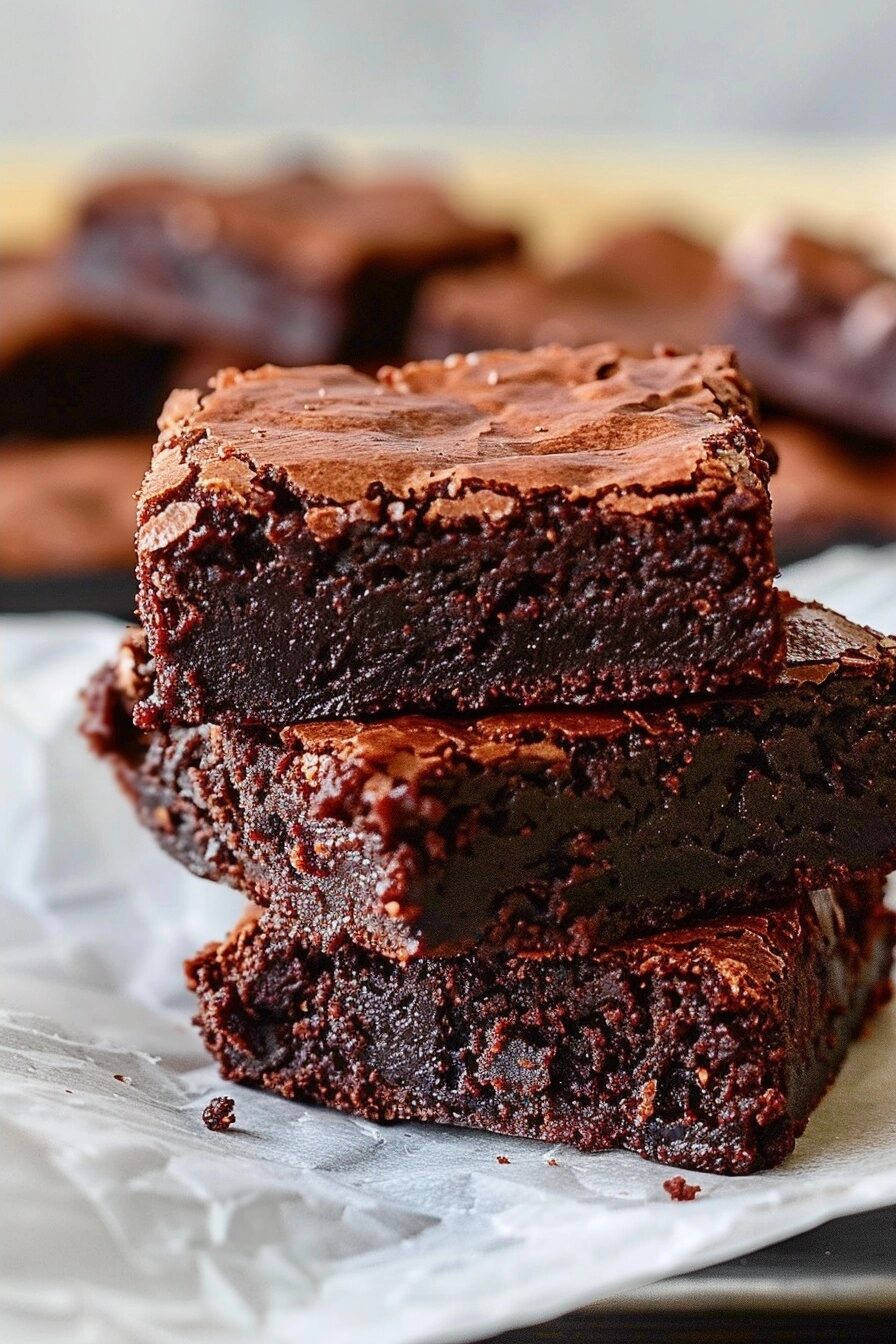
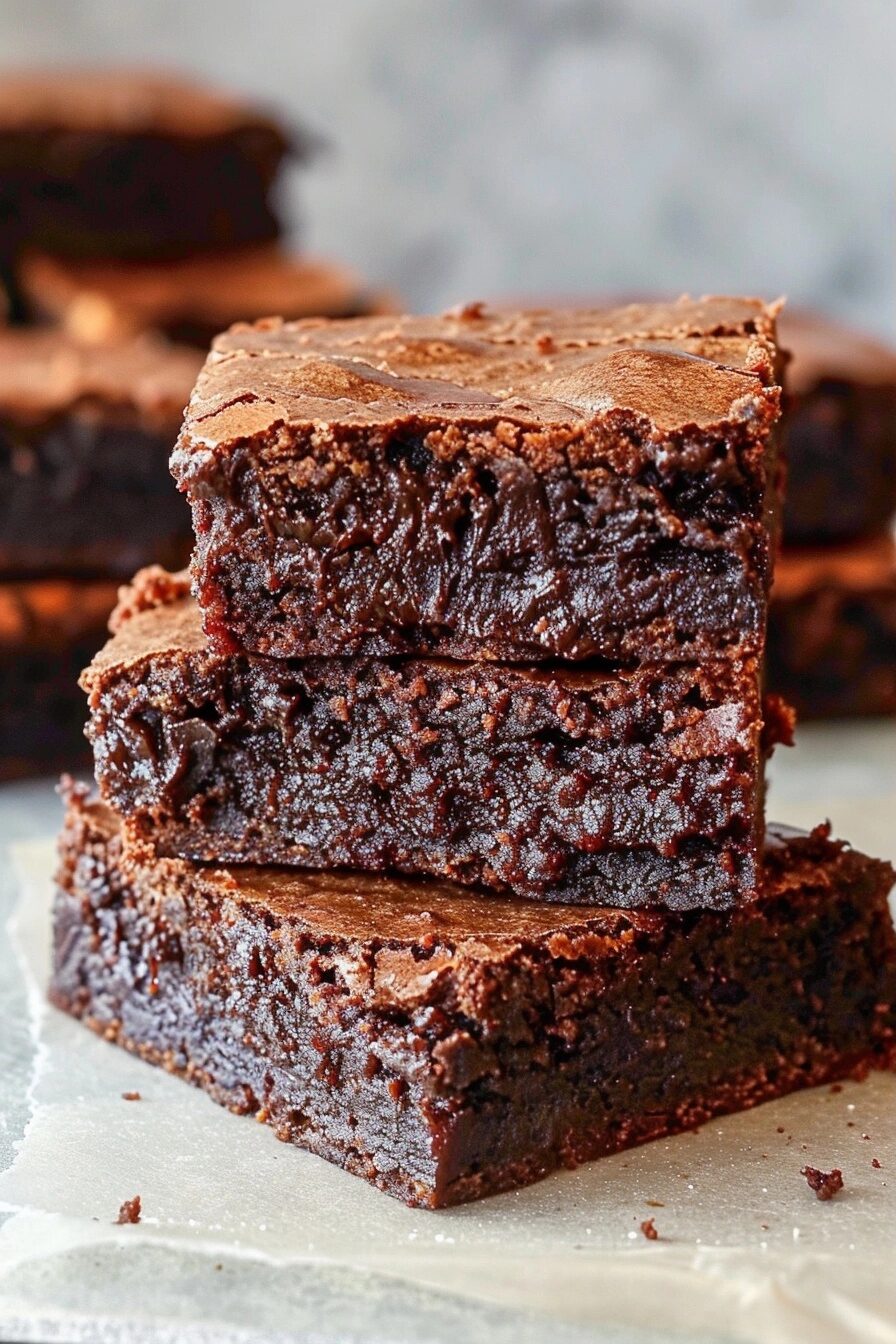
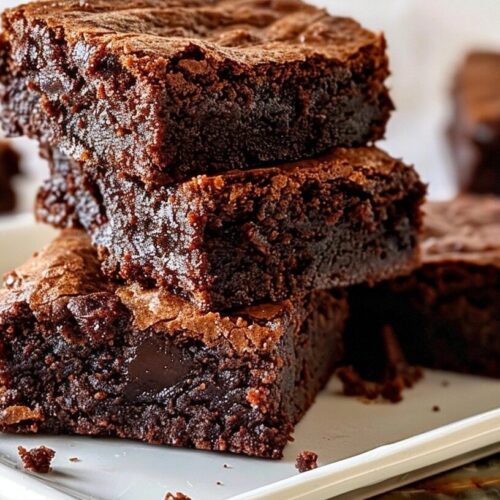
Gluten-free brownies deliver a rich, fudgy texture and intense chocolate flavor that satisfies any sweet tooth without the need for traditional wheat flour. These treats rely on a precise blend of ingredients to ensure they remain moist and perfectly dense, mirroring the decadent experience of bakery-style squares you grew up loving.
Table of Contents
Table of Contents
Why You’ll Love This Gluten-Free Brownies
Finding a gluten-free dessert that lacks that telltale gritty texture is the ultimate goal for any home baker. These brownies rely on high-quality cocoa powder and melted butter to create a glossy, crackly top that is notoriously difficult to replicate in gluten-free baking. Once you pull these from the oven, you will find they offer the perfect balance of chewy edges and a soft, melt-in-your-mouth center.
Simplicity is at the heart of this recipe. You do not need complex flours or obscure binders; instead, this method focuses on pantry staples that work in tandem to hold the structure together. The result is a consistent bake every time, providing a reliable option for potlucks, school events, or those quiet nights when a chocolate fix is non-negotiable.
These brownies stay incredibly moist for days, which makes them ideal for advance preparation. Because they require only one bowl and a sturdy spatula, the cleanup is minimal, leaving you more time to enjoy the warm, deep aroma of cocoa filling your kitchen. Whether served warm with a scoop of vanilla ice cream or packed into a lunchbox, these are destined to become a household favorite.
Ingredients of the Gluten-Free Brownies
For the Brownie Base
- 1 cup high-quality unsalted butter, melted
- 2 cups granulated sugar
- 4 large eggs, room temperature
- 2 teaspoons pure vanilla extract
- 1 cup gluten-free all-purpose flour blend (ensure it contains xanthan gum)
- 1 cup dark cocoa powder, sifted
- 1/2 teaspoon fine sea salt
Optional Add-Ins
- 1/2 cup semi-sweet chocolate chips
- 1/4 cup chopped walnuts
Equipment / Tools Needed
- Large mixing bowl
- Rubber spatula or wooden spoon
- 8×8-inch square metal baking pan
- Parchment paper
- Fine mesh sieve
Step-by-Step Instructions
Step 1: Preheat and Prep
Preheat your oven to 350°F (175°C) to ensure the heat is evenly distributed. Line your 8×8-inch baking pan with parchment paper, leaving a slight overhang on the sides to act as a handle for easy removal later. Lightly grease the parchment to guarantee the brownies release cleanly.
Step 2: Combine Wet Ingredients
In your large mixing bowl, pour in the melted butter and granulated sugar. Whisk these vigorously for about two minutes. The mixture should thicken slightly and take on a pale, sandy appearance, which is crucial for achieving that signature crackly top.
Step 3: Incorporate Eggs and Vanilla
Add the eggs one at a time, whisking well after each addition until the batter is smooth and glossy. Stir in the vanilla extract. The consistency should be somewhat like a thick syrup at this stage with a rich, dark golden hue.
Step 4: Fold in Dry Ingredients
Sift the gluten-free flour, cocoa powder, and salt directly into the bowl. Using a rubber spatula, gently fold the dry ingredients into the wet mixture. Stop as soon as you stop seeing streaks of white flour; overmixing can make gluten-free goods oddly dense.
Step 5: Bake to Perfection
Spread the thick, dark batter evenly into your prepared pan. Bake for 25 to 30 minutes. You want the edges to look set and firm, but the center should still look slightly underdone when you gently shake the pan. A toothpick inserted into the center should come out with a few moist, fudgy crumbs, not raw batter.
Tips & Tricks
Always sift your cocoa powder, as it tends to clump up and can create bitter pockets of dry powder in your finished brownies. Using room-temperature eggs is another small change that creates a much smoother, more emulsion-friendly batter. If you prefer a darker, more sophisticated flavor, try folding in a teaspoon of instant espresso powder along with the dry ingredients to boost the chocolate notes.
Serving Suggestions
Serve these warm with a cold glass of milk for the ultimate comfort snack. For dessert parties, place a brownie square on a small plate and top with a dollop of fresh whipped cream and a dusting of powdered sugar. During the summer months, pair them with fresh raspberries to cut through the richness of the dark chocolate.
Variations / Substitutions
If you prefer a nuttier profile, feel free to substitute walnuts with toasted pecans or hazelnuts. For a dairy-free variation, you can swap the butter for a high-quality plant-based butter stick, though the texture may differ slightly. Always check that your flour blend specifically lists xanthan gum, as it acts as the essential structural replacement for wheat gluten.
Storage and Reheating
Store your brownies in an airtight container at room temperature for up to three days. For longer storage, keep them in the refrigerator, where they will stay fresh for a week. To reheat, place a single square in the microwave for 10 seconds. This reawakens the fudgy center and makes it feel like it just came out of the oven.
Nutritional Info
Calories: 260 kcal
Protein: 3g
Carbohydrates: 34g
Fat: 12g
Conclusion
Mastering gluten-free baking does not have to be a daunting task. These brownies prove that you can achieve bakery-quality results right in your own kitchen while strictly adhering to your dietary needs. The combination of deep chocolate intensity and that elusive chewy texture makes them an instant success for everyone, regardless of whether they follow a gluten-free diet.
Set aside some time this weekend to prepare a batch and see for yourself how simple and rewarding homemade treats can be. Once you achieve that perfect balance of fudgy interior and crisp top, you will never feel the need to buy premade mixes again.
FAQ
How long do these brownies stay fresh?
When kept in an airtight container, these brownies remain fresh for up to three days on the counter or a full week in the refrigerator. The high fat and sugar content helps them retain moisture much longer than other gluten-free baked goods.
Can I use a different flour blend?
You can use any high-quality 1:1 gluten-free flour blend, but ensure the label includes xanthan gum. If your specific blend does not contain it, add 1/2 teaspoon of xanthan gum yourself to prevent the brownies from crumbling.
Can I make these ahead of time?
Absolutely, these brownies are perfect for making ahead. In fact, many bakers prefer the texture after they have sat for 24 hours, as it allows the ingredients to meld and the starch to set into a fudgier consistency.
Why did my brownies finish with a cakey texture?
This usually happens if the brownies were overbaked or if the flour-to-fat ratio was skewed. Ensure you pull them from the oven while the center still looks slightly soft, and avoid adding extra flour beyond what the recipe specifically calls for.
Gluten-Free Brownies
Prep time: 15 mins
Cook time: 30 mins
Total time: 45 mins
Yield: 16 brownies
Gluten-Free Fudgy Brownies
Ingredients
- 1 cup unsalted butter, melted
- 2 cups granulated sugar
- 4 large eggs, room temperature
- 2 teaspoons pure vanilla extract
- 1 cup gluten-free all-purpose flour blend (with xanthan gum)
- 1 cup dark cocoa powder, sifted
- 1/2 teaspoon fine sea salt
- 1/2 cup semi-sweet chocolate chips (optional)
- 1/4 cup chopped walnuts (optional)
Instructions
- Preheat your oven to 350°F (175°C) and line an 8×8-inch baking pan with parchment paper, allowing an overhang for easy removal.
- In a large bowl, whisk the melted butter and granulated sugar together vigorously for about two minutes until thickened and pale.
- Add the eggs one at a time, whisking well after each addition, then stir in the vanilla extract.
- Sift the gluten-free flour blend, dark cocoa powder, and salt into the wet mixture.
- Using a rubber spatula, fold the dry ingredients into the wet until just combined and no white streaks remain.
- Fold in any optional add-ins like chocolate chips or walnuts if using.
- Pour the batter into the prepared pan and smooth the top with your spatula.
- Bake for 30-35 minutes, or until a toothpick inserted into the edge comes out clean; the center should remain slightly fudgy.
- Cool completely in the pan before lifting out by the parchment handles to cut into squares.