
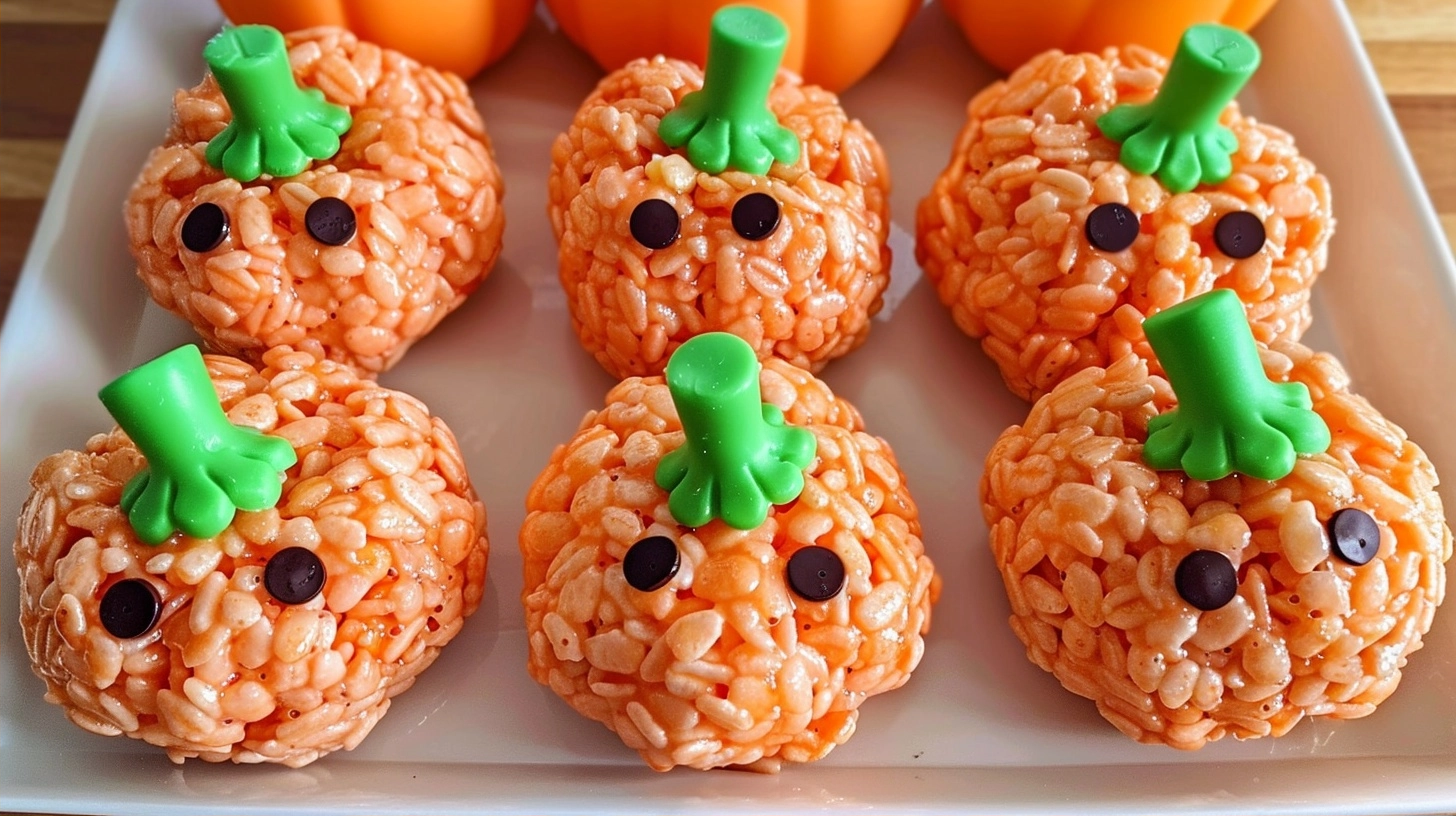
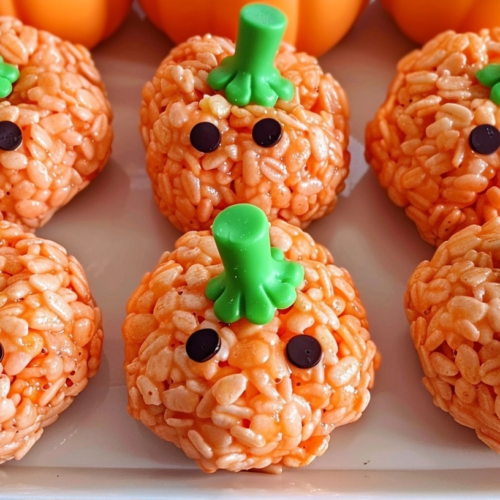
Rice Krispie Treat Pumpkins are festive, chewy marshmallow snacks shaped like seasonal gourds using food coloring and simple pantry staples. These handheld desserts offer a nostalgic buttery flavor paired with a light, airy crunch that makes them a staple for school parties, autumn harvest gatherings, or cozy family nights at home. They provide the perfect canvas for creative decoration without requiring complex baking skills.
Table of Contents
Table of Contents
Why You’ll Love This Rice Krispie Treat Pumpkins
You will appreciate how these treats balance the classic marshmallow pull with a fun, thematic visual appeal. The texture remains soft and pliable, ensuring that each bite is just as satisfying as the traditional square version everyone grew up eating.
Preparing these is an incredibly convenient way to add a festive touch to your table. Since they require no oven time, they are a safe and fun activity to involve children in the kitchen. Their compact size makes them ideal for individual servings, preventing the mess that often comes with cutting large dessert slabs.
Beyond their appearance, the flavor is timeless. The combination of toasted cereal and melted marshmallows is elevated slightly by the addition of vanilla extract, providing a warm, sweet profile that feels comforting on a chilly fall day.
Ingredients of the Rice Krispie Treat Pumpkins
For the Pumpkin Base
- 6 cups crispy rice cereal
- 10 ounces miniature marshmallows
- 4 tablespoons unsalted butter
- 1 teaspoon pure vanilla extract
- Orange gel food coloring
For the Toppings
- Green Tootsie Rolls or small pretzel sticks for stems
- Green fruit chews or icing for leaves
Equipment / Tools Needed
- Large non-stick pot
- Rubber spatula
- Measuring cups
- Cookie sheet lined with parchment paper
- Plastic wrap
Step-by-Step Instructions
Step 1: Melt the Butter and Marshmallows
Place your large pot over low heat and melt the unsalted butter completely until it bubbles slightly. Add the miniature marshmallows and stir continuously with a silicone spatula. Keep the heat low to prevent the sugar from burning, stirring until the mixture is smooth and glossy with no remaining lumps.
Step 2: Add Color and Flavor
Remove the pot from the heat source immediately once the marshmallows are melted. Stir in the vanilla extract and small drops of orange gel food coloring. Continue mixing until you achieve a vibrant, uniform pumpkin orange hue that looks consistent throughout the batch.
Step 3: Combine with Cereal
Fold in the crispy rice cereal gently. Use your spatula to coat every piece of cereal with the melted marshmallow mixture. Ensure the mixture is evenly distributed so that the final treats have a consistent texture and color throughout.
Step 4: Shape the Pumpkins
Allow the mixture to cool for just a minute until you can handle it. Grease your hands with a small amount of butter or non-stick spray. Scoop a palm-sized portion and roll it into a ball. Use your thumb to create a slight indentation at the top, pressing the sides gently to mimic the round, squashed shape of a pumpkin.
Step 5: Add Stems and Leaves
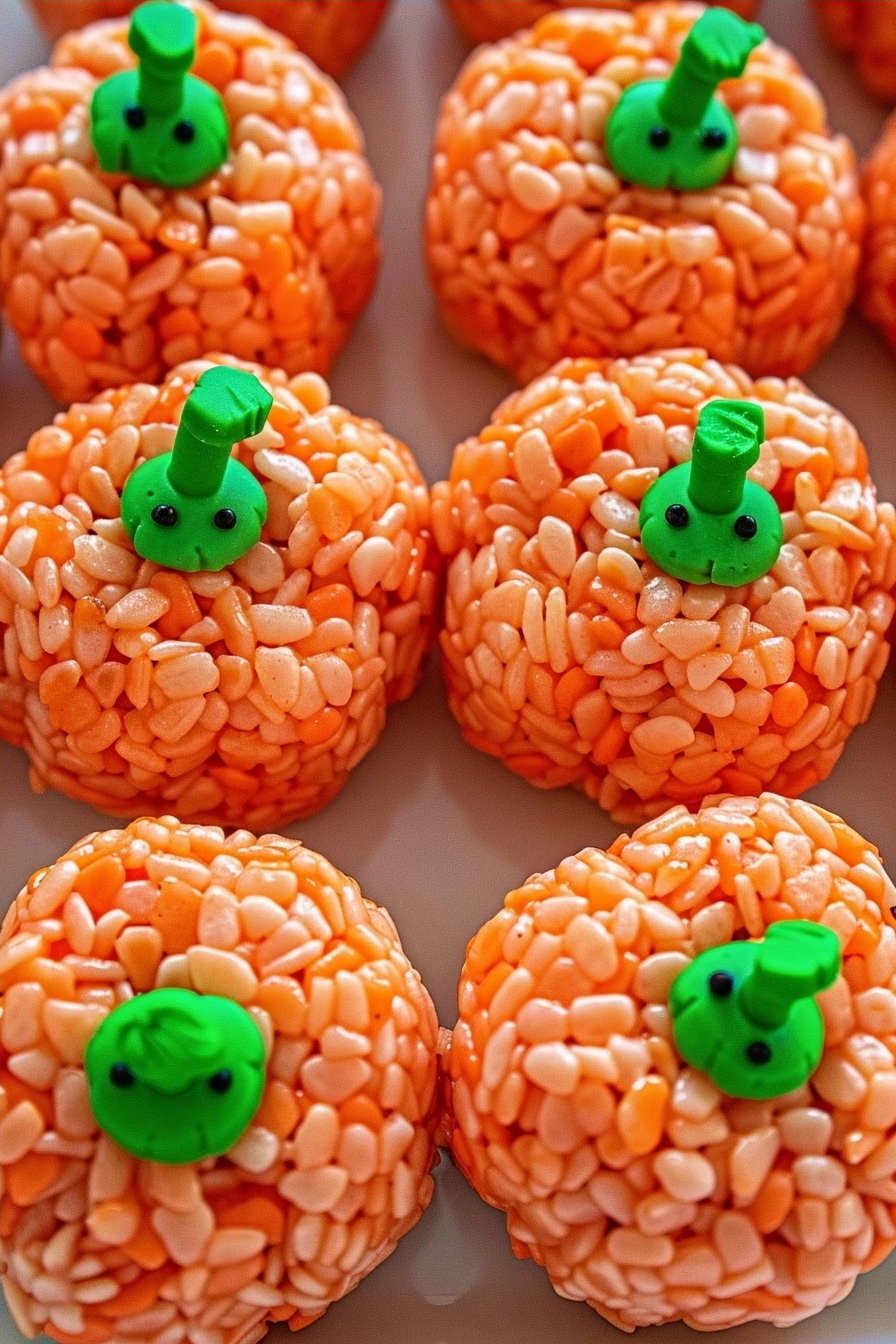
While the treats are still slightly tacky, press your green Tootsie Roll or pretzel stick into the center indentation to act as the stem. If using fruit chews, flatten them slightly to shape into leaves and press them onto the top surface next to the stem.
Tips & Tricks
Always use fresh, soft marshmallows; stale ones will result in a tougher, harder final texture. When coloring your marshmallow mixture, start with a small amount of dye and increase gradually, as the color deepens as it cools. If you find the mixture is too sticky to handle, keep a small bowl of cold water nearby to lightly dampen your fingertips, which prevents the marshmallow from adhering to your skin.
Serving Suggestions
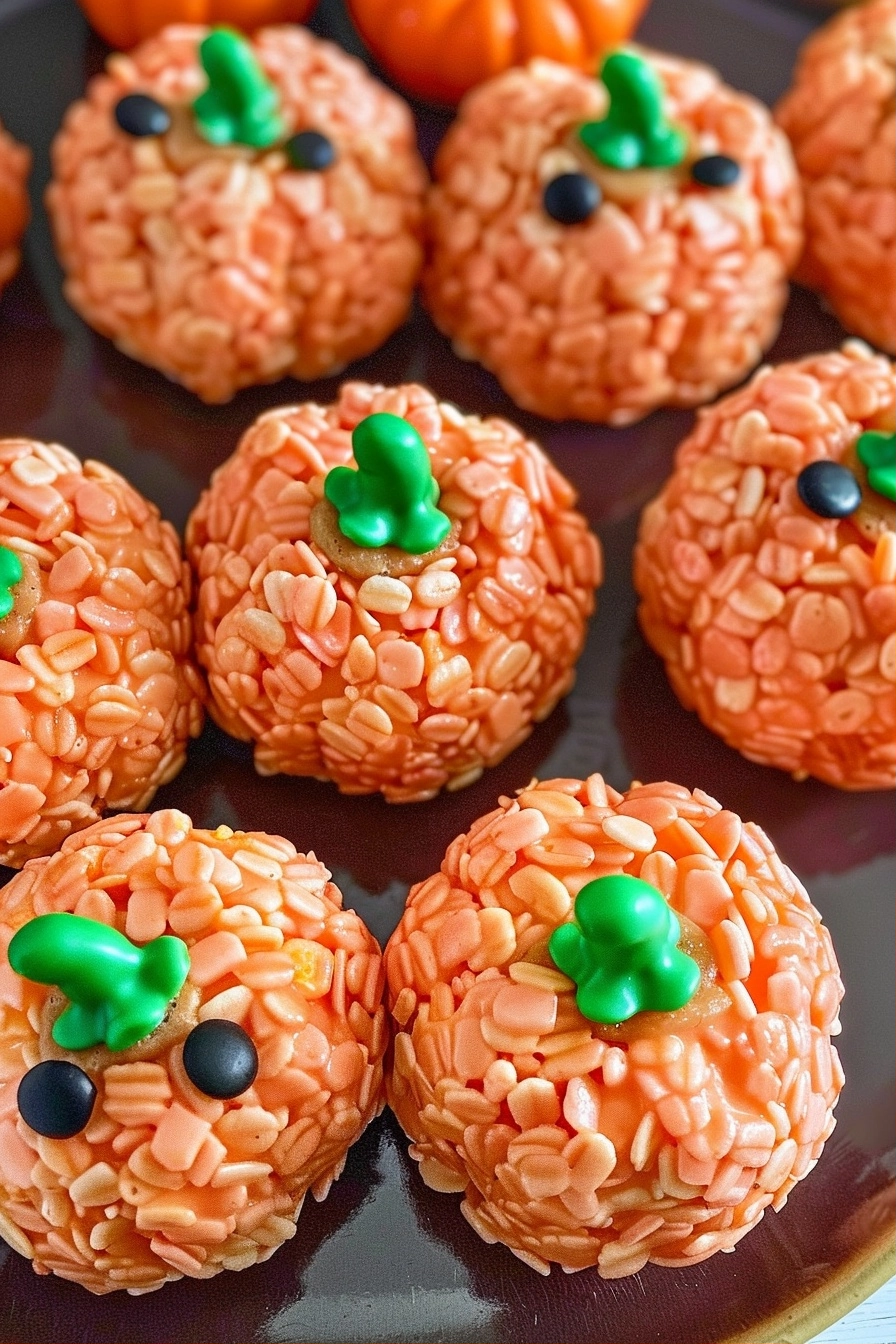
Serve these pumpkins on a dark wooden platter to contrast the vibrant orange color for a rustic display. They pair beautifully with warm apple cider or a spice-infused chai tea. For party settings, place them inside individual muffin liners to keep the serving station clean and festive.
Variations / Substitutions
You can substitute the green Tootsie Roll stems with chocolate-covered pretzel sticks for an added salty crunch. If you want a more gourmet finish, drizzle a tiny amount of melted white chocolate over the tops once the pumpkins have set. For those who prefer a deeper pumpkin aesthetic, consider adding a pinch of ground cinnamon to the marshmallow mixture while melting.
Storage and Reheating
Store your treats in an airtight container at room temperature for up to three days. Keeping them sealed is essential to prevent them from becoming stale or absorbing ambient moisture. They do not freeze well, as the texture of the marshmallows can change upon thawing, resulting in a grainy mouthfeel.
Nutritional Info
Calories: 180 kcal
Protein: 2g
Carbohydrates: 35g
Fat: 4g
Conclusion
Rice Krispie Treat Pumpkins are a delightful way to celebrate the season with a simple, budget-friendly dessert. The combination of chewy, sweet, and crunchy textures ensures they remain a hit with both children and adults at any gathering.
With just a few pantry staples, you can transform a classic snack into a centerpiece for your table. Enjoy the process of shaping them and sharing these treats with friends and family during the crisp autumn months.
FAQ
How can I keep my Rice Krispie treats soft for longer?
The secret is using high-quality, fresh marshmallows and avoiding overcooking them on the stove. Once they melt into a smooth liquid, remove them from the heat immediately to prevent the sugar from crystallizing and turning the treats hard.
Can I make these pumpkins a day ahead of time?
Yes, they stay fresh for up to two days when stored in an airtight container at room temperature. For the best texture, avoid assembling them more than 24 hours before your event to ensure the cereal remains crisp.
Are there any alternatives to using food coloring?
If you prefer natural options, you can use concentrated carrot juice or beet-based natural dyes, though these may slightly alter the flavor profile. Most food bloggers recommend high-quality gel colors for the most vibrant, consistent results.
How do I prevent the treats from sticking to my hands while shaping?
The most effective method is to lightly grease your palms with butter or flavorless vegetable oil. You can also wear food-safe gloves lightly coated with non-stick cooking spray for a mess-free experience.
Rice Krispie Treat Pumpkins
Ingredients
- 6 cups crispy rice cereal
- 10 ounces miniature marshmallows
- 4 tablespoons unsalted butter
- 1 teaspoon pure vanilla extract
- Orange gel food coloring
- Green Tootsie Rolls or small pretzel sticks for stems
- Green fruit chews or icing for leaves
Instructions
- Place a large non-stick pot over low heat and melt the unsalted butter until bubbling.
- Add the miniature marshmallows and stir continuously with a silicone spatula until the mixture is smooth and glossy.
- Remove from heat and stir in the vanilla extract and drops of orange gel food coloring until a uniform pumpkin orange hue is reached.
- Fold in the crispy rice cereal until every piece is evenly coated with the marshmallow mixture.
- Allow the mixture to cool slightly until it can be handled safely.
- Grease your hands with butter or non-stick spray and scoop a small portion of the mixture.
- Roll the mixture into a ball and gently flatten the top and bottom to form a pumpkin shape.
- Insert a piece of a green Tootsie Roll or a pretzel stick into the center for the stem.
- Add a small piece of green fruit chew or a dab of icing to create a leaf on top.
- Place the finished pumpkins on a parchment-lined cookie sheet to set completely.