
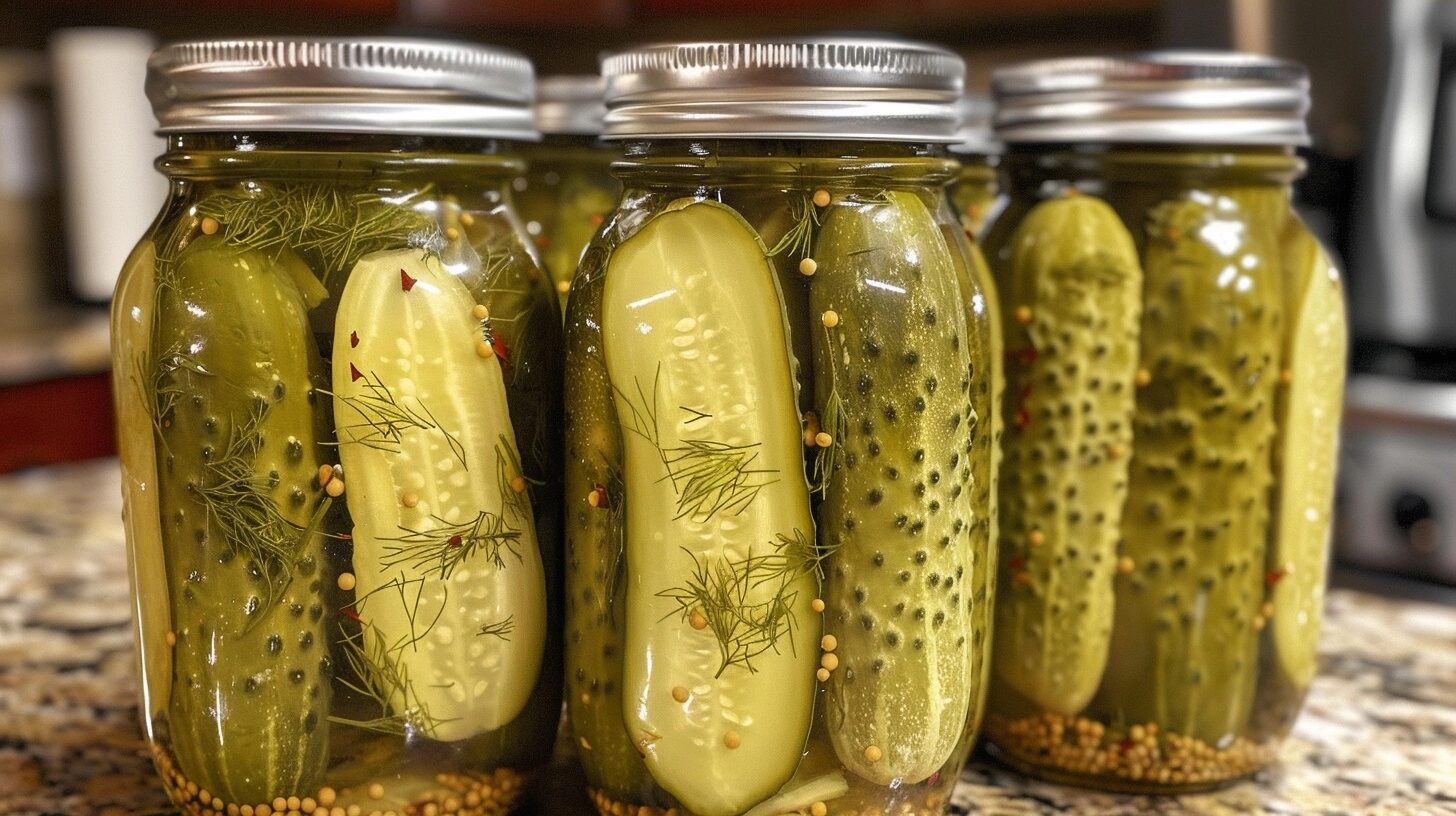
Knowing how to make dill pickles allows you to transform fresh, crunchy cucumbers into tangy, aromatic snacks using a simple brine of vinegar, aromatics, and spices. This classic home-canned method relies on a straightforward infusion process to deliver that signature crisp bite and bold garden-fresh flavor right from your own kitchen pantry.
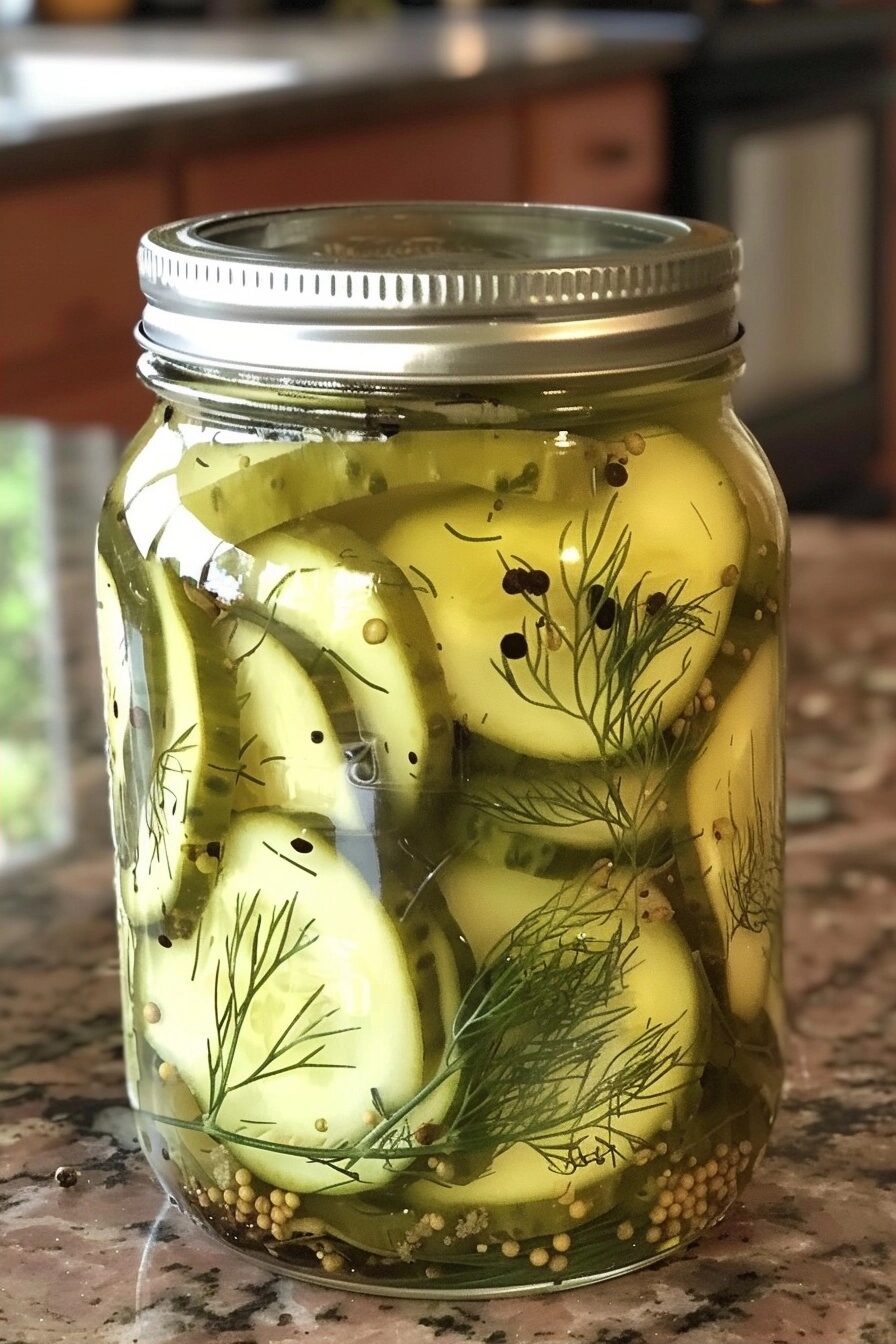
Why You’ll Love This How to Make Dill Pickles Recipe
There is nothing quite like the sound of that first crisp snap when you bite into a freshly prepared homemade pickle. Unlike soggy store-bought varieties, these pickles maintain a firm structure and a vibrant, bright green hue that makes them an incredible addition to any sandwich board or burger night.
The customization factor is what truly sets this recipe apart. You have full control over the heat level, the intensity of the garlic, and the specific mix of dried herbs. Whether you prefer a mellow herbal background or a spicy kick of red pepper flakes, the profile is entirely yours to shape.
Beyond the taste, the aroma of fresh dill and pickling spices simmering on the stove is enough to convince anyone to start a batch. It is a deeply rewarding, meditative project that results in a shelf-stable pantry staple that keeps your cravings satisfied for months to come.
Ingredients of the How to Make Dill Pickles Recipe
For the Cucumber Base
- 2 pounds pickling cucumbers (Kirby or similar small varieties), washed thoroughly
- 3 cups distilled white vinegar
- 3 cups filtered water
- 3 tablespoons kosher salt (non-iodized)
For the Aromatics
- 6 sprigs fresh dill weed
- 6 cloves garlic, peeled and lightly smashed
- 1 tablespoon yellow mustard seeds
- 1 teaspoon black peppercorns
- 1/2 teaspoon red pepper flakes (optional for heat)
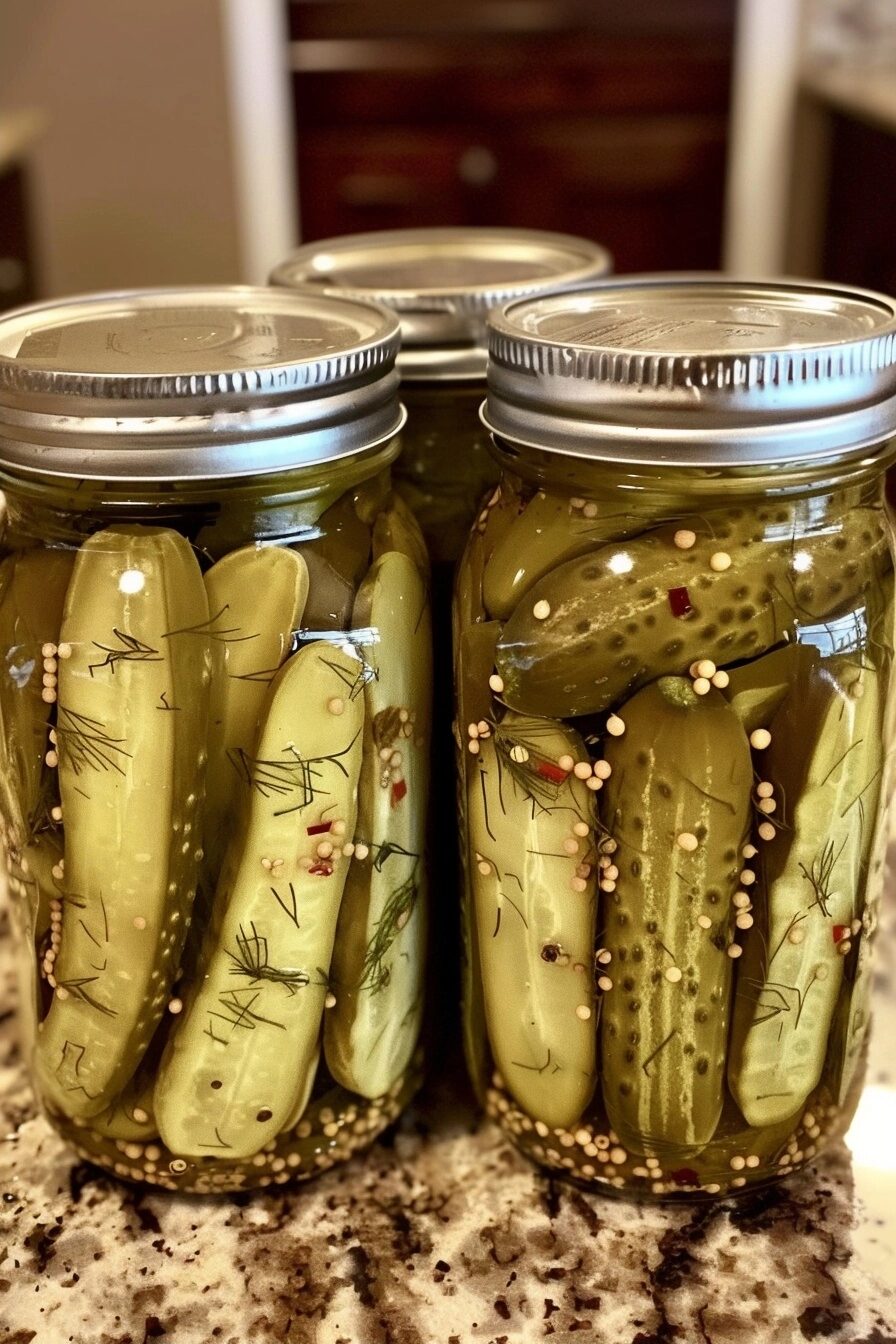
Equipment / Tools Needed
- Large glass quart jars with new, clean lids
- Large stainless steel saucepan
- Wide-mouth funnel
- Tongs
- Kitchen towel
Step-by-Step Instructions
Step 1: Prepare the Cucumbers
Start by scrubbing your pickling cucumbers under cold running water to remove any dirt or residue. Trim exactly 1/16th of an inch off the blossom end of each cucumber, as this end contains enzymes that can soften the pickles during the process, ensuring your final result stays perfectly crisp.
Step 2: Create the Aromatic Base
Divide the fresh dill, smashed garlic cloves, mustard seeds, peppercorns, and red pepper flakes equally among your glass jars. Shove these ingredients to the bottom so they create a flavorful foundation for the cucumbers to rest upon.
Step 3: Pack the Jars
Pack your cucumbers tightly into the jars, standing them upright if possible to maximize space without crushing them. The goal is a dense pack that prevents the cucumbers from floating once the brine is added, which helps keep them submerged and well-marinated.
Step 4: Prepare and Pour the Brine
In your stainless steel saucepan, whisk together the vinegar, water, and salt. Bring this mixture to a rolling boil over medium-high heat until the salt is completely dissolved and the liquid smells sharp and clean. Carefully ladle this hot brine over the packed cucumbers, leaving about a half-inch of headspace at the top of each jar.
Step 5: Seal and Cure
Wipe the rims of the jars with a clean, damp cloth to ensure a perfect vacuum seal. Screw the lids on firmly, allow them to cool to room temperature on the counter, and then transfer them to the refrigerator. While you can eat them after 24 hours, the flavors truly deepen after five to seven days.
Tips & Tricks
- Always use non-iodized salt, such as kosher or pickling salt, to prevent the brine from becoming cloudy or affecting the color of the pickles.
- If you want extra crunch, add an oak leaf or a grape leaf to the jar; the naturally occurring tannins help keep the cucumbers firm.
- Keep your jars in the back of the refrigerator where the temperature remains the most consistent to ensure longevity.
Serving Suggestions
These pickles are the perfect partner for crusty artisan bread and sharp cheddar cheese during an afternoon snack. They also provide a necessary acidity to contrast with fatty meats or heavy comfort foods. Slice them thin to add a cooling crunch to spicy chicken sandwiches or simply serve them as a chilled side on a summer afternoon, perhaps paired with a light garden salad or grilled skewers.
Variations / Substitutions
If you prefer a sweeter profile, add one tablespoon of sugar to the boiling brine. For those who want a garlicky punch, double the amount of smashed cloves. You can also experiment with adding sliced jalapeño rounds or thinly sliced carrots to the jars for a colorful, spicy vegetable medley.
Storage and Reheating
These pickles are intended to be kept refrigerated. Once opened, they will maintain their best crunch for up to three months. They do not require reheating; serving them cold directly from the refrigerator is essential for the ideal texture. If you notice the brine becoming cloudy, it is often just the result of spices settling, but always check the smell and texture to be safe.
Nutritional Info
Calories: 15 kcal
Protein: 0.5g
Carbohydrates: 3g
Fat: 0g
Conclusion
Learning how to make dill pickles is an essential skill for any home cook who values fresh, preservative-free snacks. The simplicity of the process is matched only by the incredible, bright taste that comes from patience and quality ingredients.
Take your time with the packing process and choose the freshest cucumbers you can find. Your pantry (and your taste buds) will thank you once you open a jar of these crunchy, tangy delights.
FAQ
How long do these pickles last in the fridge?
When properly sealed and kept at a constant cold temperature, these pickles will stay crisp and delicious for up to three months. After this time, the cucumbers may begin to lose their structural integrity and become slightly soft.
Can I use apple cider vinegar instead of white vinegar?
You can substitute apple cider vinegar, but note that it will provide a slightly mellower flavor and a darker, cloudier appearance. For the most authentic, classic “deli-style” pickle, distilled white vinegar remains the superior choice.
Why are my pickles becoming soft after a few weeks?
Softness is usually caused by using cucumbers that are too large or by forgetting to trim the blossom end, where softening enzymes reside. Always select firm, small Kirby cucumbers to ensure the best results every single time.
Can I make these pickles ahead for a party?
Absolutely, these are actually best made at least one week in advance. The curing period allows the spices to permeate the cucumber flesh, resulting in a much more balanced and complex flavor profile for your guests.
How to Make Dill Pickles
Prep time: 15 minutes
Cook time: 10 minutes
Total time: 25 minutes (plus curing)
Yield: 3 quarts
Ingredients: 2 lbs cucumbers, 3 cups vinegar, 3 cups water, 3 tbsp salt, fresh dill, garlic, mustard seeds, peppercorns.
Classic Homemade Crunchy Dill Pickles
Ingredients
- 2 pounds pickling cucumbers (Kirby variety)
- 3 cups distilled white vinegar
- 3 cups filtered water
- 3 tablespoons kosher salt
- 6 sprigs fresh dill weed
- 6 cloves garlic, lightly smashed
- 1 tablespoon yellow mustard seeds
- 1 teaspoon black peppercorns
- 1/2 teaspoon red pepper flakes (optional)
Instructions
- Wash cucumbers thoroughly and trim 1/16th inch off the blossom end to ensure crispness.
- Divide fresh dill, smashed garlic, mustard seeds, peppercorns, and red pepper flakes equally into clean glass jars.
- Pack cucumbers tightly into the jars, standing them upright to conserve space.
- Combine water, vinegar, and salt in a saucepan over medium-high heat and bring to a gentle simmer until salt is fully dissolved.
- Carefully pour the hot brine into each jar, leaving a small amount of headspace at the top.
- Seal the jars with new, clean lids and allow to cool to room temperature before storing in the refrigerator or processing for shelf stability.