
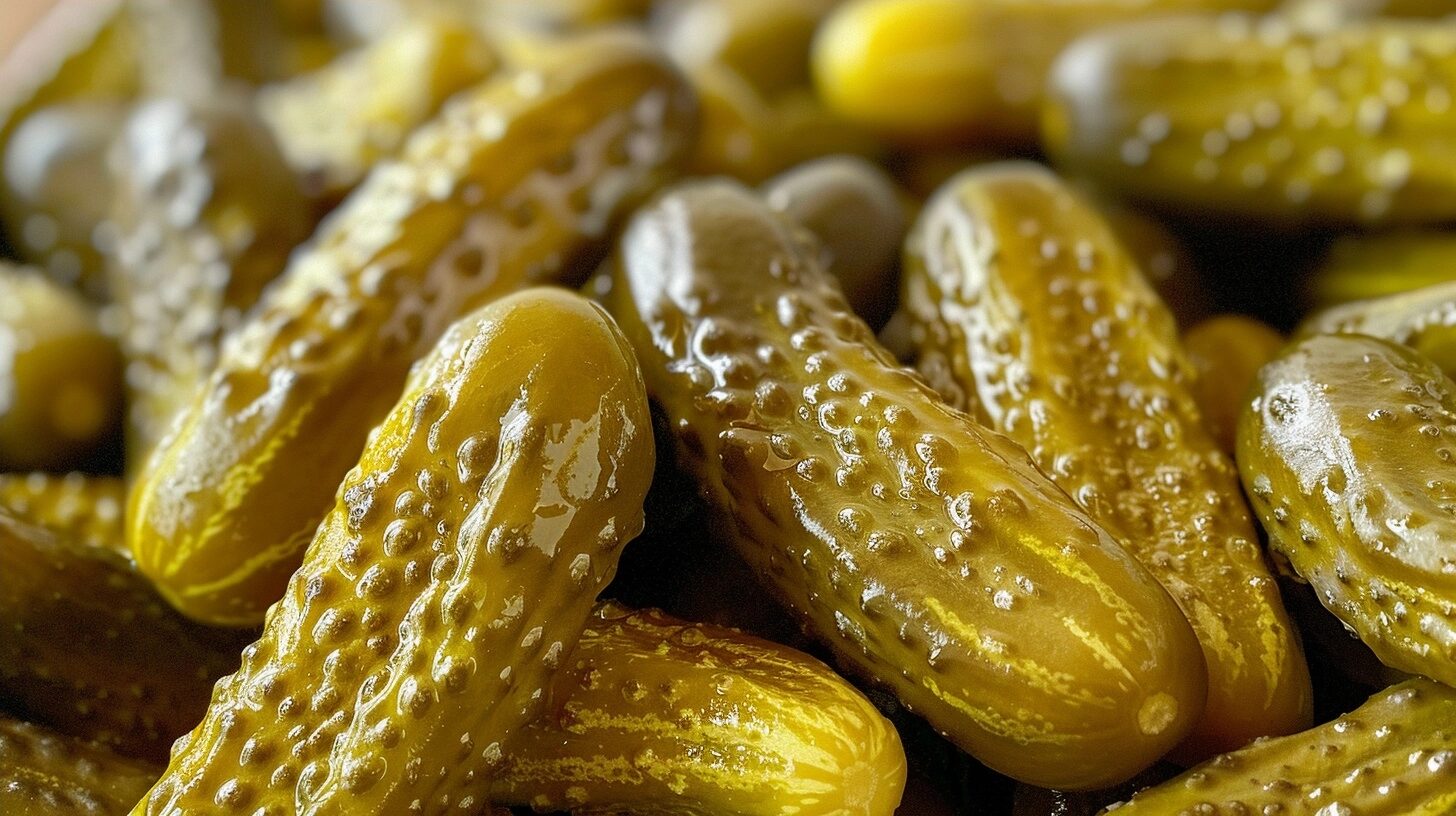
Crunchy dill pickles provide a bright, zesty snap that transforms any sandwich, burger, or snack plate into something special. This simple preparation method focuses on using cold-packing techniques to ensure every spear retains a firm, satisfying texture that store-bought varieties often lose during high-heat processing. By choosing the right cucumbers and balancing the brine, you achieve the perfect flavor profile every time.
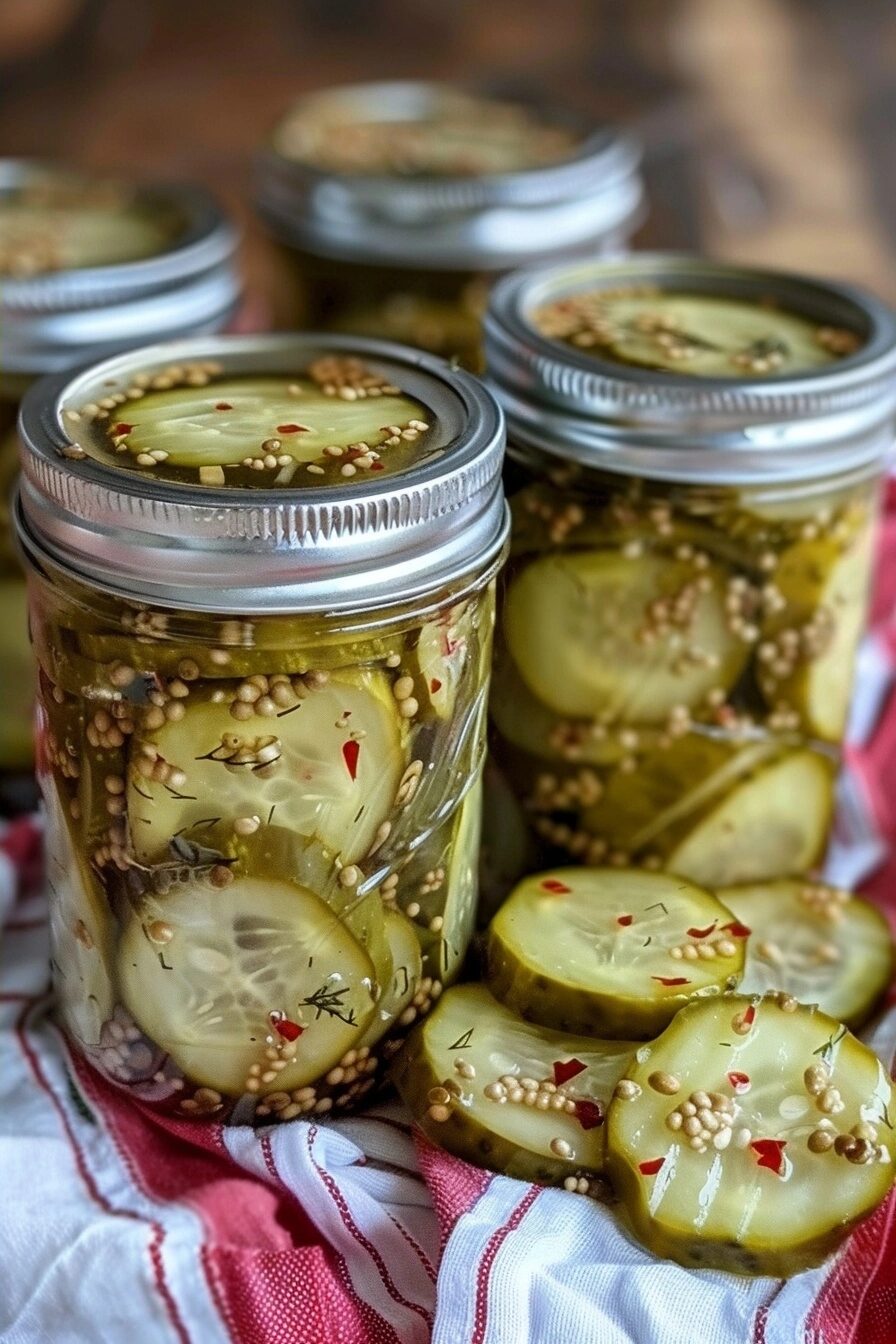
Why You’ll Love This Crunchy Dill Pickles Recipe
The primary appeal of these pickles lies in their unmatched crispness. Because they are not boiled through the canning process, the cucumbers maintain their structural integrity, delivering that audible crunch you crave with every bite. The brine strikes an ideal balance between tangy vinegar and aromatic herbs, creating a complex, savory flavor that is refreshing rather than overpowering.
You will appreciate the convenience of this recipe for its speed and simplicity. It requires no specialized equipment or long-term canning skills, making it accessible for any home cook looking to keep a supply of homemade refrigerator pickles on hand. It becomes an effortless staple for quick weekday lunches or last-minute entertaining.
These pickles are naturally vibrant and highlight the raw freshness of garden-grown or market-fresh cucumbers. Whether you are serving them alongside a hearty beef burger or as a sharp counterpoint to a creamy pasta salad, their clean, herbaceous finish elevates your entire culinary experience. They stay consistently delicious in the fridge for weeks, waiting for the perfect meal.
Ingredients of the Crunchy Dill Pickles
For the Brine
- 4 cups water
- 1/2 cup distilled white vinegar
- 3 tablespoons coarse sea salt
- 2 cloves garlic, smashed
For the Jars
- 2 pounds pickling cucumbers, washed and scrubbed
- 4 sprigs fresh dill
- 1 tablespoon yellow mustard seeds
- 1 teaspoon black peppercorns
- 1/2 teaspoon crushed red pepper flakes
Equipment / Tools Needed
- Large glass mason jars with lids
- Sharp chef’s knife
- Measuring cups and spoons
- Small saucepan for the brine
- Clean dish towel
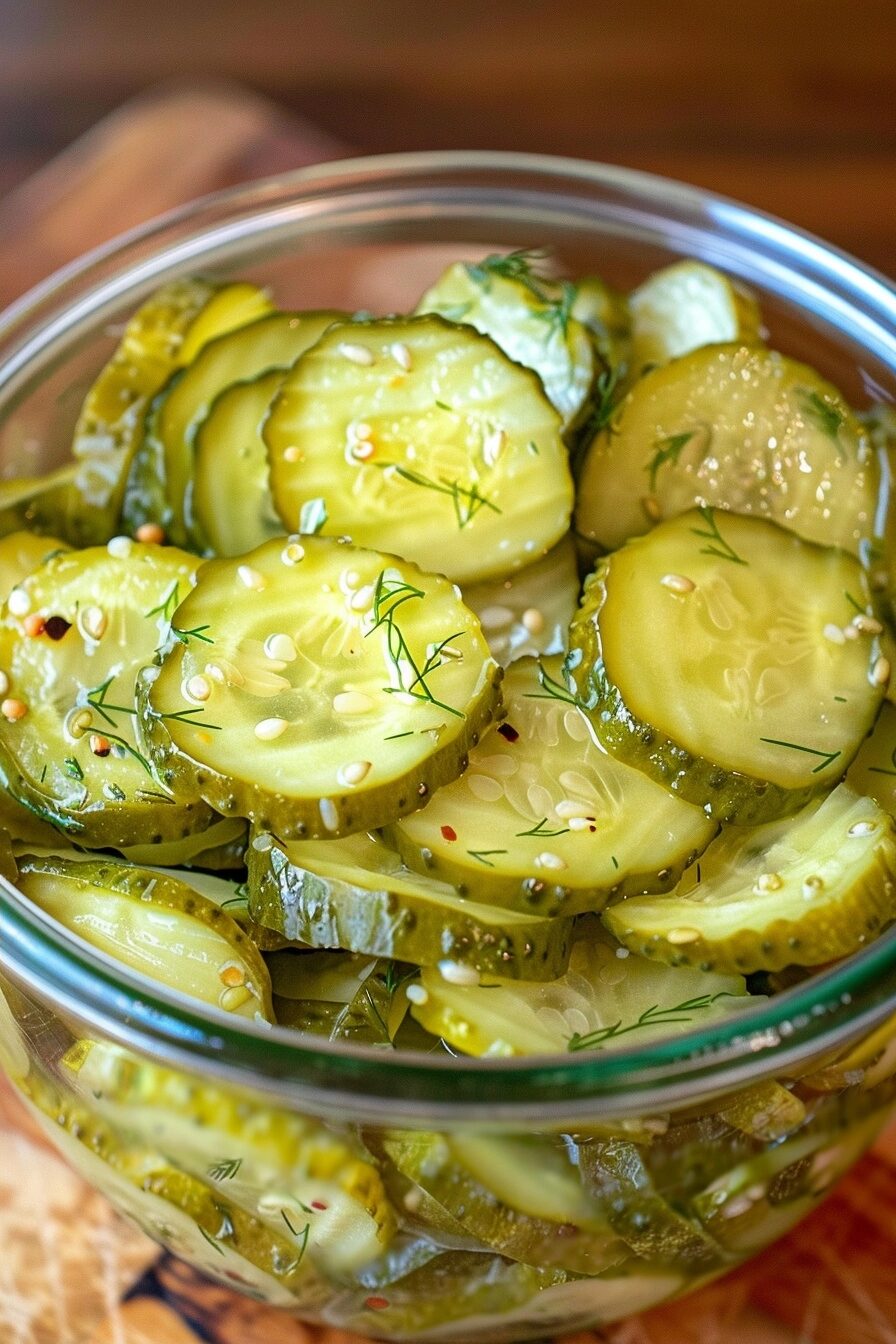
Step-by-Step Instructions
Step 1: Prepare the Cucumbers
Begin by thoroughly washing your cucumbers in cold water to remove any garden debris. Slice off both ends of the cucumbers, as the enzymes in the blossoms can sometimes soften the pickles. You can leave them whole if they are small, or slice them into uniform spears for better volume distribution in your jars.
Step 2: Create the Flavor Base
Distribute the fresh dill sprigs, mustard seeds, peppercorns, and crushed red pepper flakes equally among your glass jars. Adding these aromatics to the bottom ensures the flavor infuses evenly as the brine circulates. Toss in the smashed garlic cloves to provide a subtle pungency that rounds out the tanginess of the vinegar.
Step 3: Heat and Season the Brine
In a small saucepan, combine the water, white vinegar, and sea salt. Bring the mixture to a gentle boil over medium heat, stirring occasionally to ensure the salt has completely dissolved. The liquid should look clear and smell sharp and appetizing once the salt has vanished into the solution.
Step 4: Combine and Chill
Pack the cucumbers snugly into your prepared jars, being careful not to crush them. Pour the hot brine over the cucumbers until they are completely submerged, leaving a small space at the top of the jar. Screw the lids on tightly and let them cool at room temperature before transferring them to the refrigerator, where they will firm up and develop flavor over the next 48 hours.
Tips & Tricks
For the ultimate crunch, always use small, bumpy pickling cucumbers rather than long English hothouse varieties. Adding an ice-water soak for one hour before pickling also preserves the cellular structure of the vegetable. Keep your brine levels consistent, ensuring the cucumbers never peek above the liquid line, as exposure to air can soften the top layer.
Serving Suggestions
These pickles pair beautifully with grilled chicken sandwiches, deli-style rye bread, or alongside a bowl of hot soup. During the hot summer months, finely chop them into a fresh tuna salad to provide a zesty, crunchy element. They also make a fantastic addition to a snack board accompanied by mild cheeses and crusty bread.
Variations / Substitutions
- Swap the yellow mustard seeds for coriander seeds if you prefer a citrusy, floral undertone.
- Add a slice of fresh jalapeno or serrano pepper to the jar if you enjoy a hidden kick of heat.
- Include a small strip of fresh horseradish root for an extra sharp, pungent bite.
Storage and Reheating
Store these pickles in the coldest part of your refrigerator. They are best consumed within three weeks for optimal texture. They do not require heating, as their cold, crisp nature is their defining characteristic. Keep the lids tight to prevent any exterior scents from penetrating the brine.
Nutritional Info
Calories: 15 kcal
Protein: 1g
Carbohydrates: 3g
Fat: 0g
Conclusion
Mastering these homemade pickles is a rewarding way to improve your snacking game. The combination of fresh herbs, garlic, and vinegar creates a crisp treat that outperforms mass-produced jars in every category.
Enjoy the process of crafting these in your own kitchen. With just a little patience, you will have a ready-to-eat supply that brings a bold, tangy spark to any dish you create.
FAQ
How long do these pickles last in the fridge?
These pickles maintain their specific crunch for about three weeks in an airtight, refrigerated jar. Beyond that, they will remain safe to eat but may begin to lose their firm, crisp texture.
Can I use apple cider vinegar instead?
While you can use apple cider vinegar, it will impart a slightly sweeter, cloudier brine and a different flavor profile than the traditional tang achieved with white distilled vinegar. Stick to white vinegar if you prefer a classic, bright dill pickle taste.
Why are my pickles becoming soft?
Softness often results from using cucumbers that were not fresh or omitting the step of trimming the blossom end. Always ensure you are using very cold, fresh cucumbers to maintain the best possible snap.
Do I need to sterilize the jars?
Since these are refrigerator pickles, a thorough hand wash in hot, soapy water and a rinse is sufficient. You do not need to perform a full canning-style sterilization because the acidity and cold storage keep them fresh.
Crunchy Dill Pickles
Prep time: 15 minutes
Total time: 48 hours
Yield: 2 jars
Crunchy Dill Pickles Made Fresh at Home
Ingredients
- 4 cups water
- 1/2 cup distilled white vinegar
- 3 tablespoons coarse sea salt
- 2 cloves garlic, smashed
- 2 pounds pickling cucumbers, washed and scrubbed
- 4 sprigs fresh dill
- 1 tablespoon yellow mustard seeds
- 1 teaspoon black peppercorns
- 1/2 teaspoon crushed red pepper flakes
Instructions
- Thoroughly wash the cucumbers in cold water and slice off both ends.
- Leave cucumbers whole if small, or slice them into uniform spears for better distribution.
- Distribute the fresh dill, mustard seeds, black peppercorns, and red pepper flakes equally among the clean glass mason jars.
- In a small saucepan, combine water, vinegar, salt, and smashed garlic; bring to a simmer until the salt is fully dissolved.
- Remove brine from heat and allow it to cool slightly.
- Pack the prepared cucumbers tightly into the jars.
- Pour the brine over the cucumbers, ensuring they are completely submerged.
- Seal the jars with lids and refrigerate for at least 24-48 hours before consuming for best flavor development.