
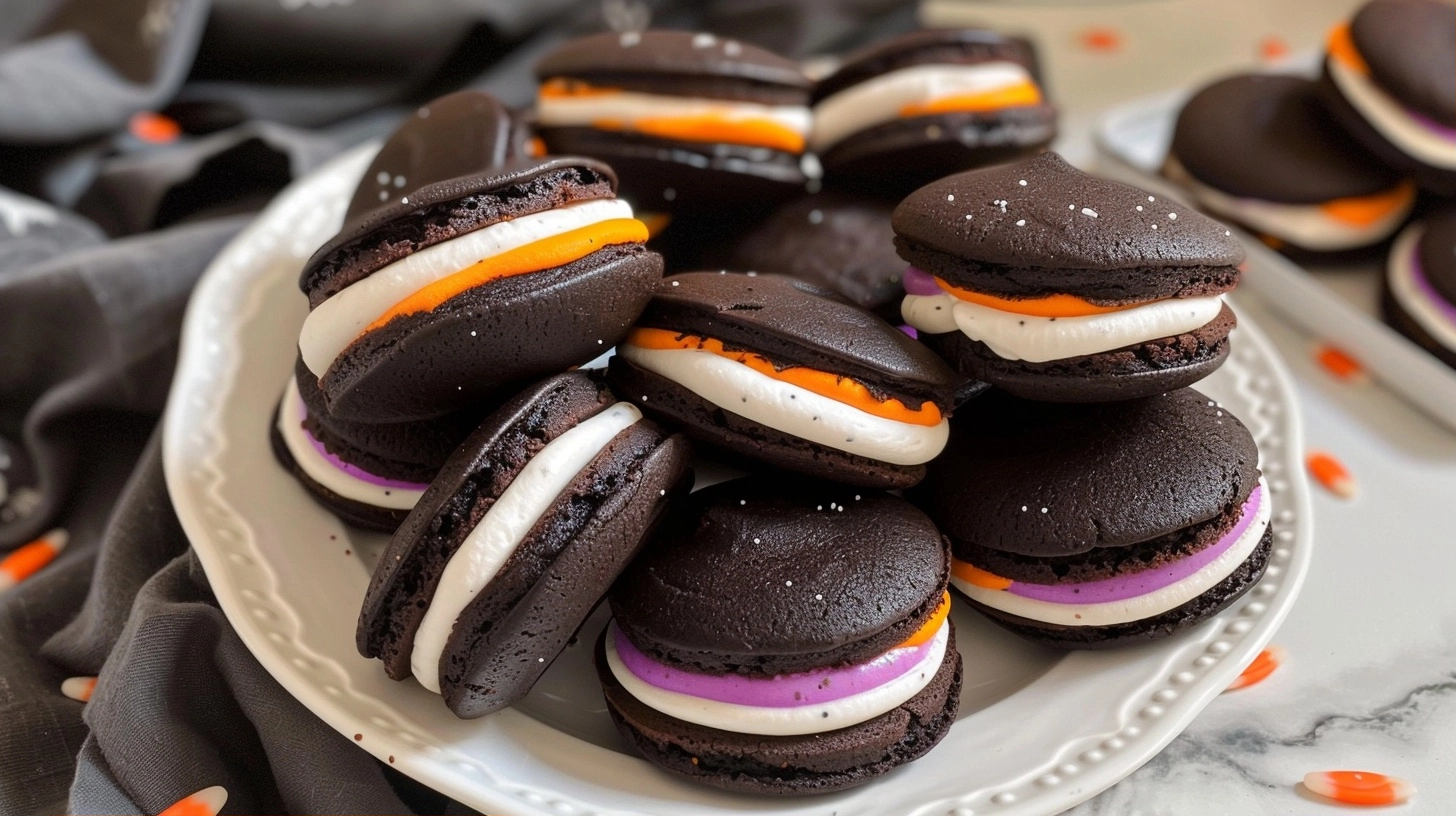
Halloween Whoopie Pies are soft, cocoa-infused cake sandwiches filled with a luscious, marshmallow-inspired buttercream that captures the spirit of autumn celebrations. These handheld treats combine a tender, moist crumb with a cloud-like center, making them the ultimate dessert for school parties, neighborhood gatherings, or cozy nights at home. By adding a touch of spooky flair with orange-tinted frosting, they become the centerpiece of any dessert table.
Table of Contents
Table of Contents
Why You’ll Love This Halloween Whoopie Pies
These cakes offer a perfect contrast between the rich, dark chocolate exterior and the sweet, velvety filling. The texture is reminiscent of a classic soft-baked cookie, yet they feel substantial enough to satisfy any dessert craving after a long day of pumpkin picking or costume prep.
You will appreciate the simplicity of the assembly. Unlike complex layered cakes or delicate pastries, these pies rely on straightforward mixing methods that ensure a consistent, professional-looking finish even for beginner bakers.
These treats stay remarkably fresh for several days, keeping their soft consistency thanks to the moisture-locking nature of the cocoa batter. They are incredibly easy to transport, making them a reliable choice for potlucks and holiday events where convenience is just as important as taste.
Ingredients of the Halloween Whoopie Pies
For the Cocoa Cakes
- 2 cups all-purpose flour
- 1/2 cup unsweetened cocoa powder
- 1 teaspoon baking soda
- 1/2 teaspoon salt
- 1 cup buttermilk, room temperature
- 1/2 cup unsalted butter, softened
- 1 cup granulated sugar
- 1 large egg
- 1 teaspoon vanilla extract
For the Marshmallow Filling
- 1/2 cup unsalted butter, softened
- 2 cups powdered sugar
- 1 cup marshmallow fluff
- 1 teaspoon vanilla extract
- Orange gel food coloring
Equipment / Tools Needed
- Electric hand mixer or stand mixer
- Two large mixing bowls
- Rubber spatula
- Baking sheets
- Parchment paper
- Piping bag or resealable plastic bag
Step-by-Step Instructions
Step 1: Prepare the Oven and Baking Sheets
Preheat your oven to 350°F (175°C). Line two large baking sheets with parchment paper to ensure the cakes release cleanly. Proper preparation here prevents sticking, allowing the cakes to maintain their smooth, domed shape.
Step 2: Combine the Dry Ingredients
In a medium bowl, whisk together the flour, cocoa powder, baking soda, and salt. Ensure the cocoa is free of large lumps, as this ensures a uniform, deep brown color in your finished cakes.
Step 3: Cream the Butter and Sugar
In a large bowl, beat the softened butter and sugar together until the mixture is pale and fluffy. This step incorporates air into the batter, which is essential for achieving the light, pillowy texture that defines a great whoopie pie.
Step 4: Incorporate Wet Ingredients
Add the egg and vanilla to the butter mixture, beating well until fully combined. Slowly pour in the buttermilk and dry ingredients, alternating between the two. Mix until the batter is smooth, thick, and glossy, being careful not to overmix.
Step 5: Bake the Cakes
Scoop heaping tablespoons of batter onto the prepared sheets, spaced two inches apart. Bake for 10 to 12 minutes. The cakes are done when they spring back lightly when touched and the edges appear set. Let them cool completely on the sheet for five minutes before moving to a wire rack.
Step 6: Prepare the Filling and Assemble
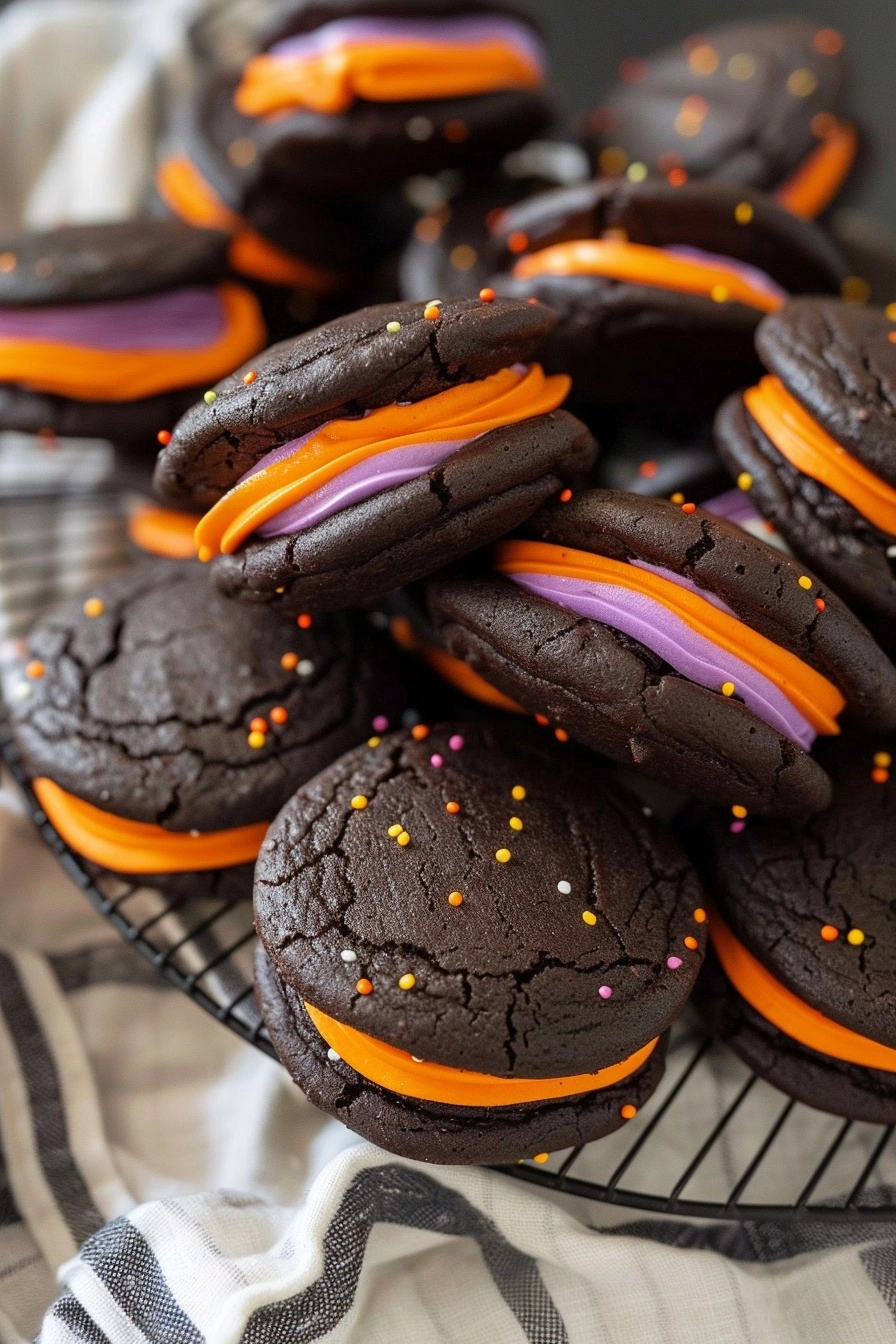
Beat the butter, powdered sugar, and vanilla until smooth, then fold in the marshmallow fluff. Add a small drop of orange food coloring to achieve a vibrant pumpkin-orange hue. Pipe a generous swirl onto the flat side of one cooled cake and top with a second cake to create the sandwich.
Tips & Tricks
For the best texture, make sure your buttermilk and egg are at room temperature before you start. This allows the emulsion to form properly, resulting in a finer crumb. If you find the batter too sticky to handle, chill it for 15 minutes before scooping.
Serving Suggestions
Serve these at room temperature alongside a mug of hot apple cider or warm milk. They are the perfect end to a savory autumn dinner and make an excellent display when placed on a tiered platter decorated with mini decorative gourds.
Variations / Substitutions
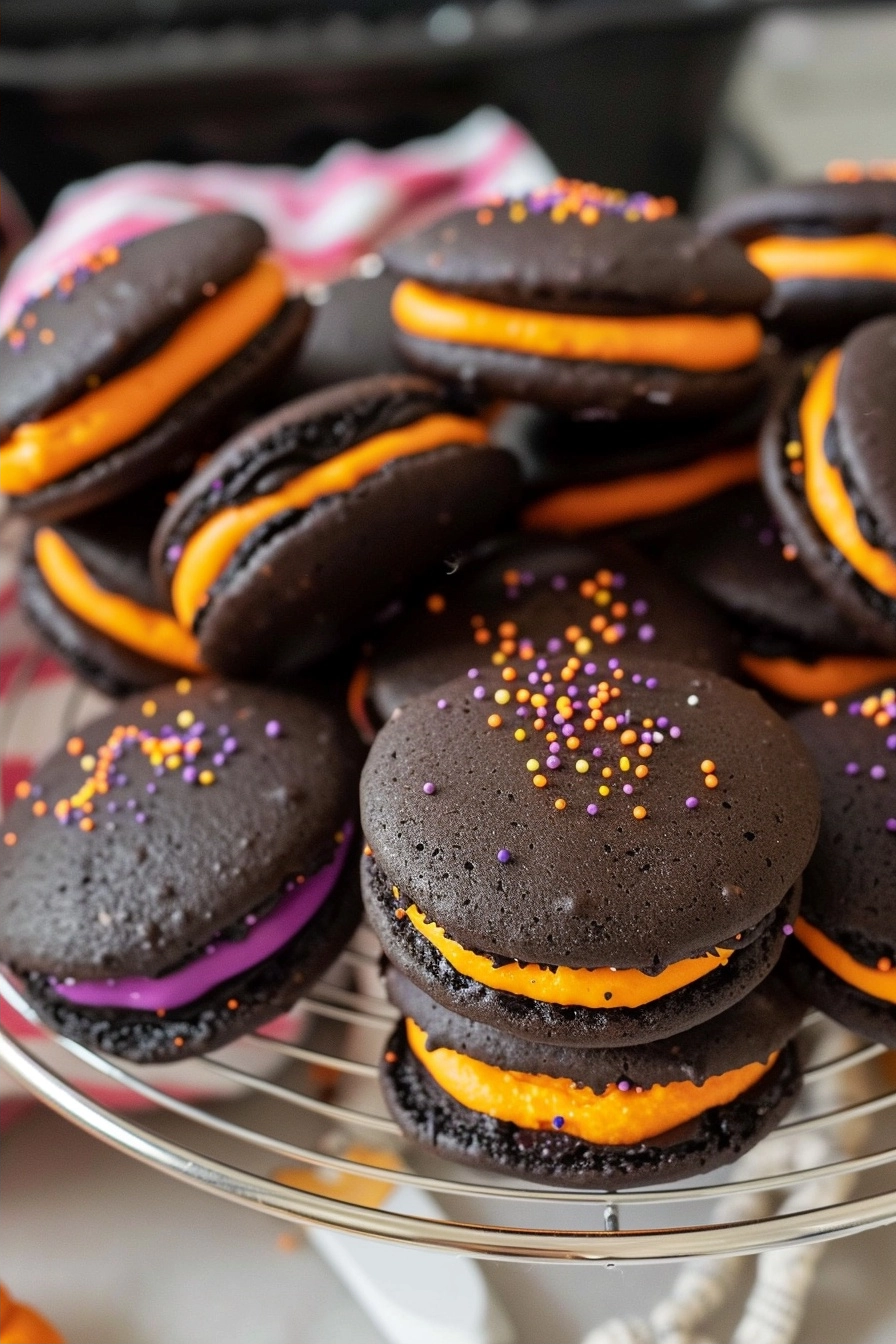
You can replace the marshmallow fluff with a whipped vanilla buttercream if you prefer a less sticky filling. For a darker, moodier look, use black food coloring instead of orange. You can also press festive Halloween sprinkles into the exposed edges of the filling for an extra crunch.
Storage and Reheating
Store your whoopie pies in an airtight container in the refrigerator to keep the filling firm. They will stay fresh for up to five days. To enjoy the best texture, let them sit at room temperature for 10 minutes before serving, which allows the cake to soften back to its ideal pillowy state.
Nutritional Info
Calories: 280 kcal
Protein: 3g
Carbohydrates: 42g
Fat: 12g
Conclusion
These Halloween Whoopie Pies provide a perfect balance of chocolatey richness and sweet, fluffy delight. They are simple to assemble, look fantastic on a festive platter, and are guaranteed to disappear quickly at any gathering.
Enjoy the process of baking these seasonal treats. Whether you are sharing them with friends or family, they capture the joy of the holiday perfectly in every bite.
FAQ
Can I make these ahead of time?
Yes, you can bake the cocoa cake rounds a day in advance and store them at room temperature. It is best to fill them with the buttercream the day you plan to serve them for the freshest texture.
What if I do not have marshmallow fluff?
You can substitute the marshmallow fluff with an extra half-cup of powdered sugar and a tablespoon of heavy cream. It will change the texture slightly but still provide a sweet, creamy contrast to the chocolate cakes.
How do I keep the filling from melting?
Always ensure your cakes are completely cool to the touch before adding the filling. If the cakes are even slightly warm, the butter in the frosting will soften, causing the whoopie pies to slide apart.
Can I freeze these treats?
Yes, you can freeze assembled whoopie pies for up to two months. Wrap them individually in plastic wrap and place them in a freezer-safe bag. Thaw them in the refrigerator overnight before serving.
Halloween Whoopie Pies
Ingredients
- 2 cups all-purpose flour
- 1/2 cup unsweetened cocoa powder
- 1 teaspoon baking soda
- 1/2 teaspoon salt
- 1 cup buttermilk, room temperature
- 1/2 cup unsalted butter, softened
- 1 cup granulated sugar
- 1 large egg
- 1 teaspoon vanilla extract
- 1/2 cup unsalted butter, softened (for filling)
- 2 cups powdered sugar
- 1 cup marshmallow fluff
- 1 teaspoon vanilla extract (for filling)
- Orange gel food coloring
Instructions
- Preheat your oven to 350°F (175°C) and line two large baking sheets with parchment paper.
- In a medium bowl, whisk together the flour, cocoa powder, baking soda, and salt.
- In a separate large bowl, cream together the 1/2 cup butter and sugar until light and fluffy.
- Add the egg and vanilla extract to the butter mixture and beat until combined.
- Gradually alternate adding the dry ingredients and buttermilk to the butter mixture until smooth.
- Drop tablespoon-sized rounds of batter onto the prepared sheets, spacing them 2 inches apart.
- Bake for 10-12 minutes or until the cakes spring back when touched.
- Cool the cakes completely on a wire rack.
- To make the filling, beat the 1/2 cup butter, powdered sugar, marshmallow fluff, and vanilla until smooth and creamy.
- Stir in a drop of orange gel food coloring until the desired color is reached.
- Pipe the filling onto the flat side of half the cakes and sandwich with the remaining cakes.