
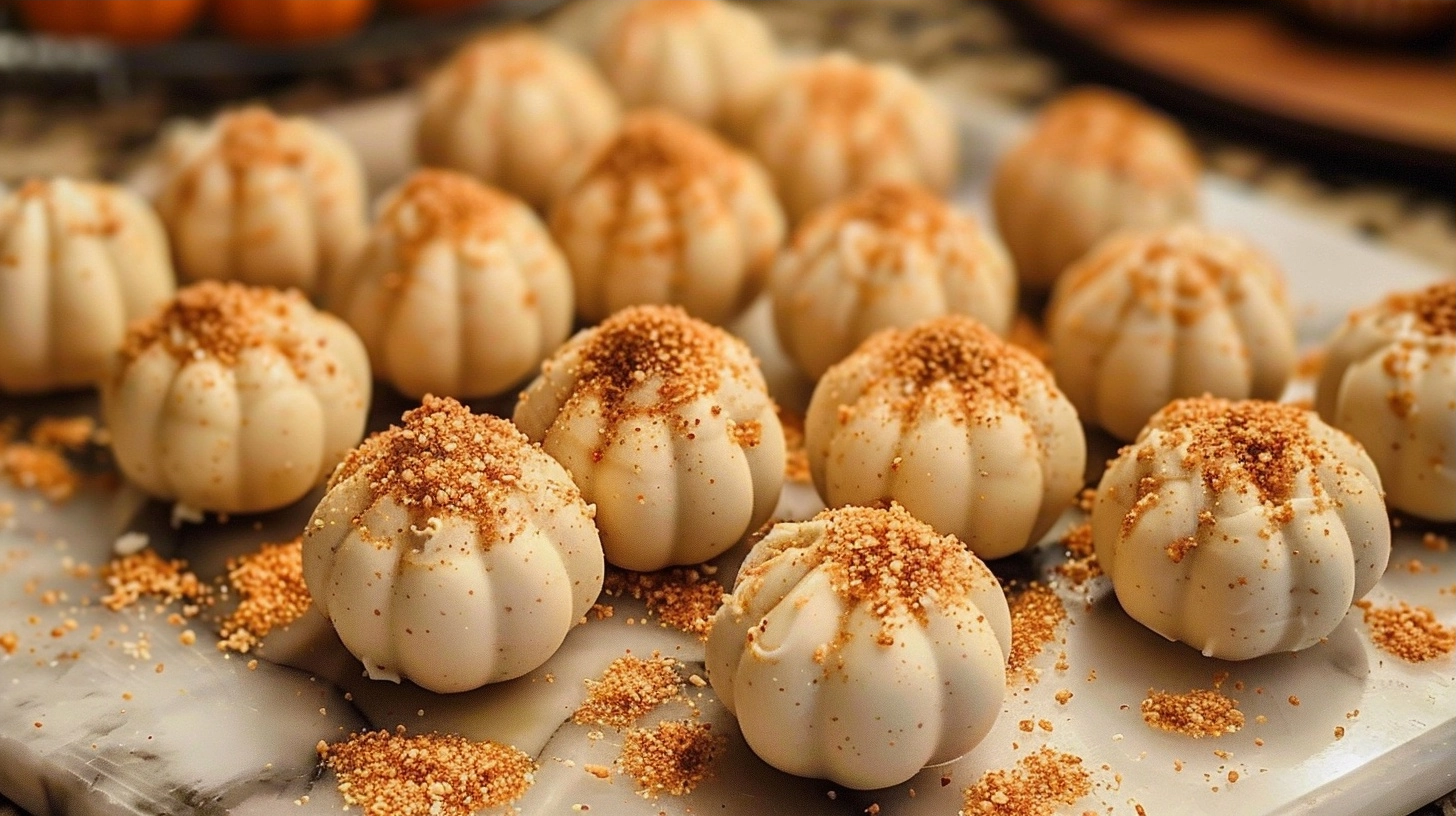
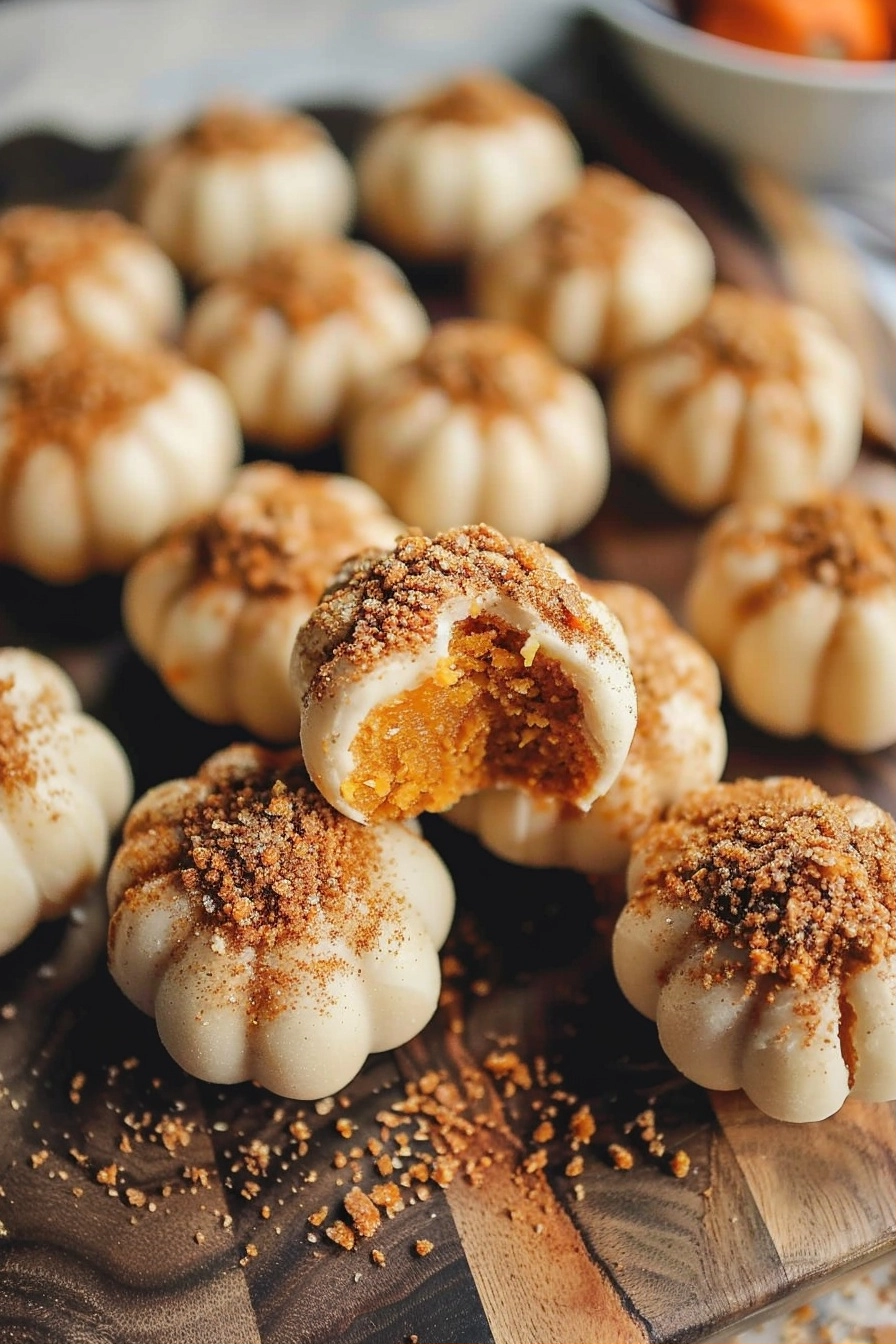
Pumpkin cheesecake truffles combine spiced pumpkin purée and velvety cream cheese to create a decadent, bite-sized treat perfect for autumn gatherings. These no-bake delights feature a rich, creamy interior coated in a crisp shell, capturing the essence of fall in every single mouthful.
Table of Contents
Table of Contents
Why You’ll Love This Pumpkin Cheesecake Truffles
These truffles balance the earthy sweetness of pumpkin with the slight tang of cream cheese. They offer a sophisticated flavor profile that satisfies sugar cravings without being overly heavy.
The texture is incredibly smooth and dense, melting away as soon as you bite into the chocolate coating. Because they are chilled, they provide a refreshing contrast between the cool center and the snappy exterior.
Making these is surprisingly efficient. Once you master the basic chilling process, you can prepare a large batch for parties, gifting, or a quick evening snack throughout the week.
Ingredients of the Pumpkin Cheesecake Truffles
For the Truffle Center
- 8 ounces cream cheese, softened
- 1/2 cup pumpkin purée
- 2 cups graham cracker crumbs
- 1/2 cup powdered sugar
- 1 teaspoon pumpkin pie spice
- 1/2 teaspoon vanilla extract
For the Coating
- 12 ounces high-quality white or semi-sweet chocolate
- 1 tablespoon coconut oil
- Optional: crushed cinnamon sticks or extra graham cracker crumbs for garnish
Equipment / Tools Needed
- Large mixing bowl
- Electric hand mixer
- Baking sheet lined with parchment paper
- Small scoop or tablespoon
- Microwave-safe bowl for melting chocolate
- Fork for dipping
Step-by-Step Instructions
Step 1: Combine the Base
In a large mixing bowl, beat the softened cream cheese until it is smooth and free of lumps. Add the pumpkin purée, powdered sugar, pumpkin pie spice, and vanilla extract, mixing until fully incorporated and the color is a uniform, warm orange.
Step 2: Add the Texture
Gently fold the graham cracker crumbs into the pumpkin mixture. The consistency should become thick, sticky, and easy to roll. If the mixture feels too soft, place it in the refrigerator for thirty minutes to firm up.
Step 3: Shape the Truffles
Use a small scoop to form uniform balls, approximately one inch in diameter. Roll them between your palms to ensure a smooth, round surface, then place them on the parchment-lined tray. Freeze for at least one hour.
Step 4: Coat in Chocolate
Melt your chosen chocolate with the coconut oil in short intervals to prevent burning. Remove the truffles from the freezer and dip each one into the melted chocolate. Use a fork to tap off excess chocolate before returning them to the parchment paper.
Tips & Tricks
Ensure your cream cheese is completely room temperature before mixing to prevent grainy bits in the filling. Always keep the truffle centers frozen right up until you dip them; this keeps them from losing their shape in the warm chocolate. Use a high-quality chocolate rather than standard chips for a better melt and superior flavor.
Serving Suggestions
Serve these truffles chilled on a decorative platter. They pair wonderfully with warm spiced cider or a hot cup of black tea. They are perfect for Thanksgiving dessert tables, potlucks, or as edible party favors packed into small boxes.
Variations / Substitutions
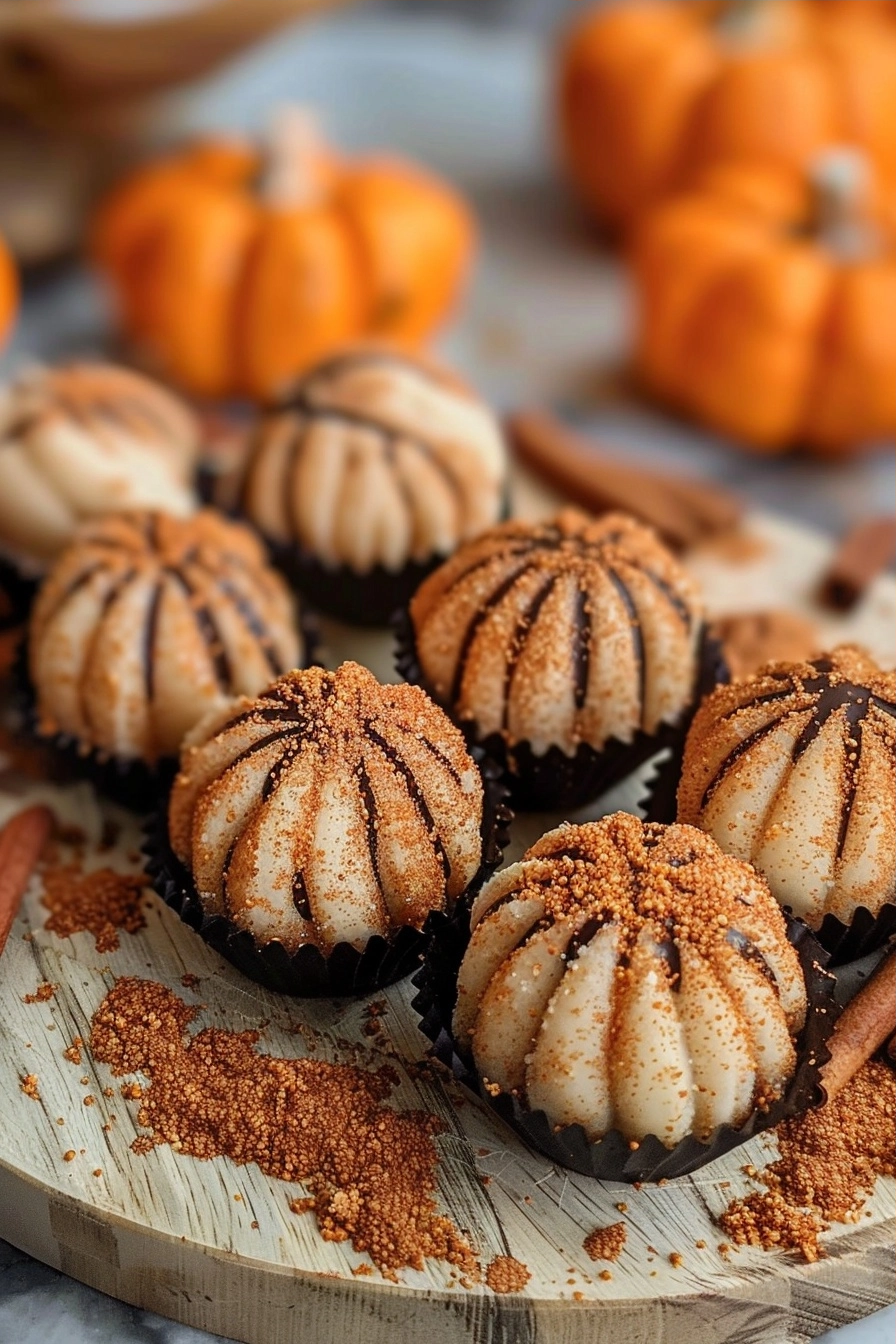
You can swap the graham cracker crumbs for crushed gingersnap cookies if you prefer a spicier kick. For a darker finish, use dark chocolate for the shell, which provides a dramatic color contrast to the bright pumpkin interior.
Storage and Reheating
Store these truffles in an airtight container in the refrigerator for up to one week. If you need to keep them longer, they freeze beautifully for up to three months. Simply let them sit at room temperature for five minutes before serving to soften the texture slightly.
Nutritional Info
Calories: 145 kcal | Protein: 2g | Carbohydrates: 18g | Fat: 7g
Conclusion
These pumpkin cheesecake truffles are a delightful way to celebrate the cooling weather. Their perfect combination of spice, cream, and chocolate creates a comforting treat that never fails to impress.
Take some time to prepare a batch this weekend and enjoy the simple pleasure of a homemade seasonal confection. They are sure to become a staple in your autumn recipe rotation.
FAQ
Can I prepare these truffles ahead of time?
Yes, these are excellent make-ahead treats. You can form and freeze the balls days in advance, then dip them in chocolate whenever you are ready to serve.
Do I need to refrigerate these?
Because they contain cream cheese, they should be stored in the refrigerator or freezer. They will become too soft if left out at room temperature for more than an hour.
Can I use milk chocolate instead of white chocolate?
Certainly, milk or dark chocolate works very well. Choose the sweetness level that best complements the pumpkin spice profile you enjoy most.
How do I keep the chocolate coating smooth?
Adding the coconut oil to the chocolate is the secret to a thin, glossy, and smooth shell. It helps the chocolate set perfectly without becoming too brittle or thick.
Pumpkin Cheesecake Truffles
Ingredients
- 8 ounces cream cheese, softened
- 1/2 cup pumpkin purée
- 2 cups graham cracker crumbs
- 1/2 cup powdered sugar
- 1 teaspoon pumpkin pie spice
- 1/2 teaspoon vanilla extract
- 12 ounces high-quality white or semi-sweet chocolate
- 1 tablespoon coconut oil
- Crushed cinnamon sticks or graham cracker crumbs for garnish (optional)
Instructions
- In a large mixing bowl, beat the softened cream cheese until smooth.
- Add the pumpkin purée, powdered sugar, pumpkin pie spice, and vanilla extract, mixing until uniform.
- Gently fold in the graham cracker crumbs until the mixture is thick and sticky.
- If the mixture is too soft, refrigerate for 30 minutes to firm up.
- Use a small scoop to form 1-inch balls and roll between your palms for a smooth surface.
- Place balls on a parchment-lined tray and freeze for at least one hour.
- Melt the chocolate and coconut oil in the microwave in short intervals.
- Dip each frozen truffle into the melted chocolate, shaking off the excess.
- Place back on the parchment paper and garnish immediately if desired.
- Return to the refrigerator or freezer until the chocolate shell is completely set.