
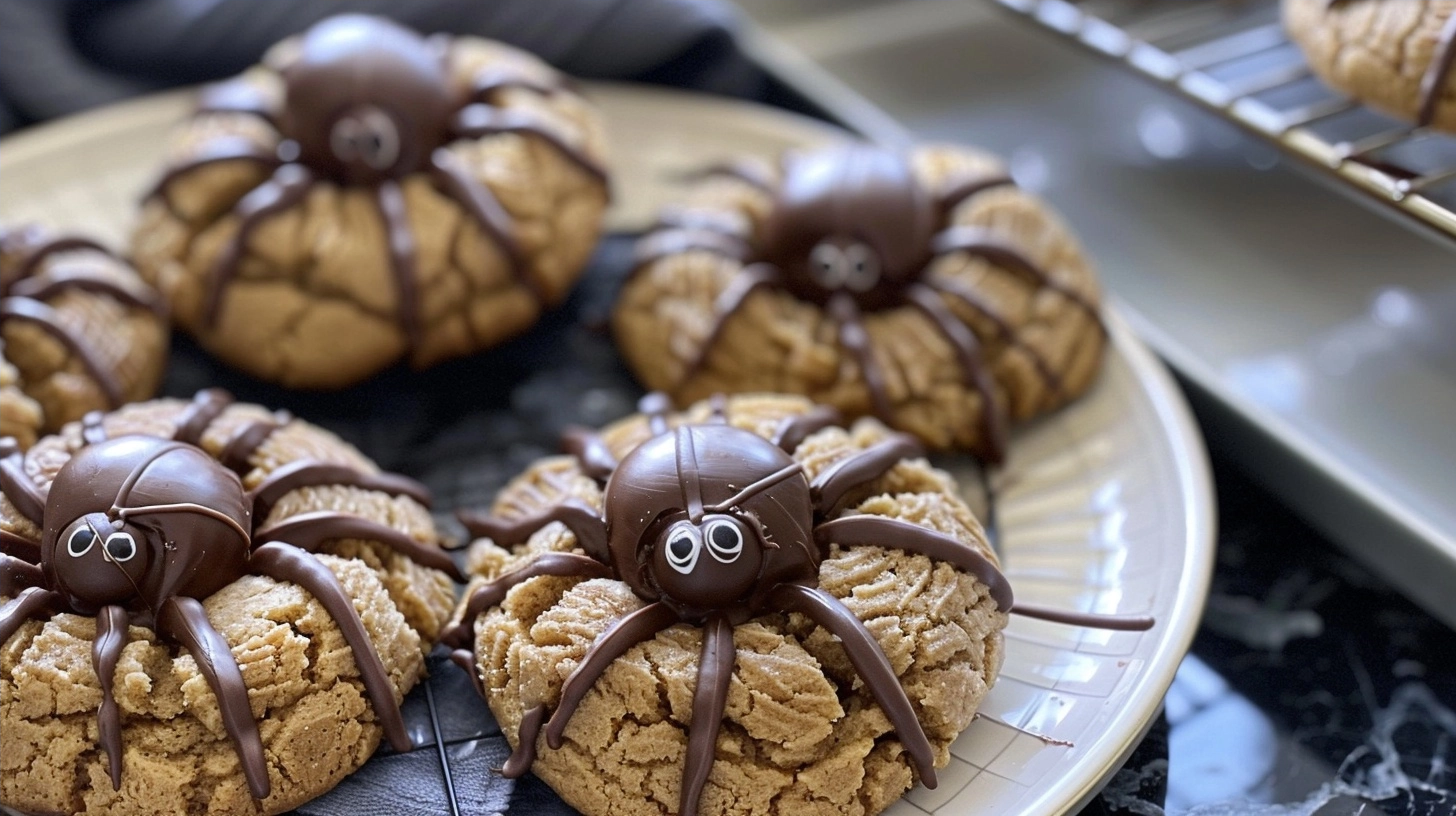
Peanut Butter Spider Cookies are delightful, chewy thumbprint treats featuring a rich chocolate center designed to look like a spooky arachnid. These festive cookies combine the classic flavor of salty, creamy nut butter with a smooth chocolate finish, making them a perfect addition to any seasonal celebration or autumn gathering. The simple construction relies on quality pantry staples to achieve that signature soft texture and iconic appearance.
Table of Contents
Table of Contents
Why You’ll Love This Peanut Butter Spider Cookies
The combination of a tender, buttery base and a melting chocolate top creates an irresistible contrast that everyone enjoys. Unlike more complicated holiday desserts, these cookies use a straightforward dough that holds its shape beautifully while baking.
You will appreciate how quickly these come together in your kitchen. Because the dough requires minimal chilling and uses ingredients likely already in your pantry, they are ideal for last-minute party planning or fun weekend baking sessions with the family.
Beyond the simple preparation, the final presentation is visually striking. The small chocolate candy perched on top provides just enough sweetness to balance the nuttiness, ensuring every bite feels like a high-quality confection rather than a basic drop cookie.
Ingredients of the Peanut Butter Spider Cookies
For the Cookie Dough
- 1 cup creamy peanut butter
- 1/2 cup unsalted butter, softened
- 1/2 cup granulated sugar
- 1/2 cup packed light brown sugar
- 1 large egg
- 1 teaspoon vanilla extract
- 1 3/4 cups all-purpose flour
- 1/2 teaspoon baking soda
- 1/4 teaspoon salt
For the Topping
- 24 small chocolate truffles or round chocolates
- 1/4 cup dark chocolate chips, melted (for the legs)
Equipment / Tools Needed
- Large mixing bowl
- Electric hand mixer
- Baking sheets
- Parchment paper
- Small piping bag or plastic ziplock bag
- Cooling rack
Step-by-Step Instructions
Step 1: Prepare the Dough Base
In a large mixing bowl, beat together the peanut butter, softened butter, granulated sugar, and brown sugar until the mixture is light and fluffy. Add the egg and vanilla extract, mixing until fully incorporated. The mixture should smell fragrant and appear pale yellow in color.
Step 2: Add Dry Ingredients
Slowly whisk in the flour, baking soda, and salt. Mix until just combined to ensure the cookies remain tender and chewy. Do not overwork the dough, as this can make the texture tough rather than soft.
Step 3: Shape and Bake
Preheat your oven to 350°F (175°C). Roll the dough into one-inch balls and place them on a parchment-lined baking sheet. Press your thumb into the center of each ball to create a slight indentation. Bake for 10 to 12 minutes, or until the edges are just barely golden brown.
Step 4: Add the Spider Body
Immediately upon removing the cookies from the oven, press a round chocolate candy into the center indentation of each warm cookie. Allow them to cool completely on the pan before moving to a wire rack to firm up.
Step 5: Pipe the Legs
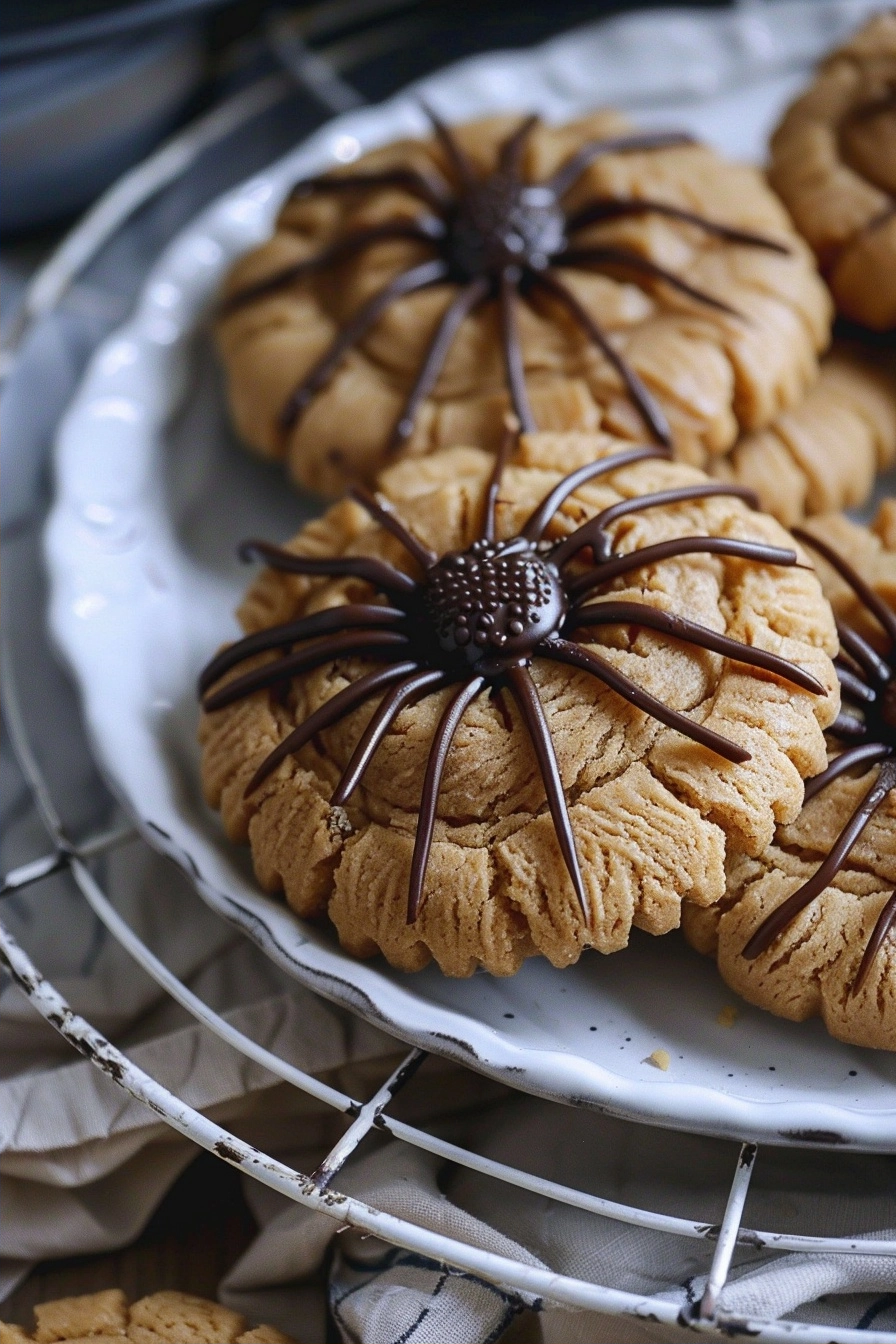
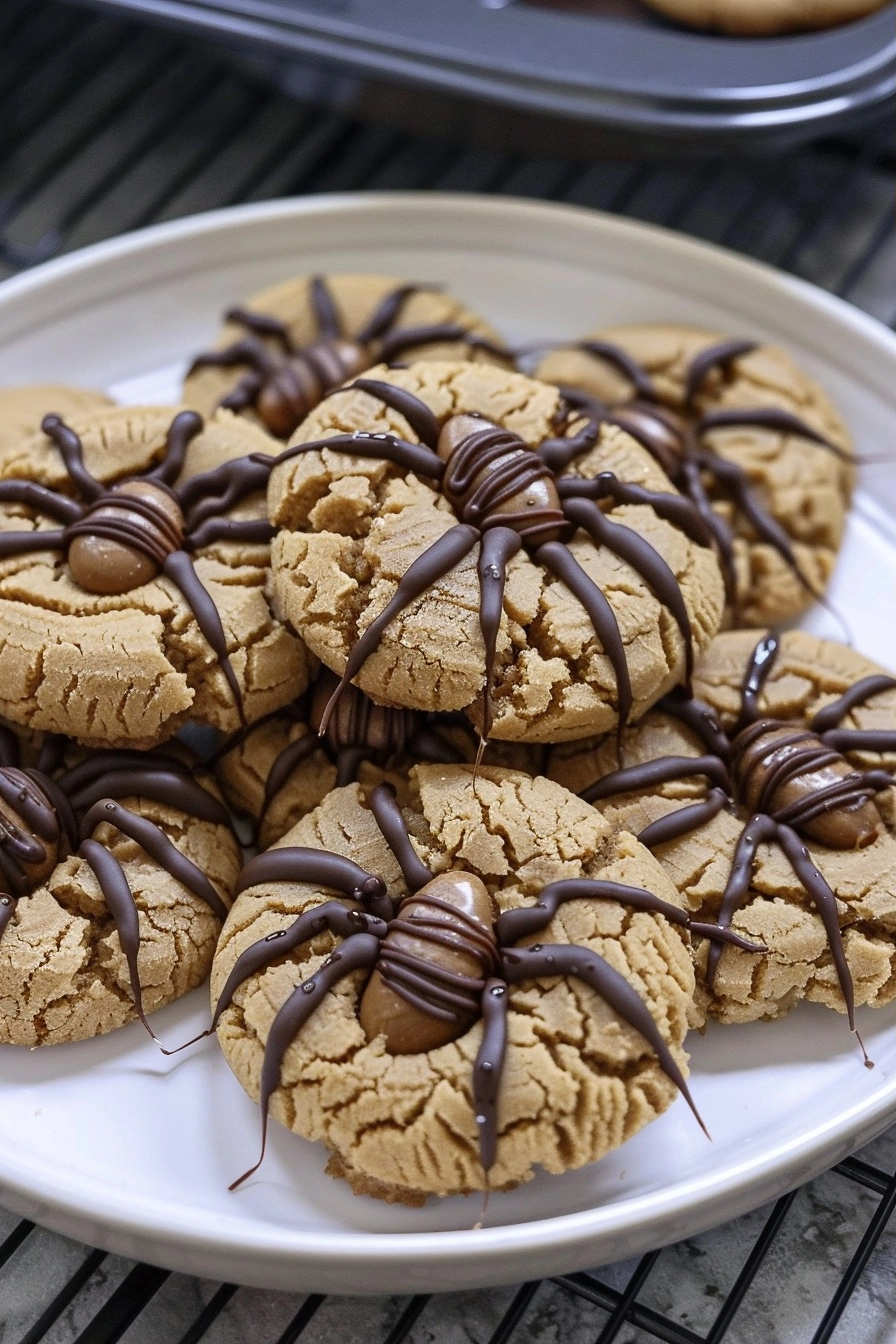
Once the cookies have cooled, transfer the melted dark chocolate into a small piping bag. Carefully pipe eight small lines extending from the chocolate body onto the cookie surface to create the spider legs. Allow the chocolate to set completely before serving.
Tips & Tricks
Ensure your peanut butter is a standard commercial variety rather than natural, as the oil separation in natural peanut butter can make the dough too greasy. If you want a deeper flavor, use a slightly darker roast peanut butter. For perfectly clean legs, ensure the cookies are entirely cool before piping so the chocolate does not melt upon contact.
Serving Suggestions
Serve these cookies on a dark-colored platter to emphasize the festive Halloween theme. They pair wonderfully with a glass of cold milk or a warm cup of spiced cider. For extra flair, you can place them on a bed of edible shredded coconut dyed black or green to mimic a spider web environment.
Variations / Substitutions
If you prefer an alternative to chocolate, you can substitute the center candies with dark-colored sugar-coated chocolates. For those with nut allergies, sunflower butter works well as a direct replacement, though the color of the final cookie may be slightly darker.
Storage and Reheating
Store these cookies in an airtight container at room temperature for up to five days. To maintain the best texture, avoid stacking them too high, which could smudge the chocolate legs. They can also be frozen for up to one month; simply thaw at room temperature before enjoying.
Nutritional Info
Calories: 185 kcal
Protein: 4g
Carbohydrates: 22g
Fat: 10g
Conclusion
These Peanut Butter Spider Cookies are a fantastic way to celebrate the season with a treat that is as fun to look at as it is to eat. The balance of creamy nut butter and rich chocolate ensures they are a crowd-pleaser at any age.
Get creative with your decorating and enjoy the process of bringing these spooky little snacks to life. They truly capture the festive spirit in every chewy bite.
FAQ
How do I keep the spider legs from smudging?
The secret is to let the cookies cool completely on the counter before you begin piping. If the cookies are still warm, the chocolate will smear; wait until they feel cool to the touch for the crispest results.
Can I make the dough ahead of time?
Yes, the dough can be prepared and kept in the refrigerator for up to 48 hours. Simply roll the balls just before baking, as the dough is easier to manage when it has been chilled briefly.
What is the best way to melt the chocolate for legs?
Use a microwave-safe bowl and heat the chocolate chips in 15-second intervals, stirring between each. This prevents the chocolate from burning and keeps it at the perfect consistency for piping.
Can I replace the peanut butter?
You can use almond butter or sunflower seed butter as a substitute. Keep in mind that some seed butters may react with the baking soda and turn a slightly green tint, which actually adds to the Halloween aesthetic.
Peanut Butter Spider Cookies for Halloween Treats
Ingredients
- 1 cup creamy peanut butter
- 1/2 cup unsalted butter, softened
- 1/2 cup granulated sugar
- 1/2 cup packed light brown sugar
- 1 large egg
- 1 teaspoon vanilla extract
- 1 3/4 cups all-purpose flour
- 1/2 teaspoon baking soda
- 1/4 teaspoon salt
- 24 small chocolate truffles or round chocolates
- 1/4 cup dark chocolate chips, melted
Instructions
- Preheat your oven to 350°F (175°C).
- In a large mixing bowl, beat together the peanut butter, softened butter, granulated sugar, and brown sugar until light and fluffy.
- Add the egg and vanilla extract, mixing until fully incorporated.
- Slowly whisk in the flour, baking soda, and salt until just combined.
- Roll the dough into one-inch balls and place them on a parchment-lined baking sheet.
- Press your thumb into the center of each ball to create a slight indentation.
- Bake for 10 to 12 minutes, or until the edges are just set.
- Immediately after removing from the oven, place a chocolate truffle into the indentation of each warm cookie.
- Allow the cookies to cool completely on a wire rack.
- Using a piping bag, pipe eight lines coming from the chocolate center to look like spider legs.