
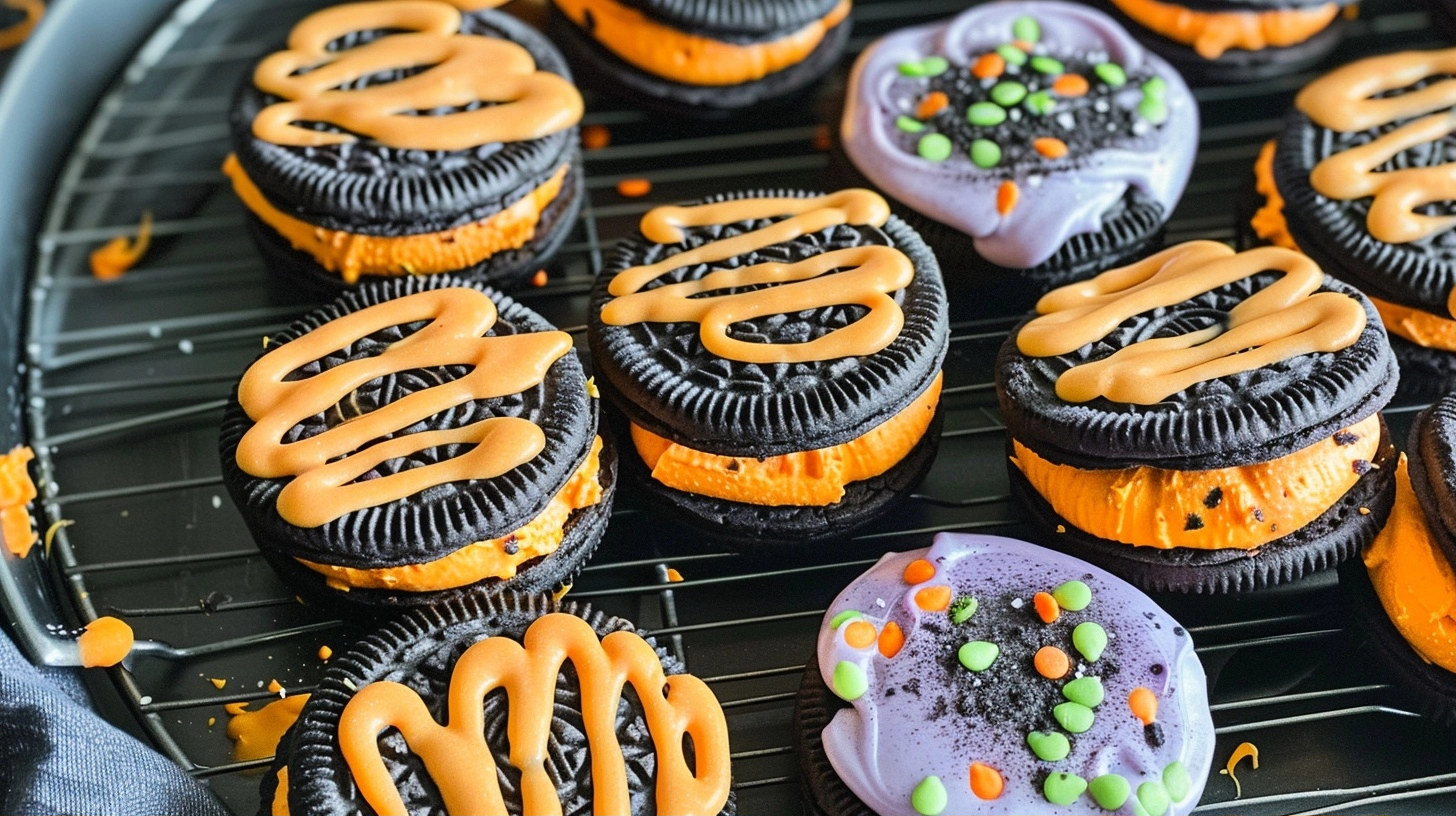
Halloween Oreo cookies are decadent, chocolate-dipped sandwich cookies decorated with spooky accents to celebrate the fall season. These homemade treats feature the iconic crunch of chocolate wafers paired with vibrant seasonal colors, making them an essential addition to any harvest party or dessert table. By customizing store-bought sandwich cookies, you create a professional-looking confection that satisfies every sweet tooth while keeping the preparation process simple and efficient.
Table of Contents
Table of Contents
Why You’ll Love This Halloween Oreo Cookies
You will appreciate these cookies because they balance the familiar, comforting flavor of classic chocolate sandwich cookies with the whimsy of seasonal confectionery. The contrast between the rich, dark cocoa wafers and the smooth, colorful candy coating creates a satisfying snap in every bite that keeps guests coming back for more.
These treats offer exceptional convenience for busy hosts. You can assemble a large batch in under an hour without needing an oven, which keeps your kitchen cool and clean. Their portable nature makes them perfect for school parties, office gatherings, or as grab-and-go favors that are easily packaged in clear treat bags.
Beyond convenience, there is a certain charm in the visual appeal of these cookies. Whether you choose to mimic classic jack-o’-lanterns, spiders, or mummies, the decoration process allows for creative expression that even children can enjoy. They look beautiful on a platter and serve as an effortless centerpiece for any spooky celebration.
Ingredients of the Halloween Oreo Cookies
For the Cookie Base
- 1 package of classic chocolate sandwich cookies
- 12 ounces of high-quality white melting chocolate or candy melts
- 12 ounces of orange-colored candy melts
For the Decorative Accents
- Black edible icing pen or black writing gel
- Seasonal sprinkles such as edible eyes, stars, or pumpkins
- 1 tablespoon of vegetable shortening (to thin the chocolate)

Equipment / Tools Needed
- Large baking sheet lined with parchment paper
- Deep microwave-safe bowls for melting
- Fork or candy dipping tool
- Small piping bag or plastic sandwich bag
- Wire cooling rack
Step-by-Step Instructions
Step 1: Prepare the Workspace
Start by clearing a clean, flat surface and lining your baking sheet with parchment paper. Ensure your workspace is free of moisture, as even a small drop of water can seize melted chocolate and ruin its smooth, glossy consistency.
Step 2: Melt the Coating
Place your candy melts into microwave-safe bowls. Heat them in 30-second increments, stirring thoroughly between each interval, until the chocolate is completely smooth and reaches a pourable, velvet-like consistency. If the mixture feels too thick, add a small amount of vegetable shortening to achieve the perfect flow.
Step 3: Dip the Cookies
Using a fork, submerge a sandwich cookie into the melted chocolate. Gently tap the handle of the fork against the side of the bowl to remove any excess chocolate, which prevents unsightly puddles from forming on the parchment paper. Carefully slide the cookie onto the parchment paper, ensuring it rests flat.
Step 4: Add Decorative Details
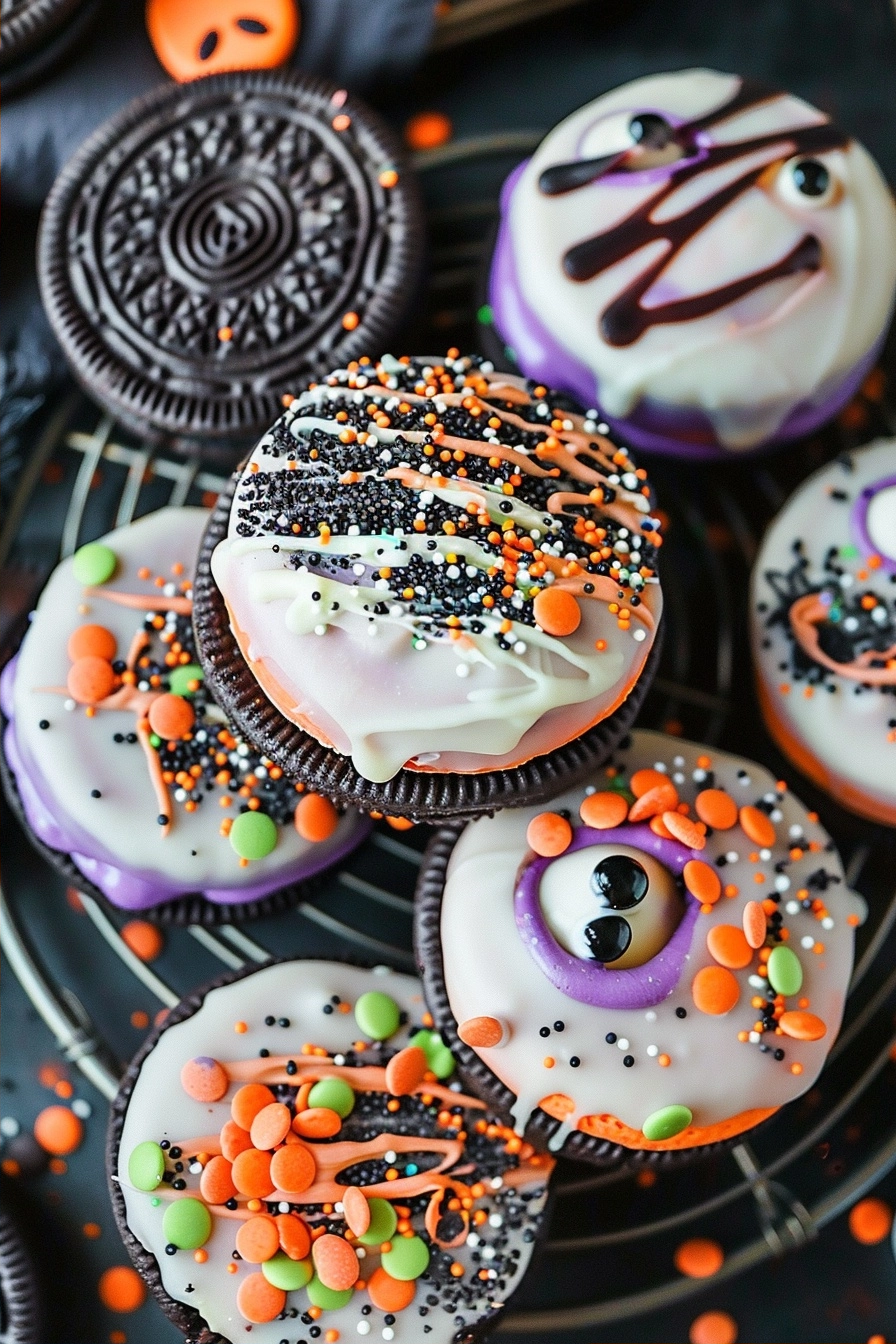
While the coating is still soft, quickly apply your sprinkles or edible eyes. If you are creating mummies, wait until the base coating is completely dry before using a piping bag to drizzle lines of contrasting white chocolate across the surface to mimic bandages.
Step 5: Set the Cookies
Allow the cookies to rest in a cool, dry area for at least 30 minutes. Once the chocolate is firm to the touch and has a matte, opaque finish, you can carefully peel them off the parchment paper for serving.
Tips & Tricks
To ensure a flawless finish, always use high-quality candy melts rather than chocolate chips, as candy melts are specifically formulated to set quickly and hold their shape at room temperature. If your chocolate becomes too thick during the dipping process, place the bowl back into the microwave for only 10 seconds to loosen the texture without overheating the cocoa butter.
Serving Suggestions
These cookies pair beautifully with a warm cup of spiced apple cider or a tall glass of cold milk. Arrange them on a tiered cake stand alongside fresh autumn fruits like sliced pears or grapes to create a sophisticated, textured dessert spread for your next neighborhood gathering.
Variations / Substitutions
- Substitute classic sandwich cookies with golden or peppermint-filled versions for a different flavor profile.
- Replace candy melts with dark chocolate for a richer, more sophisticated flavor that appeals to adults.
- Use natural food dyes to tint white chocolate if you prefer custom shades of purple or neon green.
Storage and Reheating
Store your finished cookies in an airtight container at room temperature for up to two weeks. Avoid refrigerating them, as the humidity in the fridge can cause the chocolate coating to bloom or become sticky. These cookies do not require reheating; they are best served at room temperature to ensure the chocolate maintains its perfect, crisp snap.
Nutritional Info
Calories: 145 kcal | Protein: 1g | Carbohydrates: 22g | Fat: 6g
Conclusion
Creating your own Halloween Oreo cookies is a rewarding way to bring a touch of magic to your seasonal festivities. With their perfect balance of chocolatey crunch and smooth, decorative coating, they are guaranteed to disappear from the platter quickly.
We hope you enjoy the process of decorating these treats as much as you enjoy sharing them with friends and family. Gather your favorite supplies and let your creativity take the lead this October.
FAQ
How long do these cookies stay fresh?
When stored in an airtight container at room temperature, these cookies will remain fresh and crunchy for up to two weeks. Keep them away from direct sunlight or heat sources to prevent the chocolate coating from softening.
Can I make these cookies in advance?
Yes, these are excellent make-ahead treats. You can assemble them up to 5 days before your event and store them in a cool, dry place. The chocolate will hold its texture beautifully, provided the room temperature remains stable.
What if I don’t have candy melts?
You can use white chocolate chips mixed with a small amount of oil or shortening to reach the correct consistency. However, candy melts provide a much faster setting time and a smoother finish, which is ideal for detailed decorations.
How do I keep the sprinkles from rolling off?
The secret is to add your decorations immediately after dipping each cookie, while the chocolate coating is still wet. If you wait even a few minutes, the chocolate will begin to set, and the sprinkles will not adhere to the surface.
Halloween Oreo Cookies
Ingredients
- 1 package classic chocolate sandwich cookies
- 12 ounces high-quality white melting chocolate or candy melts
- 12 ounces orange-colored candy melts
- 1 tablespoon vegetable shortening
- Black edible icing pen or writing gel
- Seasonal sprinkles (edible eyes, stars, or pumpkins)
Instructions
- Line a large baking sheet with parchment paper to prevent sticking.
- Place the white and orange candy melts into separate microwave-safe bowls.
- Heat the candy melts in 30-second increments in the microwave, stirring thoroughly between each interval until smooth.
- Add a small amount of vegetable shortening to each bowl if the chocolate needs thinning to achieve a velvet-like consistency.
- Using a fork or candy dipping tool, submerge each cookie into the melted chocolate, ensuring it is fully coated.
- Place the dipped cookies onto the parchment-lined baking sheet and allow the excess to drip off.
- While the coating is still wet, decorate with seasonal sprinkles or edible eyes.
- Allow the cookies to set completely at room temperature or in the refrigerator.
- Once hardened, use the black edible icing pen to draw spooky designs like spider webs, mummy wraps, or jack-o'-lantern faces.