
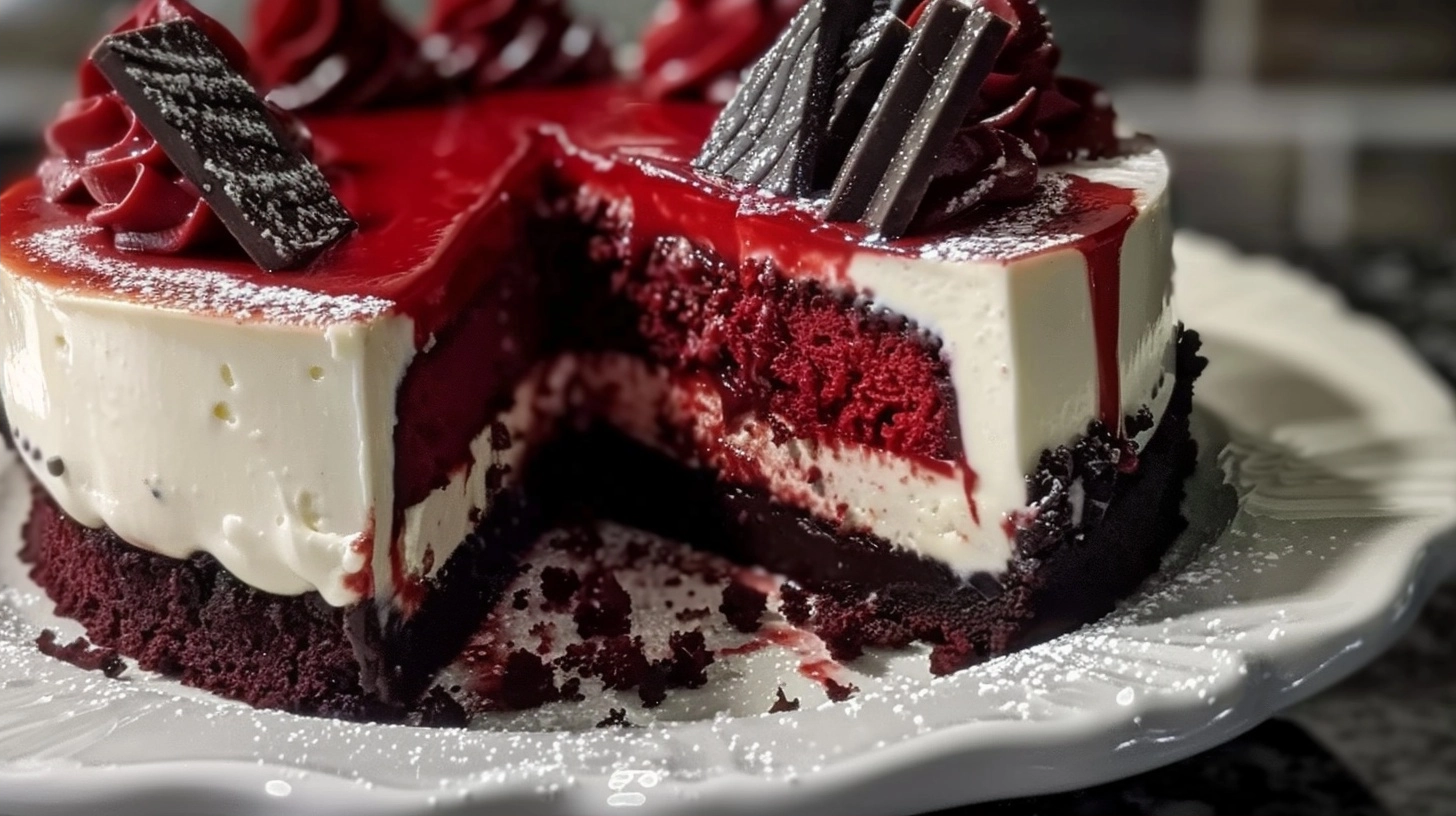
Vampire Bite Red Velvet Cheesecake combines a rich, cocoa-infused red velvet base with a velvety smooth vanilla cream cheese layer to create an indulgent dessert. This striking treat features a deep crimson hue that looks impressive on any table while delivering a balance of sweet and tangy flavors in every single bite.
Table of Contents
Table of Contents
Why You’ll Love This Vampire Bite Red Velvet Cheesecake
This dessert strikes the perfect balance between a classic chocolate cake and a decadent cheesecake. You get the familiar tang of cream cheese paired with the subtle cocoa notes of red velvet, creating a sophisticated profile that feels luxurious yet remains approachable for any home baker.
The texture is where this recipe truly shines. The base is dense and moist, providing a stable foundation for the silky, ultra-creamy cheesecake topping that melts instantly upon tasting. It offers a beautiful contrast of mouthfeel that keeps you coming back for another forkful.
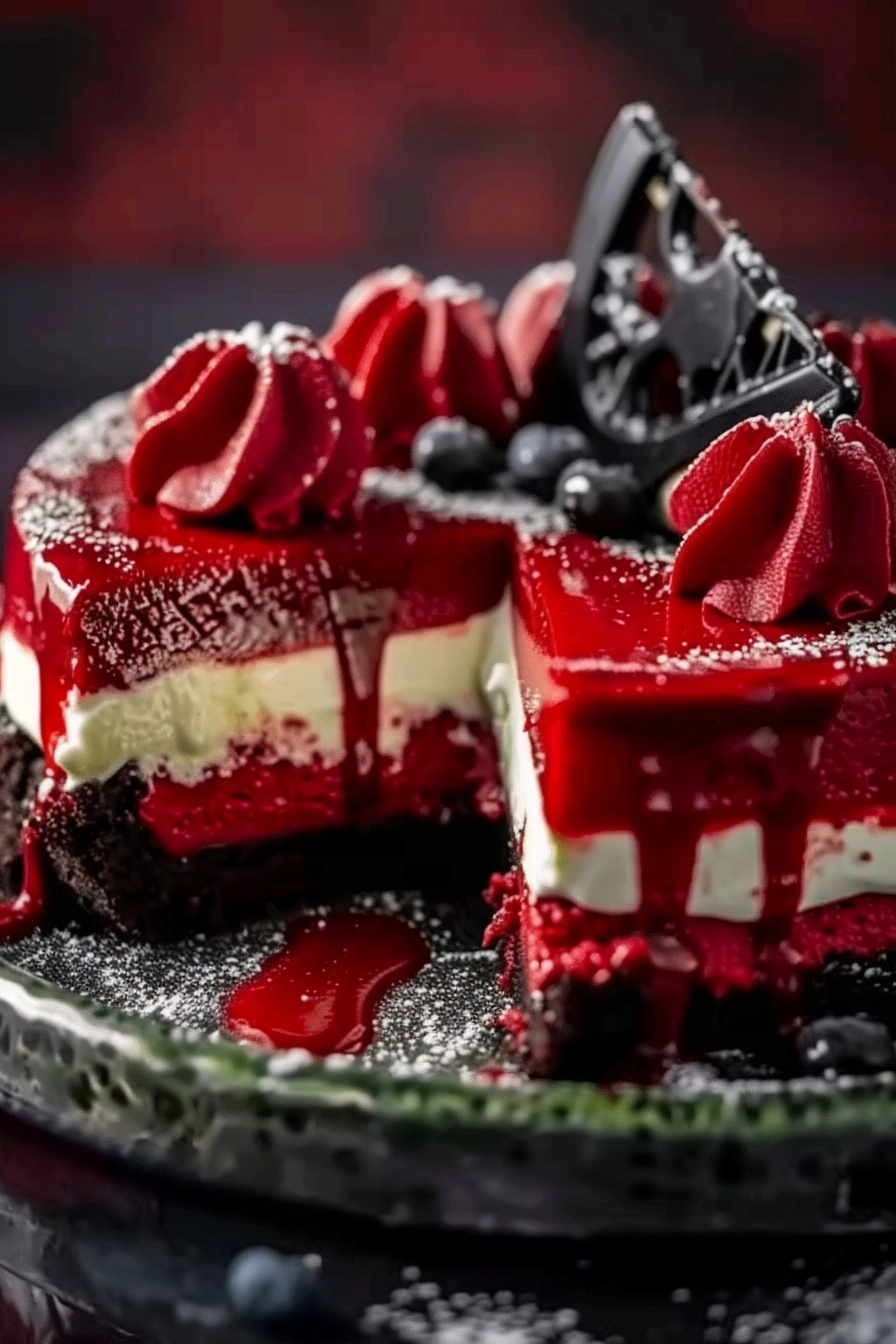
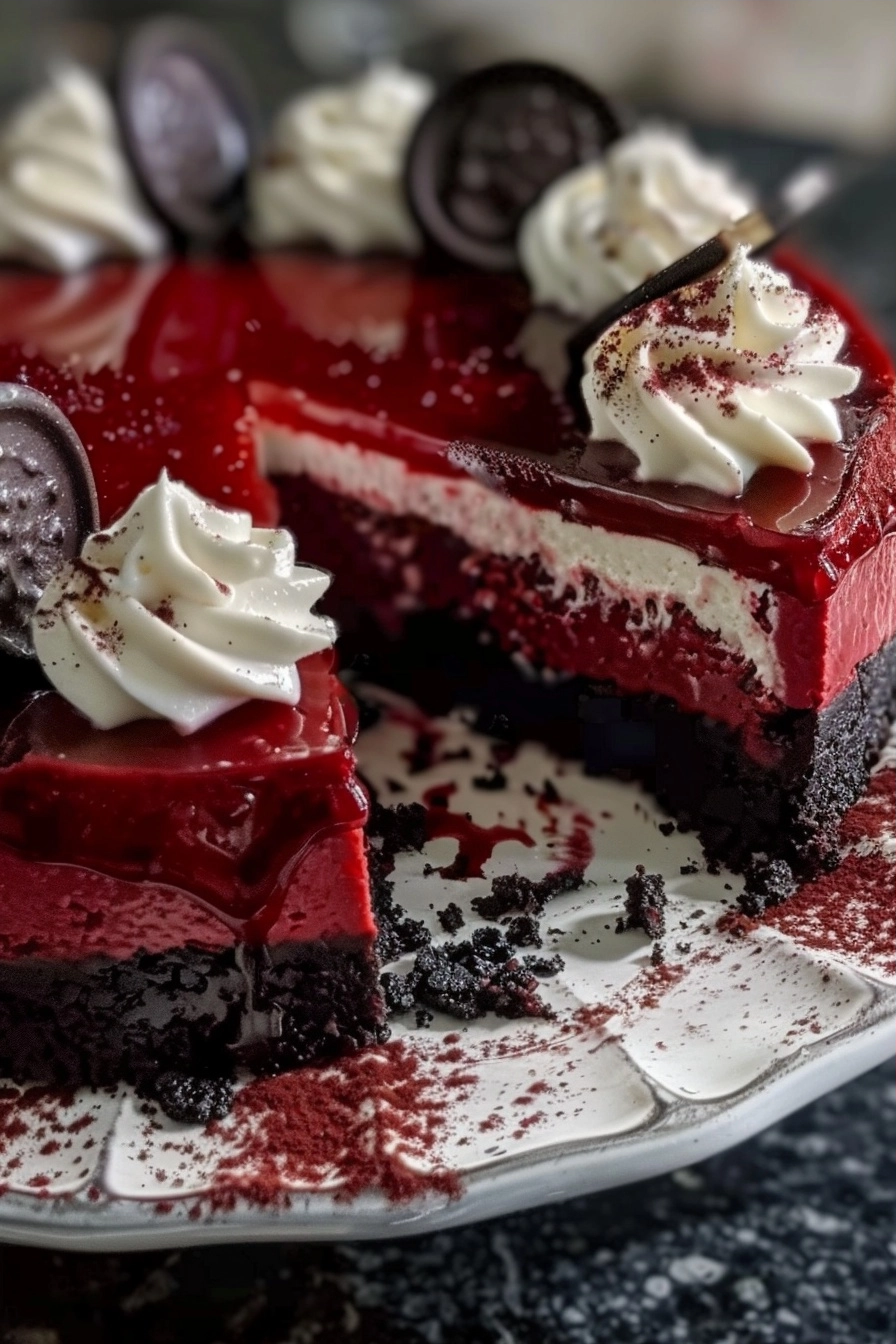
You will appreciate the visual drama this dessert brings to the table. The contrast between the deep red crumbs and the ivory filling makes it a stunning centerpiece for themed gatherings or holiday celebrations. It looks professional and complicated, but the process is remarkably straightforward.
Ingredients of the Vampire Bite Red Velvet Cheesecake
For the Red Velvet Base
- 1 1/2 cups all-purpose flour
- 1/2 cup unsweetened cocoa powder
- 1/2 cup unsalted butter, softened
- 1 cup granulated sugar
- 1 large egg
- 1/2 cup buttermilk
- 1 teaspoon vanilla extract
- 1 tablespoon red food coloring
- 1/2 teaspoon baking soda
- 1 teaspoon white vinegar
For the Cheesecake Filling
- 24 ounces cream cheese, softened
- 3/4 cup granulated sugar
- 3 large eggs
- 1 teaspoon vanilla extract
- 1/4 cup sour cream
Equipment / Tools Needed
- 9-inch springform pan
- Electric hand mixer or stand mixer
- Large mixing bowls
- Rubber spatula
- Aluminum foil
- Large roasting pan for water bath
Step-by-Step Instructions
Step 1: Prepare the Base
Preheat your oven to 350 degrees F and grease your springform pan thoroughly. Cream the butter and sugar together until light and fluffy, then beat in the egg, vanilla, and red food coloring until the mixture is a vibrant, deep crimson color. Whisk the dry ingredients separately, then alternate adding them to the butter mixture with the buttermilk, ensuring a smooth, dark red batter.
Step 2: Bake the Crust
Pour the batter into the prepared springform pan, spreading it evenly to the edges. Bake for 15-18 minutes until the edges are set and a toothpick inserted into the center comes out with just a few moist crumbs. Remove from the oven and let it cool slightly while you prepare the filling.
Step 3: Create the Filling
Beat the softened cream cheese and sugar in a large bowl until completely smooth and free of lumps. Add the eggs one at a time, mixing on low speed to avoid incorporating too much air, which can cause cracks. Stir in the vanilla extract and sour cream until the texture is silky and consistent.
Step 4: The Water Bath Bake
Wrap the bottom of your springform pan tightly in several layers of aluminum foil to ensure no water leaks inside. Pour the cheesecake filling over the cooled red velvet base. Place the pan in a large roasting pan and fill the roasting pan with hot water until it reaches halfway up the sides of the springform pan. Bake for 50-60 minutes, or until the edges are firm but the center still has a slight, consistent wobble.
Step 5: Cooling and Setting
Turn off the oven and leave the cheesecake inside with the door cracked open for one hour. This gradual cooling prevents the top from cracking. Remove from the water bath, cool to room temperature, and then refrigerate for at least six hours or overnight before slicing.
Tips & Tricks
Always use room temperature ingredients, especially your cream cheese and eggs. This prevents lumps and ensures your batter emulsifies properly for a smooth finish. Avoid over-mixing the filling, as too much air creates bubbles that rise to the surface and crack during the baking process.
Serving Suggestions
Serve this cheesecake chilled for the best structural integrity and mouthfeel. It pairs wonderfully with a dollop of unsweetened whipped cream or fresh raspberries to brighten the rich cocoa profile. It is the perfect dessert for autumn evenings or elegant dinner parties.
Variations / Substitutions
- Swap the red food coloring for concentrated beet juice if you prefer a natural alternative.
- Add a pinch of espresso powder to the red velvet base to intensify the cocoa notes without making it taste like coffee.
- For a lighter filling, you can replace the sour cream with full-fat Greek yogurt, which adds a slightly tangier edge.
Storage and Reheating
Store your cheesecake in an airtight container in the refrigerator for up to five days. You can also freeze individual slices by wrapping them tightly in plastic wrap and then foil for up to two months. Thaw frozen slices in the refrigerator overnight; do not use a microwave to reheat, as this will melt the delicate cream cheese texture.
Nutritional Info
Calories: 420 kcal | Protein: 8g | Carbohydrates: 35g | Fat: 28g
Conclusion
Creating this stunning dessert is a rewarding experience that pays off with every slice of its velvet-smooth texture. The combination of classic red velvet and rich cheesecake is truly unmatched in flavor and aesthetic appeal.
We hope you enjoy the process of bringing this recipe to your kitchen as much as your guests will enjoy eating it. Take your time with the cooling process, and you will be rewarded with a perfect, professional-grade result every time.
FAQ
How long can I store this in the fridge?
This cheesecake stays fresh in the refrigerator for up to five days when stored in an airtight container. It is actually best enjoyed after chilling for at least 24 hours, as the flavors have time to meld together.
Can I prepare this in advance?
Absolutely, it is a fantastic make-ahead dessert. Since it requires a long chilling time to set, baking it a day before your event is highly recommended to ensure it slices cleanly and tastes its best.
What if I don’t have buttermilk?
You can easily substitute buttermilk by adding one tablespoon of lemon juice or white vinegar to a cup of regular milk. Let it sit for five minutes until it thickens slightly before using it in your batter.
Does the water bath really matter?
The water bath is essential for achieving a perfectly smooth, crack-free surface. It regulates the temperature around the pan, allowing the cheesecake to cook slowly and gently without the edges drying out or the center curdling.
Vampire Bite Red Velvet Cheesecake
Ingredients
- 1 1/2 cups all-purpose flour
- 1/2 cup unsweetened cocoa powder
- 1/2 cup unsalted butter, softened
- 1 cup granulated sugar
- 1 large egg
- 1/2 cup buttermilk
- 1 teaspoon vanilla extract
- 1 tablespoon red food coloring
- 1/2 teaspoon baking soda
- 1 teaspoon white vinegar
- 24 ounces cream cheese, softened
- 3/4 cup granulated sugar
- 3 large eggs
- 1 teaspoon vanilla extract
- 1/4 cup sour cream
Instructions
- Preheat oven to 350 degrees F and grease a 9-inch springform pan.
- Cream the butter and 1 cup of sugar until fluffy, then beat in the egg, vanilla, and red food coloring.
- Whisk dry ingredients separately, then alternate adding them to the butter mixture with buttermilk to form the red batter.
- Pour batter into the pan and bake for 15-18 minutes until set.
- Beat softened cream cheese with 3/4 cup sugar until smooth.
- Add the 3 eggs, vanilla, and sour cream to the cream cheese mixture and blend until creamy.
- Pour filling over the partially baked red velvet base.
- Wrap the pan in aluminum foil and place in a large roasting pan filled with hot water to create a water bath.
- Bake at 350 degrees F for 50-60 minutes until the center is just set.
- Cool completely at room temperature, then refrigerate for at least 4 hours before serving.