
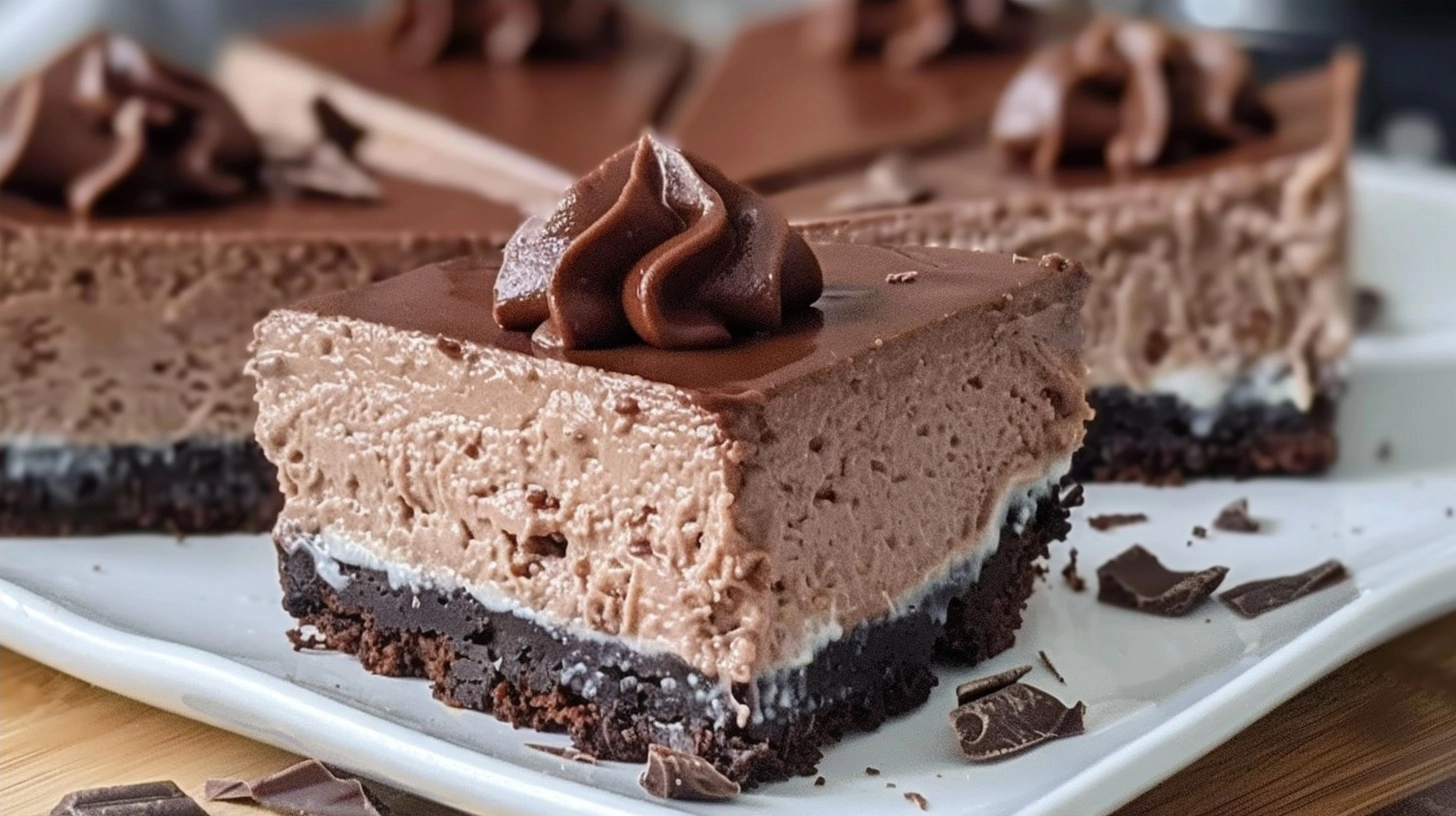
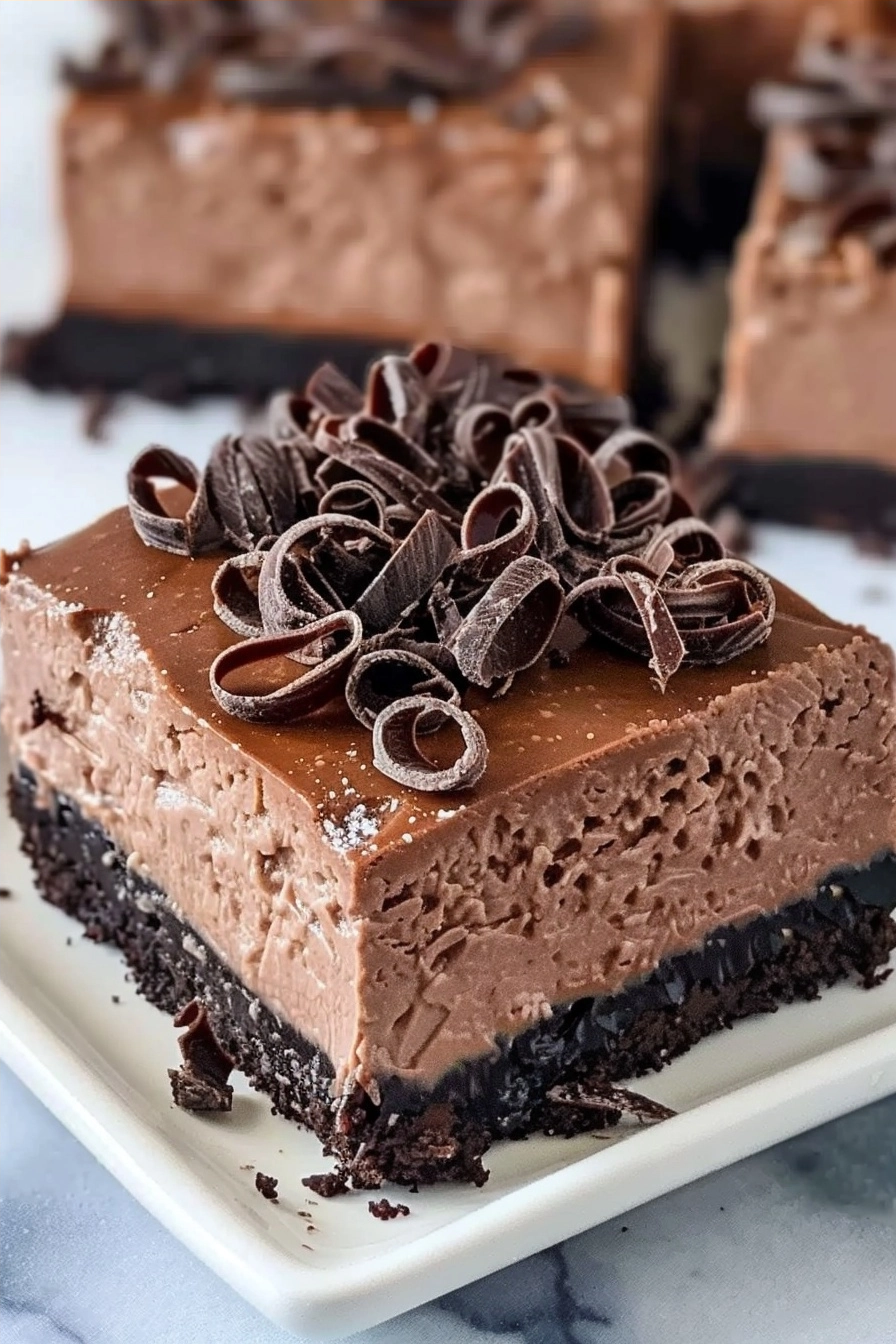
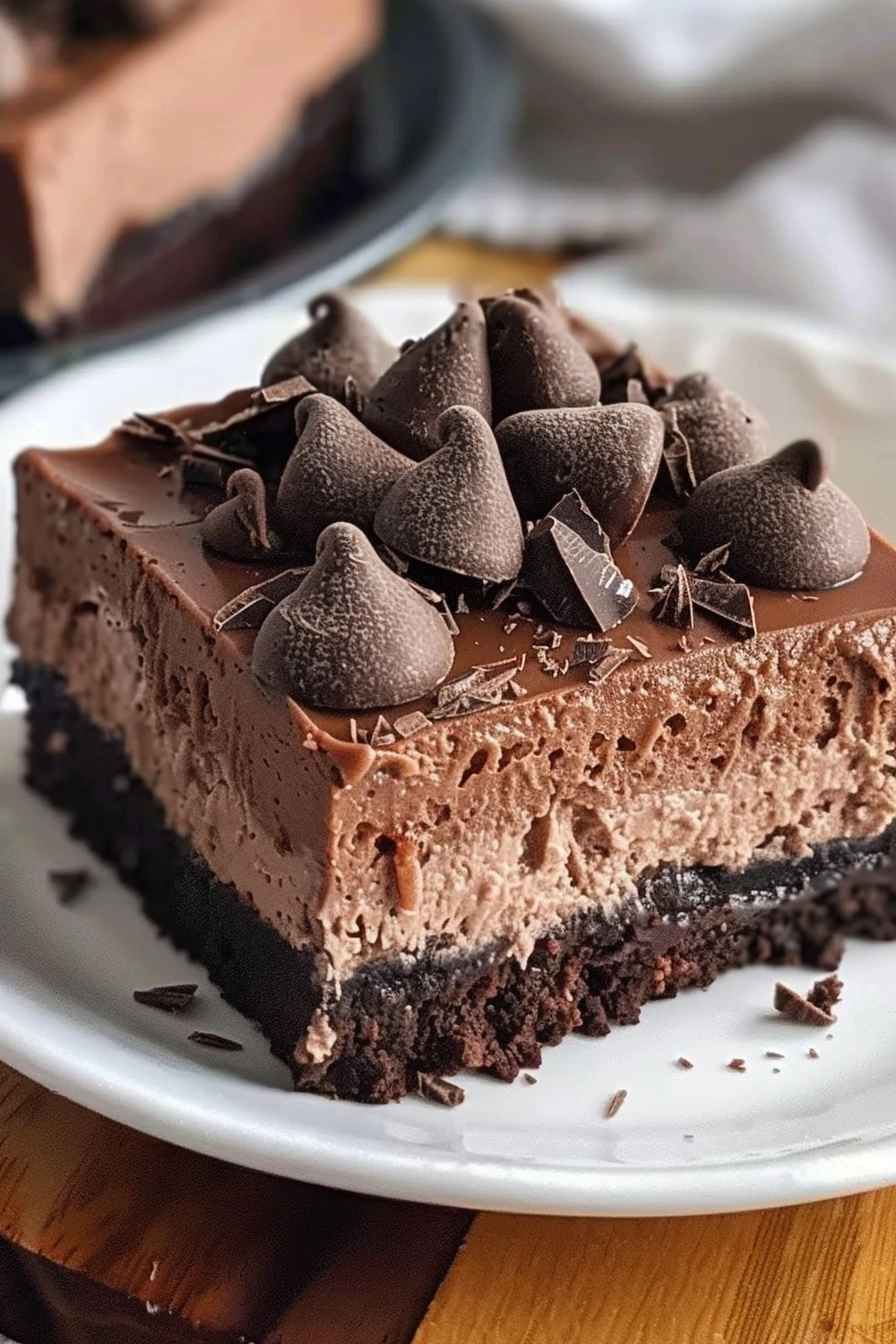
No-Bake Chocolate Cheesecake Bars are a decadently smooth dessert featuring a buttery cookie crust topped with a rich, velvety dark cocoa filling. This recipe requires zero oven time, making it the perfect solution for satisfying intense sweet cravings without heating up your kitchen. The result is a clean-cutting, firm yet creamy treat that melts effortlessly on the tongue, balancing the deep intensity of quality chocolate with the subtle tang of cream cheese.
Why You’ll Love This No-Bake Chocolate Cheesecake Bars
You will adore how these bars bridge the gap between a classic New York cheesecake and a dense chocolate truffle. The texture is the standout feature here; it manages to be incredibly light and airy while maintaining enough structure to hold its shape perfectly when sliced into squares.
Simplicity is at the heart of this dessert. Because there is no baking involved, you avoid the common pitfalls of water baths, cracked tops, or over-mixed eggs. It is a foolproof method that relies on the natural setting power of chilled cream cheese and high-quality chocolate, ensuring consistent results every single time you prepare it.
The convenience factor makes these bars a go-to for busy hosts. You can assemble them a day in advance, leaving you more time to focus on other aspects of your meal. They are elegant enough for a formal dinner party yet rustic enough to be a casual weekend indulgence.
Ingredients of the No-Bake Chocolate Cheesecake Bars
For the Crust
- 2 cups chocolate sandwich cookie crumbs
- 6 tablespoons unsalted butter, melted
For the Chocolate Filling
- 16 ounces cream cheese, softened to room temperature
- 1/2 cup granulated sugar
- 1 teaspoon pure vanilla extract
- 8 ounces semi-sweet chocolate, melted and slightly cooled
- 1 cup heavy whipping cream, chilled
Optional Toppings
- Fresh raspberries
- Chocolate shavings
Equipment / Tools Needed
- 8×8 inch square baking pan
- Parchment paper
- Electric hand mixer or stand mixer
- Large mixing bowl
- Rubber spatula
- Small heat-proof bowl
Step-by-Step Instructions
Step 1: Prepare the Crust
Line your 8×8 inch square pan with parchment paper, leaving an overhang on the sides for easy removal. Combine the cookie crumbs and melted butter in a bowl until the mixture resembles wet sand. Press this mixture firmly into the bottom of the prepared pan using the back of a measuring cup to create an even, solid layer. Place the pan in the freezer to set while you prepare the filling.
Step 2: Melt the Chocolate
Place your chopped semi-sweet chocolate in a small heat-proof bowl. Melt it using a double boiler or in 30-second intervals in the microwave, stirring in between. Once smooth and glossy, set it aside to cool slightly. Ensure the chocolate is not hot when it hits the cream cheese, or it may cause the fats to separate.
Step 3: Whip the Cream
In a separate chilled bowl, whip the heavy cream until stiff peaks form. This provides the necessary lift and volume for the cheesecake bars. Be careful not to over-whip into butter, but ensure the texture is thick enough that it holds its shape on the beaters.
Step 4: Combine the Filling
In a large bowl, beat the softened cream cheese with sugar and vanilla extract until completely smooth and free of lumps. Add the cooled melted chocolate into the cream cheese mixture, folding it in with a spatula until the color is a uniform, rich brown. Gently fold in the whipped cream in two additions, maintaining as much aeration as possible until the mixture is light and mousse-like.
Step 5: Assemble and Chill
Spread the chocolate filling evenly over the chilled crust using an offset spatula. Smooth the top until it is perfectly flat. Cover and refrigerate for at least six hours, or overnight, to ensure the bars are set well enough to slice cleanly.
Tips & Tricks
For the cleanest cuts, run your knife under hot water and wipe it dry between each slice. This prevents the chocolate filling from dragging against the blade. Use full-fat cream cheese for the best results, as the lower-fat versions can lead to a softer, less stable bar. Ensure your cream cheese is truly at room temperature before mixing to prevent unwanted lumps in your smooth filling.
Serving Suggestions
Serve these bars chilled directly from the refrigerator. They pair beautifully with a dollop of fresh whipped cream and a few tart berries to cut through the richness of the chocolate. These are perfect for afternoon tea or as a sophisticated ending to a heavy dinner menu.
Variations / Substitutions
- Swap the chocolate cookie crust for a graham cracker crust if you prefer a lighter, crunchier base.
- For a dairy-free option, use vegan cream cheese and coconut cream, though the setting time may need to be adjusted.
- Add a pinch of espresso powder to the chocolate filling to intensify the dark chocolate flavor profile without adding a strong coffee taste.
Storage and Reheating
These bars must be stored in the refrigerator in an airtight container for up to five days. They do not require reheating; in fact, the texture is best when served cold. If you wish to store them longer, you can wrap them tightly and freeze them for up to one month. Thaw them in the refrigerator overnight before serving for the best texture.
Nutritional Info
Calories: 320 kcal
Protein: 4g
Carbohydrates: 28g
Fat: 22g
Conclusion
These No-Bake Chocolate Cheesecake Bars offer a foolproof way to impress guests or treat your family to something special. The combination of the crisp crust and silky chocolate filling creates a texture profile that is hard to beat.
By following these simple steps, you have mastered a classic dessert that is as reliable as it is delicious. Enjoy every bite of this luxurious, fuss-free chocolate experience.
FAQ
How long should these bars set in the fridge?
For the best results, allow the bars to set for at least six hours. Letting them sit overnight is even better, as it allows the structure of the cream cheese and chocolate to fully firm up.
Can I replace the semi-sweet chocolate?
Yes, you can use milk chocolate for a sweeter profile or dark chocolate if you prefer a more intense, less sugary bite. Keep in mind that different chocolate varieties have different fat contents, which may slightly alter the final texture.
Can I freeze these for later?
Absolutely, these bars freeze beautifully. Store them in a single layer in a freezer-safe container, and they will stay fresh for up to a month. Thaw them in the refrigerator before serving to maintain the creamy consistency.
Why is my filling lumpy?
Lumps usually occur if the cream cheese is too cold when mixing. Always ensure your cream cheese is softened to room temperature before beginning, and beat it until it is completely smooth before adding the other ingredients.
No-Bake Chocolate Cheesecake Bars
Ingredients
- 2 cups chocolate sandwich cookie crumbs
- 6 tablespoons unsalted butter, melted
- 16 ounces cream cheese, softened to room temperature
- 1/2 cup granulated sugar
- 1 teaspoon pure vanilla extract
- 8 ounces semi-sweet chocolate, melted and slightly cooled
- 1 cup heavy whipping cream, chilled
- Fresh raspberries (optional garnish)
- Chocolate shavings (optional garnish)
Instructions
- Line an 8×8 inch square pan with parchment paper with an overhang on the sides.
- Mix cookie crumbs and melted butter until it resembles wet sand.
- Press the crumb mixture firmly into the bottom of the pan and freeze while preparing the filling.
- Melt the semi-sweet chocolate using a double boiler or in 30-second microwave intervals until smooth; set aside to cool slightly.
- In a large bowl, beat the softened cream cheese with sugar and vanilla extract until smooth and creamy.
- Gradually pour the cooled melted chocolate into the cream cheese mixture, mixing until fully incorporated.
- In a separate chilled bowl, whip the heavy cream until stiff peaks form.
- Fold the whipped cream into the chocolate-cream cheese mixture in two batches until light and smooth.
- Spread the filling evenly over the prepared cookie crust.
- Refrigerate for at least 4 hours or until completely set before slicing into squares.