
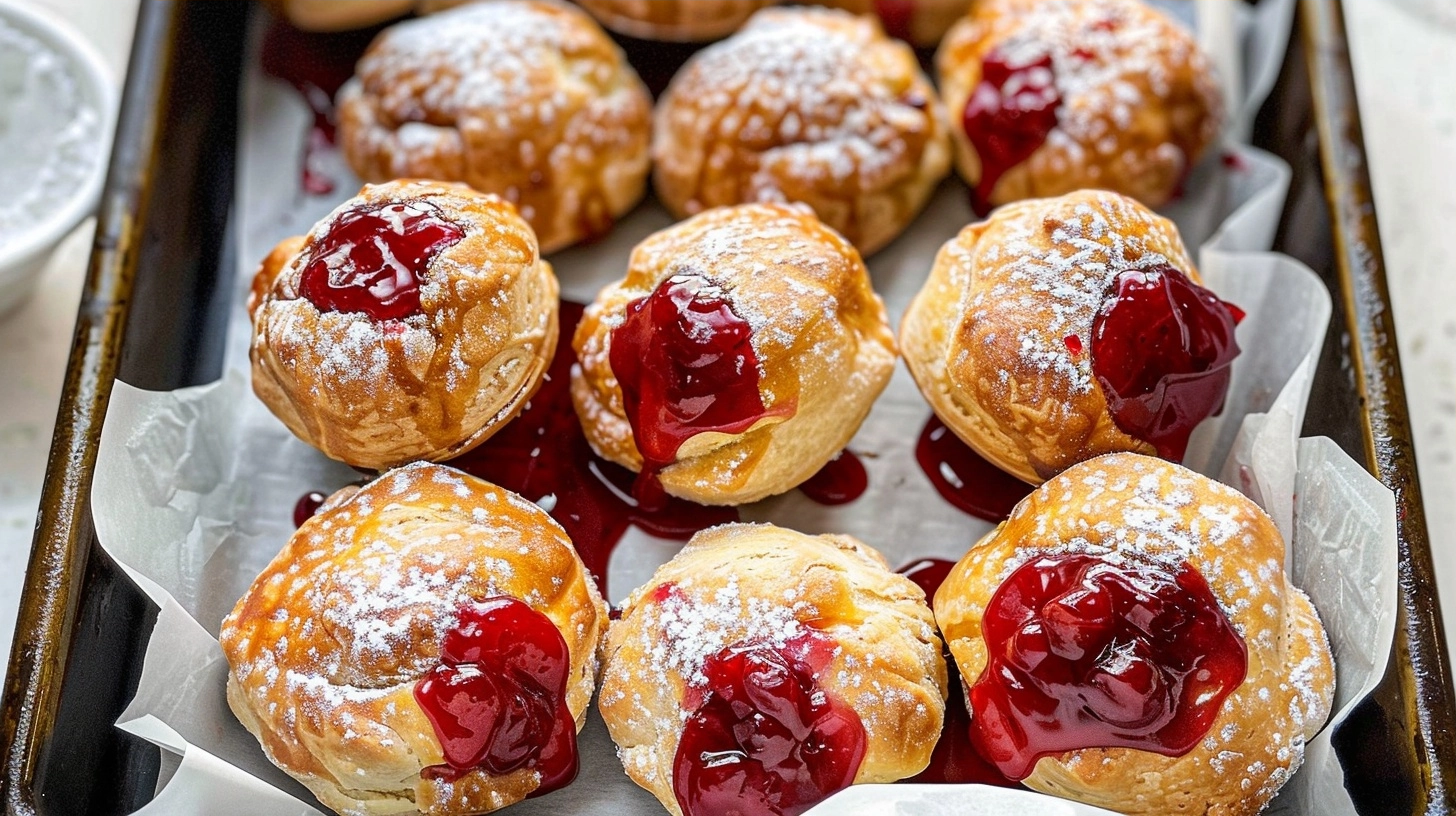
Cherry Pie Bombs are golden, flaky dough pockets filled with sweet cherry pie filling that bake into individual, bite-sized desserts. These treats capture the nostalgic comfort of a traditional homemade pie without the time-consuming process of rolling out crusts or waiting hours for a fruit filling to set.
Why You’ll Love This Cherry Pie Bombs Recipe
The texture contrast in these treats is truly special. You get that initial buttery crunch from the biscuit dough that gives way to a warm, gooey center of sweet cherries. It is the perfect balance of crispy exterior and soft, fruit-forward filling.
Convenience is the greatest strength of these handheld pies. Because they rely on simple store-bought shortcuts, you can whip up a batch on a weeknight when a sugar craving strikes. They are far more approachable than a full-sized pie and disappear from the plate just as quickly.
These bombs look beautiful on a serving platter with just a dusting of powdered sugar. Whether you are hosting a casual brunch or just want a cozy evening snack, they bring a sense of warmth and intentionality to your kitchen. Their individual size makes them incredibly easy to share and prevents any messy slicing.
Ingredients of the Cherry Pie Bombs
For the Dough and Filling
- 1 can (16.3 oz) refrigerated jumbo flaky biscuits
- 1 can (21 oz) cherry pie filling
- 1 egg, beaten for egg wash
- 1 tablespoon coarse sparkling sugar
For the Glaze
- 1/2 cup powdered sugar
- 1 tablespoon milk
- 1/4 teaspoon vanilla extract
Equipment / Tools Needed
- Large baking sheet
- Parchment paper
- Small mixing bowl
- Pastry brush
- Measuring spoons
Step-by-Step Instructions
Step 1: Prepare the Dough
Preheat your oven to 375°F and line a large baking sheet with parchment paper to prevent sticking. Open the can of refrigerated biscuits and carefully separate each layer. Using a rolling pin or the palm of your hand, flatten each biscuit until it forms a circle roughly 4 to 5 inches in diameter.
Step 2: Fill the Bombs
Place approximately one heaping tablespoon of cherry pie filling into the center of each flattened biscuit. Be careful not to overfill, as the juices can leak during the baking process and burn on the bottom of the pan.
Step 3: Seal the Edges
Gather the edges of the dough circle together, pinching them tightly at the top to form a secure bundle. Make sure the seal is tight so the filling stays inside while the pastry expands in the oven. Turn the balls over so the seam side is down on the baking sheet.
Step 4: Bake to Perfection
Lightly brush the tops of each dough ball with the beaten egg. Sprinkle the tops with coarse sugar for a beautiful crunch. Bake for 12 to 15 minutes, or until the exterior is a deep, golden brown and the dough is cooked through. Let them cool on the pan for 5 minutes before applying the glaze.
Tips & Tricks
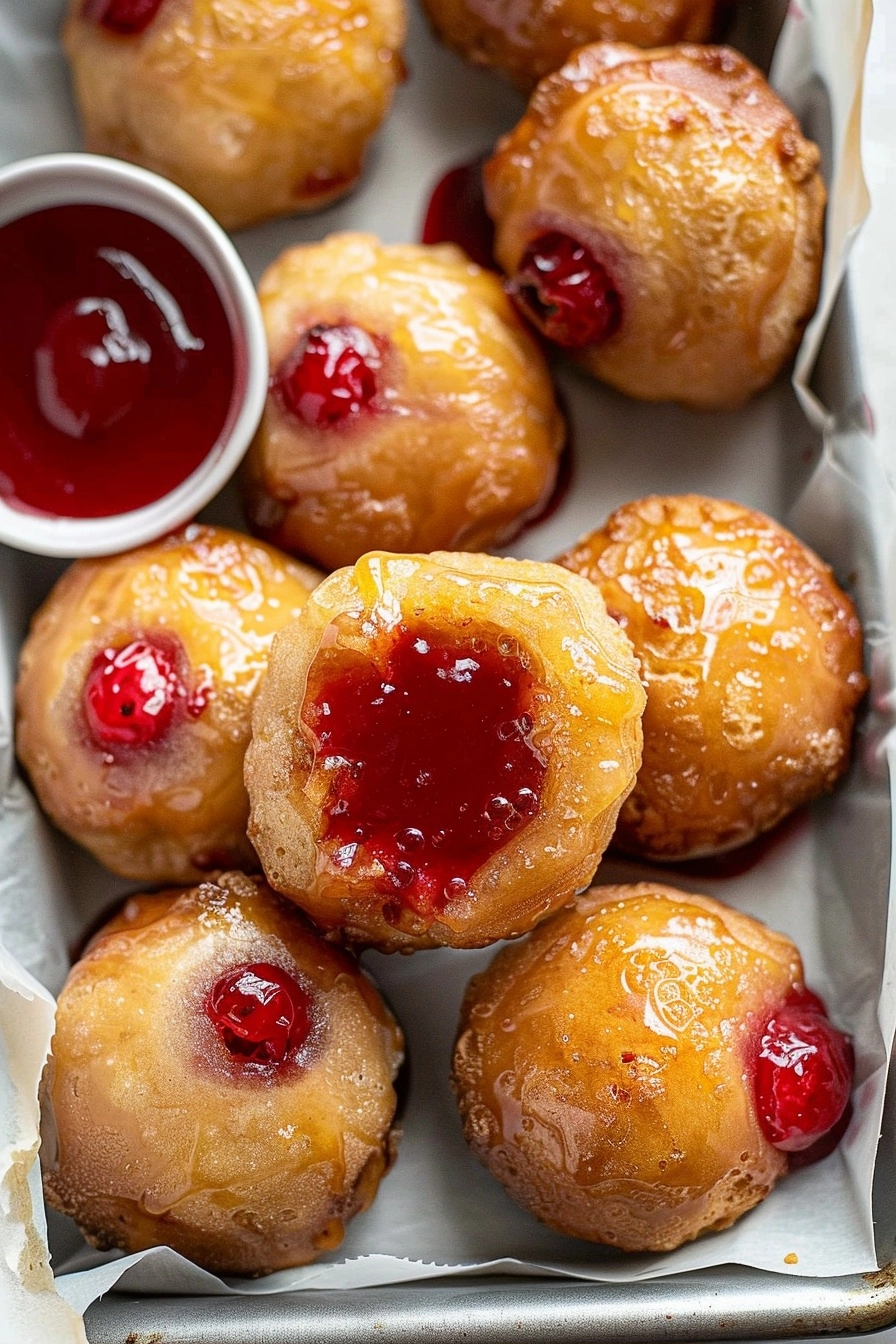
Always ensure your dough is room temperature before stretching it, as cold dough is prone to tearing. If you find the filling is too thick to manage, give it a quick stir in a bowl first. For an extra boost of flavor, add a tiny pinch of almond extract to the cherry filling to complement the fruit notes.
Serving Suggestions
Serve these warm with a scoop of vanilla bean ice cream to create a decadent dessert experience. They pair wonderfully with a hot cup of black coffee or herbal tea for a mid-afternoon pick-me-up. You can even serve them as a sweet breakfast side alongside fresh fruit and yogurt.
Variations / Substitutions
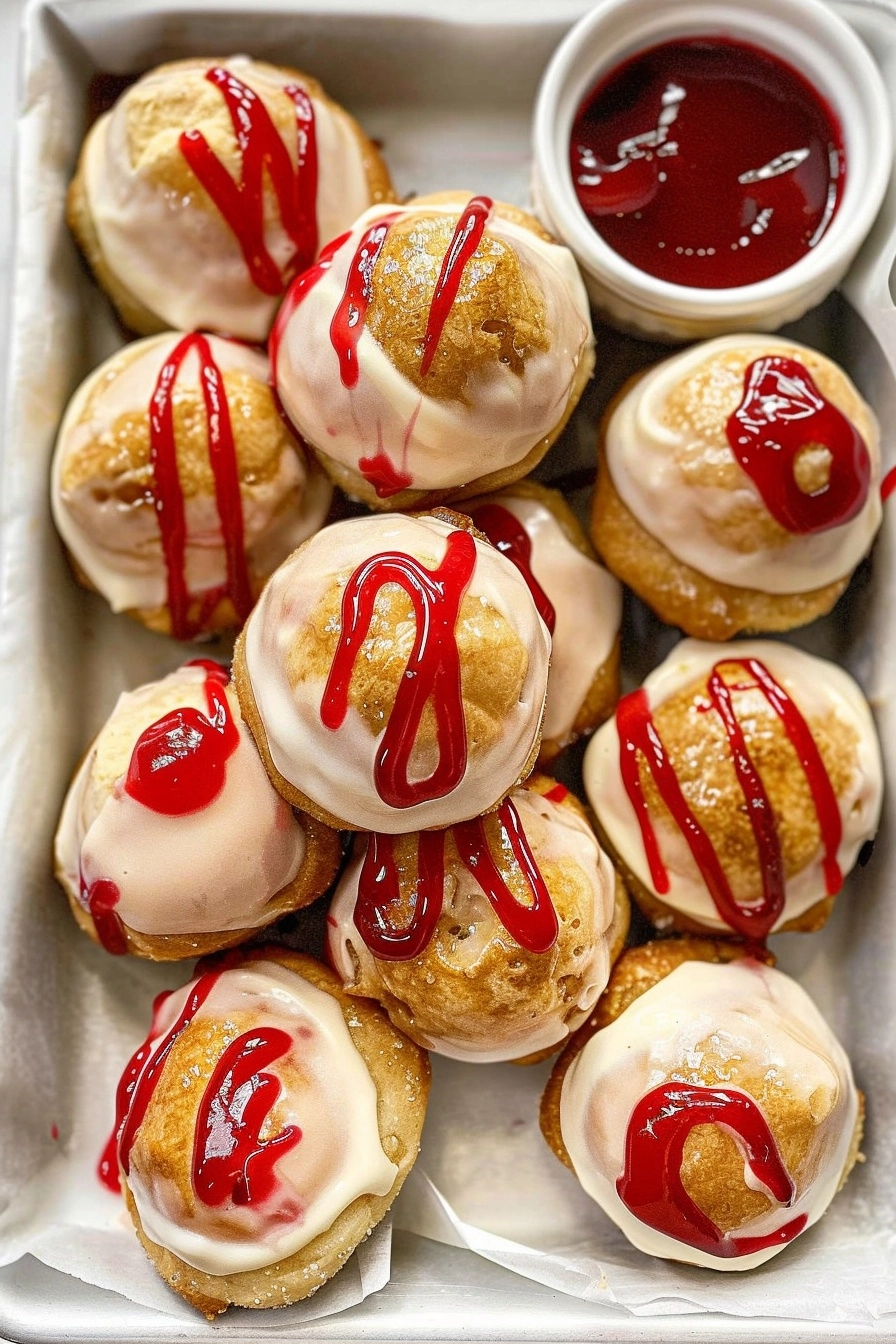
If you prefer a different fruit, you can easily swap the cherry pie filling for blueberry, apple, or peach varieties. For a more sophisticated flavor profile, sprinkle a little bit of ground cinnamon or cardamom over the dough before sealing. You can also replace the glaze with a simple drizzle of melted white chocolate for a richer finish.
Storage and Reheating
Store any leftover cherry pie bombs in an airtight container at room temperature for up to two days, or in the refrigerator for up to five days. To reheat, pop them in a 350°F oven for 5 to 7 minutes until crisp again. Avoid using the microwave, as it will make the dough soft and chewy rather than flaky.
Nutritional Info
Calories: 210 kcal
Protein: 3g
Carbohydrates: 38g
Fat: 6g
Conclusion
These cherry pie bombs prove that you do not need hours in the kitchen to enjoy a bakery-quality dessert. With their golden, buttery crust and sweet, tart center, they offer everything you love about traditional pie in a fraction of the time.
We hope this simple recipe becomes a staple in your home whenever you need a quick, comforting treat. Grab a can of biscuits and start baking your way to a perfect, simple dessert tonight.
FAQ
How do I stop the filling from leaking?
The secret is to not overstuff the dough and to pinch the edges extremely tightly. Ensure no filling gets on the edge of the dough before you seal it, as any fruit syrup on the seam will prevent it from sticking together properly.
Can I freeze these after baking?
Yes, you can freeze them for up to one month. Once fully cooled, place them in a freezer-safe bag or container and reheat them directly from frozen in a 350°F oven until warmed through.
Can I use homemade pie filling?
Absolutely, homemade cherry filling works perfectly. Just make sure the mixture is chilled before filling the dough, as warm filling will cause the biscuit dough to become sticky and difficult to handle.
How far in advance can I make these?
You can assemble the unbaked bombs a few hours in advance and keep them in the refrigerator, but they are best baked fresh. Baking them as needed ensures the dough remains crisp and the filling stays warm and luscious.
Cherry Pie Bombs
Ingredients
- 1 can (16.3 oz) refrigerated jumbo flaky biscuits
- 1 can (21 oz) cherry pie filling
- 1 egg, beaten for egg wash
- 1 tablespoon coarse sparkling sugar
- 1/2 cup powdered sugar
- 1 tablespoon milk
- 1/4 teaspoon vanilla extract
Instructions
- Preheat your oven to 375°F and line a large baking sheet with parchment paper.
- Open the can of refrigerated biscuits and separate each layer.
- Flatten each biscuit until it forms a circle roughly 4 to 5 inches in diameter.
- Place approximately one heaping tablespoon of cherry pie filling into the center of each flattened biscuit.
- Gather the edges of the dough circle together, pinching them tightly at the top to form a secure bundle.
- Turn the balls over so the seam side is down on the baking sheet.
- Lightly brush the tops of each dough ball with the beaten egg.
- Sprinkle the tops with coarse sugar.
- Bake for 12 to 15 minutes, or until the exterior is a deep, golden brown.
- Whisk together powdered sugar, milk, and vanilla to create a glaze, and drizzle over the cooled bombs before serving.