
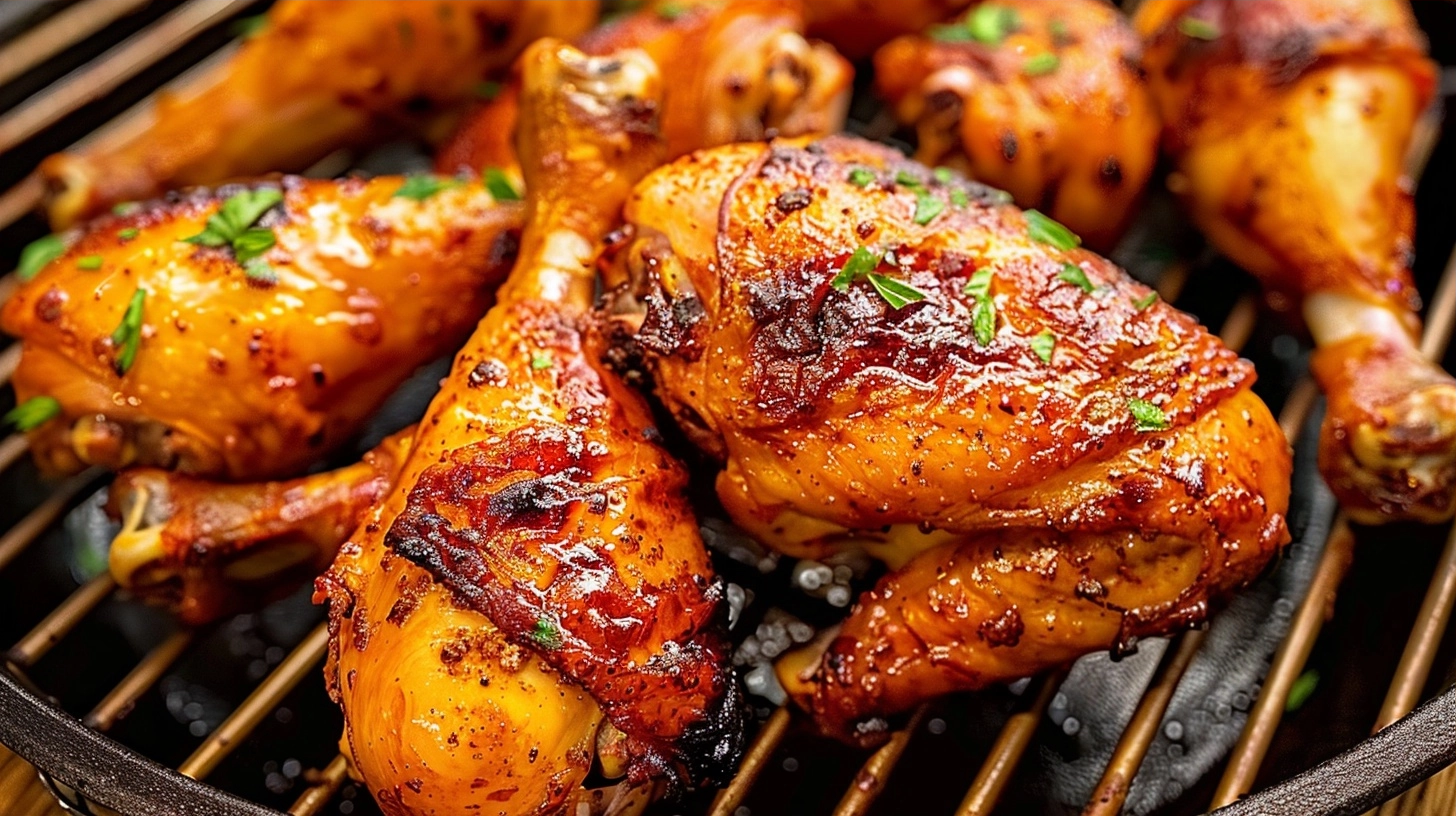
Oven baked chicken legs provide a convenient, flavorful solution for home cooks looking to serve tender meat with skin that crackles when bitten. By utilizing a high-heat roasting technique, the chicken achieves a golden-brown finish without the need for deep frying or constant monitoring at the stove. This preparation method transforms affordable, accessible drumsticks into a reliable centerpiece for any family meal.
Why You’ll Love This Oven Baked Chicken Legs
The primary appeal of this dish lies in the contrast between the succulent, juicy interior and the seasoned, crispy skin. Unlike some preparations that result in flabby textures, this recipe ensures the fat renders properly while the meat remains moist. It is a forgiving process that yields consistent results even for those new to roasting.
Simplicity defines this meal. Aside from a few pantry staples, the oven does all the heavy lifting, giving you back precious time in the evening. There is no complex marinating required, though it is certainly an option if you prefer deeper flavor penetration. The hands-off nature makes it ideal for busy weeknights when you need something reliable that never fails to please.
Versatility is another major strength. Because the base profile is savory and neutral, it pairs beautifully with almost any side dish, from roasted root vegetables to refreshing garden salads. It brings a sense of comfort to the table that is difficult to replicate with leaner cuts of poultry, making it a recurring favorite in many households.
Ingredients of the Oven Baked Chicken Legs
For the Chicken
- 8 large chicken drumsticks, patted dry
- 2 tablespoons olive oil or avocado oil
- 1 teaspoon sea salt
- 1/2 teaspoon freshly cracked black pepper
- 1 teaspoon smoked paprika
- 1 teaspoon garlic powder
- 1/2 teaspoon onion powder
- 1/2 teaspoon dried oregano
Equipment / Tools Needed
- Large mixing bowl
- Baking sheet lined with parchment paper
- Wire cooling rack (optional, for maximum crispiness)
- Tongs
- Paper towels
Step-by-Step Instructions
Step 1: Prepare the Ingredients
Begin by preheating your oven to 425°F. Remove the chicken legs from the packaging and thoroughly pat them dry with paper towels. Removing surface moisture is the secret to achieving that coveted crispy texture rather than steamed, soft skin.
Step 2: Season the Chicken
In a large bowl, toss the dried chicken legs with olive oil, salt, pepper, paprika, garlic powder, onion powder, and dried oregano until each piece is evenly coated. Ensure the spices are distributed across all sides of the drumsticks for uniform flavor.
Step 3: Arrange for Baking
Place the seasoned chicken legs on a wire rack set over a baking sheet, ensuring they do not touch each other. This spacing allows hot air to circulate freely around the entire leg, ensuring the bottom skin browns just as well as the top.
Step 4: Roast to Perfection
Place the tray in the center of the preheated oven. Bake for 35 to 40 minutes, turning once halfway through the cooking time. The chicken is ready when the internal temperature reaches 175°F and the skin is deep golden brown and slightly crispy to the touch.
Tips & Tricks
Always bring the chicken to room temperature for about 15 minutes before baking to ensure even cooking. If you find the skin is not browning enough, you can set the oven to broil for the final 2 minutes, but keep a close eye on it to prevent burning. Letting the finished chicken rest for 5 minutes before serving locks in the juices, ensuring every bite stays tender.
Serving Suggestions
These chicken legs shine when served alongside a bright, acidic side such as a lemon-herb quinoa salad or roasted asparagus with balsamic glaze. During colder months, they pair excellently with creamy mashed potatoes or garlic-infused roasted carrots. For a casual lunch, they are perfect with a side of coleslaw and homemade dipping sauces like a spicy yogurt herb dip.
Variations / Substitutions
You can easily switch up the spice rub to match your mood. Use a dash of cayenne or chili flakes for a spicy kick, or incorporate dried thyme and lemon zest for a bright, Mediterranean-inspired flavor. If you prefer a sticky glaze, you can brush on a thin layer of date molasses or a honey-soy reduction during the last 5 minutes of roasting.
Storage and Reheating
Store leftover chicken in an airtight container in the refrigerator for up to three days. To reheat, avoid the microwave as it will make the skin soggy. Instead, place the chicken in a preheated oven or toaster oven at 375°F for about 10-12 minutes until warmed through and the skin regains its crispiness.
Nutritional Info
Calories: 280 kcal
Protein: 22g
Carbohydrates: 2g
Fat: 19g
Conclusion
Oven baked chicken legs are a testament to how simple ingredients, when treated correctly, can yield restaurant-quality results. The ease of preparation combined with the satisfying, savory finish makes this a staple recipe that deserves a permanent spot in your weekly rotation.
Enjoy the process of perfecting your seasoning blends and experimenting with different side pairings. This is a reliable, wholesome meal that truly brings people together at the table.
FAQ
Can I cook these from frozen?
It is not recommended to bake chicken legs directly from frozen as it results in uneven cooking and rubbery skin. For the best texture and safety, ensure the chicken is completely thawed in the refrigerator before seasoning and baking.
How do I keep the skin from becoming soggy?
Using a wire rack inside your baking sheet is the most effective way to ensure air flows underneath the chicken. Additionally, ensuring the chicken is completely dry before adding the oil and spices is crucial for that crispy finish.
Can I use other cuts of chicken with this method?
Yes, this method works well with chicken thighs as well. Keep in mind that thighs may require a slightly longer cooking time depending on their size, so use a meat thermometer to ensure they reach an internal temperature of at least 175°F.
Can I prep these ahead of time?
You can season the chicken up to 4 hours in advance and keep it in the refrigerator. However, for the best crispiness, take them out 20 minutes before roasting to allow them to lose their chill, which helps them cook more evenly.
Crispy Oven Baked Chicken Legs
Ingredients
- 8 large chicken drumsticks, patted dry
- 2 tablespoons olive oil
- 1 teaspoon sea salt
- 1/2 teaspoon freshly cracked black pepper
- 1 teaspoon smoked paprika
- 1 teaspoon garlic powder
- 1/2 teaspoon onion powder
- 1/2 teaspoon dried oregano
Instructions
- Preheat your oven to 425°F.
- Thoroughly pat the chicken legs dry with paper towels to ensure crispy skin.
- In a large bowl, toss the chicken with olive oil, salt, pepper, paprika, garlic powder, onion powder, and dried oregano until evenly coated.
- Place a wire cooling rack on a parchment-lined baking sheet for maximum air circulation.
- Arrange the drumsticks on the rack, ensuring they are not touching.
- Bake for 35-40 minutes, turning halfway through, until the skin is golden brown and the internal temperature reaches 165°F.