
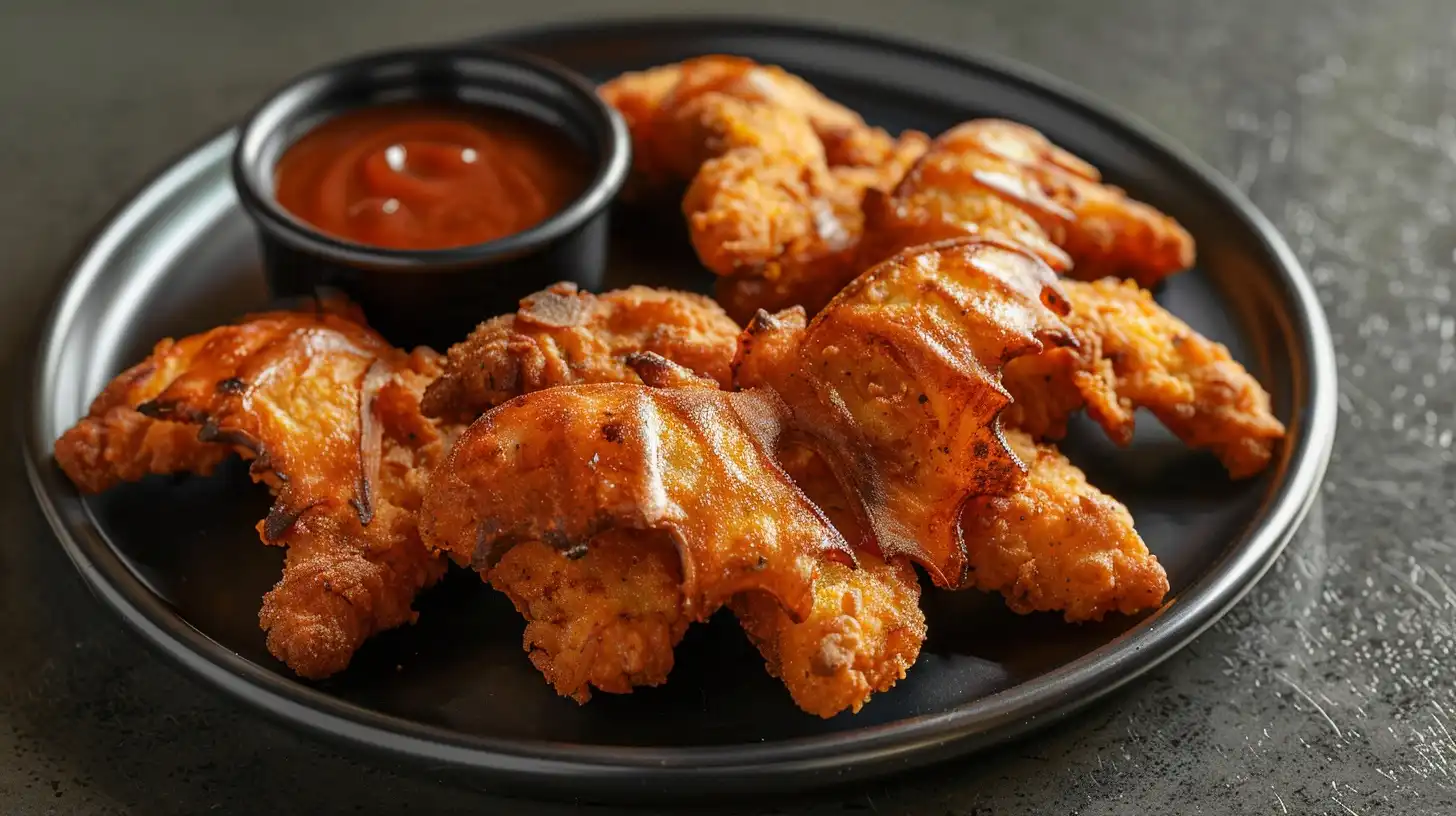
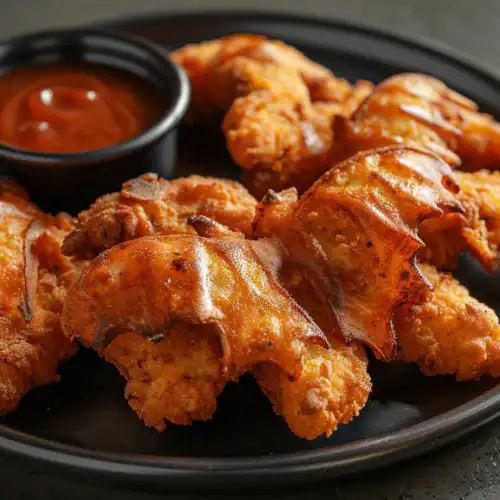
Halloween bat-shaped chicken nuggets are crispy, homemade poultry bites molded into festive winged shapes perfect for any spooky celebration. These savory treats provide a satisfying crunch on the outside while maintaining tender, juicy meat on the inside, making them an instant favorite for children and adults alike during the autumn season. Preparing these at home ensures you use quality ingredients, avoiding the heavy processing found in store-bought alternatives while keeping the fun, spooky aesthetic intact for your dinner table.
Why You’ll Love This Halloween Bat-Shaped Chicken Nuggets
These nuggets capture the perfect balance between crispy breading and moist chicken. By using a light dusting of panko crumbs, you achieve a golden-brown finish that stays crunchy even after cooling slightly, which is essential for party snacks.
Beyond the texture, these nuggets are incredibly versatile and clean to eat. Because you control the spice level, you can keep them mild for little ones or add a touch of smoked paprika or garlic powder to elevate the flavor profile for adults. They serve as a festive anchor for any fall-themed platter.
The convenience of this recipe is unmatched for busy parents. You can shape these ahead of time and store them in the freezer until the exact moment you need them, making your Halloween prep stress-free and enjoyable.
Ingredients of the Halloween Bat-Shaped Chicken Nuggets
For the Chicken Base
- 1 lb ground chicken breast
- 1/2 cup panko breadcrumbs
- 1 tsp garlic powder
- 1 tsp onion powder
- 1/2 tsp kosher salt
- 1/4 tsp black pepper
For the Coating
- 1 cup panko breadcrumbs
- 1/2 cup all-purpose flour
- 2 large eggs, lightly beaten
- 1/2 tsp smoked paprika
For Frying
- High-smoke point vegetable oil, such as canola or sunflower
Equipment / Tools Needed
- Large mixing bowl
- Bat-shaped cookie cutter
- Baking sheet lined with parchment paper
- Deep heavy-bottomed skillet or Dutch oven
- Tongs
- Wire cooling rack
Step-by-Step Instructions
Step 1: Prepare the Chicken Mixture
In a large mixing bowl, combine the ground chicken, breadcrumbs, garlic powder, onion powder, salt, and pepper. Use your hands to gently fold the ingredients together until they are evenly distributed. Be careful not to overwork the meat, as you want to maintain a light, tender texture once cooked.
Step 2: Shape the Nuggets
Place a large sheet of parchment paper on your counter and roll the chicken mixture out to about a half-inch thickness. Using your bat-shaped cookie cutter, firmly press into the meat to create individual bat shapes. If the meat sticks to the cutter, lightly dust the cutter with flour between each press to ensure clean, sharp wing edges.
Step 3: Set Up the Breading Station
Arrange three shallow bowls in a row. Fill the first with flour, the second with the beaten eggs, and the third with the remaining panko mixed with smoked paprika. Dredge each bat-shaped nugget lightly in flour, dip it into the egg mixture until fully coated, and finish by pressing it firmly into the seasoned panko crumbs.
Step 4: Fry to Golden Perfection
Heat about an inch of oil in your skillet over medium-high heat until it reaches roughly 350°F. Carefully slide the nuggets into the oil, ensuring you do not overcrowd the pan. Fry for three to four minutes on each side until the surface turns a deep golden brown and the internal temperature reaches 165°F. The aroma of toasted breadcrumbs should be prominent and savory.
Tips & Tricks
For the crispiest result, ensure your oil temperature remains consistent; if it drops too low, the nuggets will absorb excess oil and become soggy. If you are cooking a large batch, keep the finished nuggets warm in a 200°F oven on a wire rack to maintain their crunch. Using a meat thermometer is the best way to ensure your poultry is cooked through while still remaining juicy.
Serving Suggestions
Serve these nuggets alongside a vibrant marinara sauce or a homemade honey-mustard dip for a pop of color and flavor. They pair beautifully with roasted seasonal vegetables or a crisp garden salad to balance the richness of the fried coating. For a spooky presentation, arrange them on a dark serving platter with fresh herbs to mimic a night sky.
Variations / Substitutions
- For a gluten-free version, substitute the panko and flour with gluten-free breadcrumbs and almond flour.
- Add a pinch of cayenne pepper to the breading mix if you prefer a subtle kick.
- Swap ground chicken for finely ground turkey, which works equally well in this structure.
Storage and Reheating
Store leftover nuggets in an airtight container in the refrigerator for up to three days. To freeze, place the uncooked breaded nuggets on a tray until solid, then transfer them to a freezer-safe bag for up to two months. When reheating, avoid the microwave as it ruins the texture; instead, place them in a 400°F oven for 8-10 minutes until crisp and heated through.
Nutritional Info
Calories: 280 kcal per serving
Protein: 22g
Carbohydrates: 18g
Fat: 12g
Conclusion
These Halloween bat-shaped chicken nuggets bring a delightful festive touch to your seasonal menu without compromising on flavor or quality. They are simple to assemble and provide that comforting, crispy bite everyone craves during the cooler autumn months.
Enjoy the process of shaping these fun designs with your family and savor the fresh, homemade results. Your guests will certainly appreciate the extra effort put into these perfectly golden spooky treats.
FAQ
How long can I store the raw shaped nuggets in the fridge?
You can store the breaded, uncooked nuggets in the refrigerator for up to 24 hours. Beyond that, the moisture from the chicken may soften the breading, so it is best to freeze them if you aren’t planning to cook them immediately.
Can I bake these instead of frying them?
Yes, you can bake them at 400°F for about 15-18 minutes. Be sure to lightly spray the tops with cooking oil to help them brown evenly, as they won’t get quite as crispy as the deep-fried version.
Can I make these ahead of time for a party?
Absolutely, these are excellent for meal prep. Shape and bread the nuggets, freeze them on a baking sheet, and then store them in a bag until you are ready to fry them directly from frozen.
What is the best way to keep the wing shapes intact?
Keeping your chicken mixture cold makes it much easier to handle and cut. If you find the mixture is getting too soft or sticky, pop it in the freezer for 10 minutes before using the cookie cutter to ensure clean, precise edges.
Halloween Bat-Shaped Chicken Nuggets
Ingredients
- 1 lb ground chicken breast
- 1/2 cup panko breadcrumbs (for mixture)
- 1 tsp garlic powder
- 1 tsp onion powder
- 1/2 tsp kosher salt
- 1/4 tsp black pepper
- 1 cup panko breadcrumbs (for coating)
- 1/2 cup all-purpose flour
- 2 large eggs, lightly beaten
- 1/2 tsp smoked paprika
- Vegetable oil for frying
Instructions
- In a large mixing bowl, combine ground chicken, 1/2 cup breadcrumbs, garlic powder, onion powder, salt, and pepper until just incorporated.
- Place the mixture between sheets of parchment paper and roll to 1/2-inch thickness.
- Use a bat-shaped cookie cutter to cut shapes, dusting the cutter with flour if the meat sticks.
- Set up a breading station with flour in one bowl, beaten eggs in another, and the remaining panko mixed with smoked paprika in a third.
- Dip each bat nugget into flour, then egg, then coat thoroughly with the panko mixture.
- Heat oil in a heavy-bottomed skillet to medium-high heat.
- Fry the nuggets in small batches for 3-4 minutes per side until golden brown and cooked through.
- Remove with tongs and place on a wire cooling rack.