
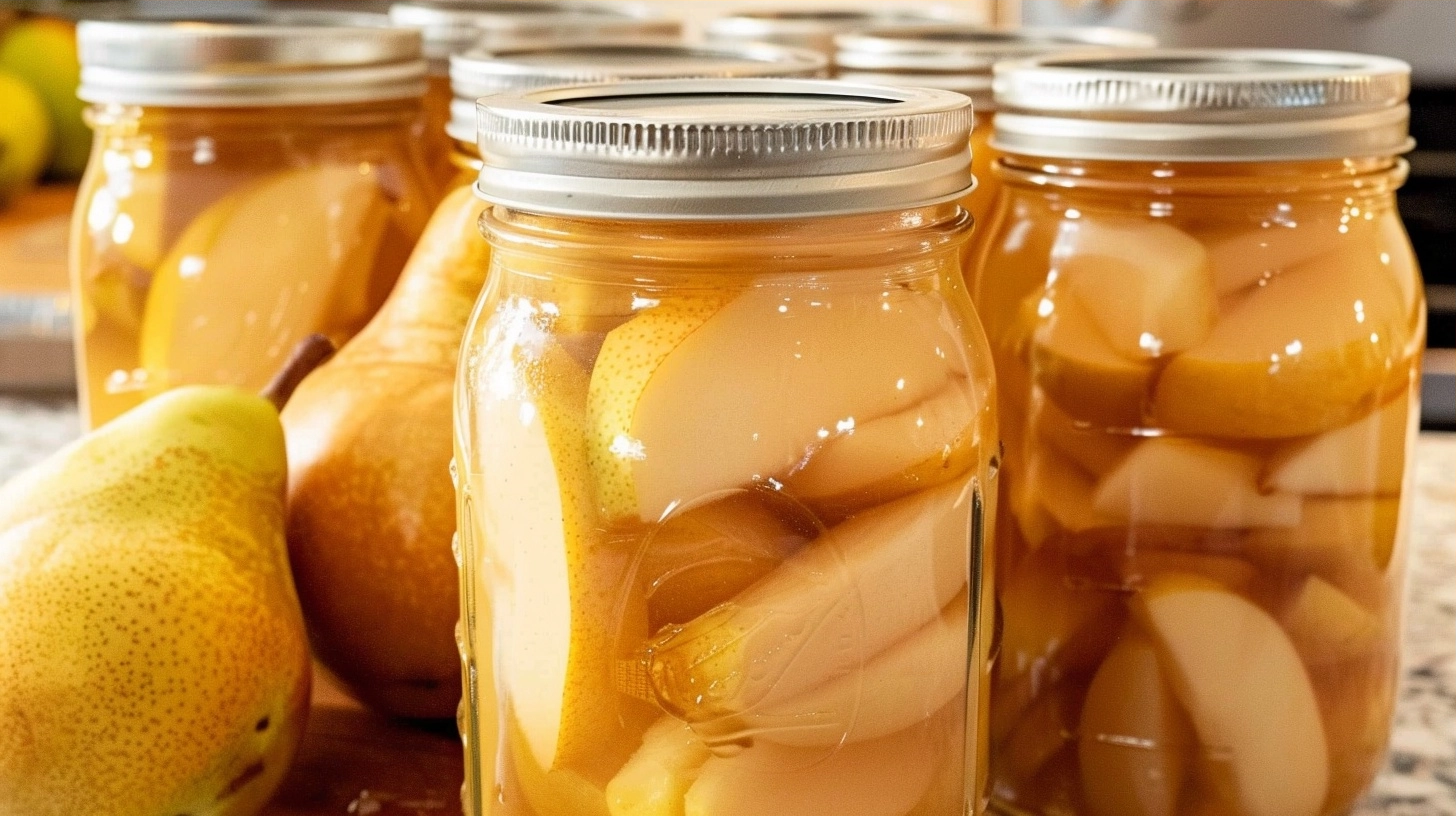
Canning pears recipe techniques allow you to preserve the delicate sweetness of fresh orchard fruit for year-round enjoyment. This method uses a simple sugar syrup to keep the pears firm and vibrant, ensuring they remain a pantry staple that tastes like summer in every bite. Proper preparation results in tender fruit slices that work beautifully for desserts, breakfast toppings, or simple snacking right from the jar.
Table of Contents
Table of Contents
Why You’ll Love This Canning Pears Recipe
You will appreciate the incredible texture this method preserves. Unlike store-bought varieties that can often turn mushy, these home-canned pears maintain a satisfying bite. The light syrup enhances the natural floral notes of the fruit without overwhelming their subtle character, creating a balanced flavor profile that feels light and refreshing.
The convenience of having ready-to-eat fruit on your shelf cannot be overstated. When the winter months arrive, opening a jar of these pears provides an immediate sense of comfort. They are versatile enough to be tossed into a quick morning oatmeal, served alongside a savory brunch dish, or simply enjoyed straight from the bowl.
Following this process is a rewarding way to reduce food waste. If you find yourself with an abundance of pears during peak harvest, this recipe ensures nothing goes to waste. The process is straightforward, allowing you to build up a collection of preserved goodness with minimal stress and maximum reliability.
Ingredients of the Canning Pears Recipe
For the Fruit
- 10 to 12 pounds fresh, firm-ripe pears
- Fresh lemon juice (to prevent browning)
For the Simple Syrup
- 4 cups water
- 2 cups granulated sugar
Equipment / Tools Needed
- Large water bath canner with rack
- Wide-mouth glass canning jars with new lids and bands
- Jar lifter tongs
- Bubble remover tool or small plastic spatula
- Large stainless steel stockpot
- Medium saucepan
- Sharp vegetable peeler and paring knife
Step-by-Step Instructions
Step 1: Prepare the Fruit
Begin by thoroughly washing your pears under cool running water. Peel each pear using a vegetable peeler, then halve them lengthwise and use a paring knife or melon baller to remove the core and stem. Immediately place the prepared pear halves into a bowl of cold water mixed with a tablespoon of lemon juice to prevent the flesh from turning brown while you finish prepping the rest of the batch.
Step 2: Create the Syrup
In your medium saucepan, combine the water and sugar. Bring the mixture to a gentle simmer over medium heat, stirring occasionally until the sugar crystals have completely dissolved and the liquid is clear. Keep the syrup warm on the lowest heat setting while you prepare the jars.
Step 3: Pack the Jars
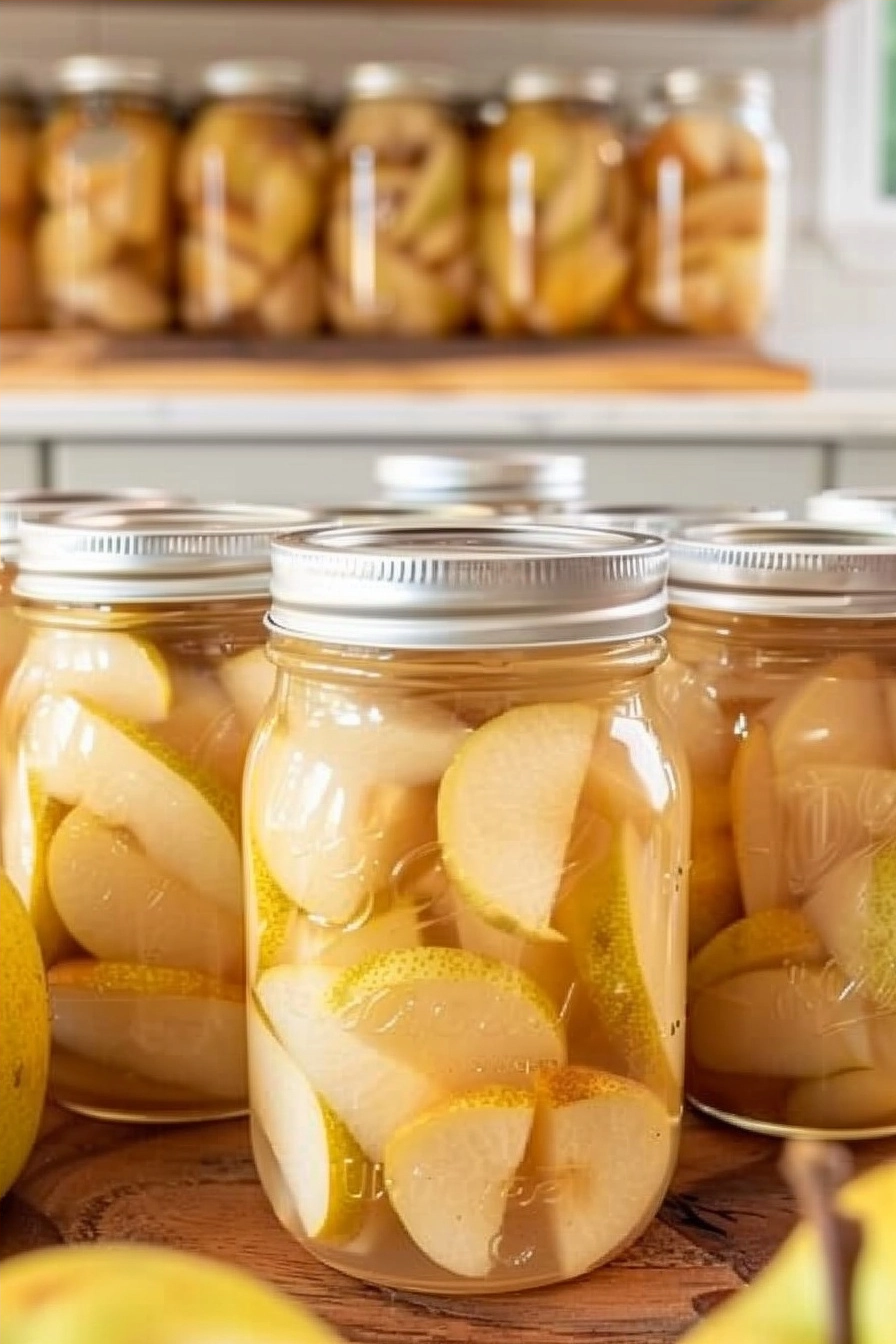
Pack the pear halves tightly into hot, sterilized canning jars, leaving about a half-inch of headspace at the top. Pour the warm sugar syrup over the pears, ensuring you maintain that half-inch of headspace. Use your bubble remover tool to slide down the sides of the jar, releasing any trapped air pockets, then wipe the rims clean with a damp cloth to ensure a perfect seal.
Step 4: Process in the Canner
Secure the lids and bands until fingertip tight. Place the jars into your water bath canner, ensuring they are covered by at least one inch of water. Bring the water to a rolling boil and process for 20 minutes for pint jars or 25 minutes for quart jars. Once the time is up, carefully remove the jars and let them cool on a towel-lined counter undisturbed for 24 hours.
Tips & Tricks
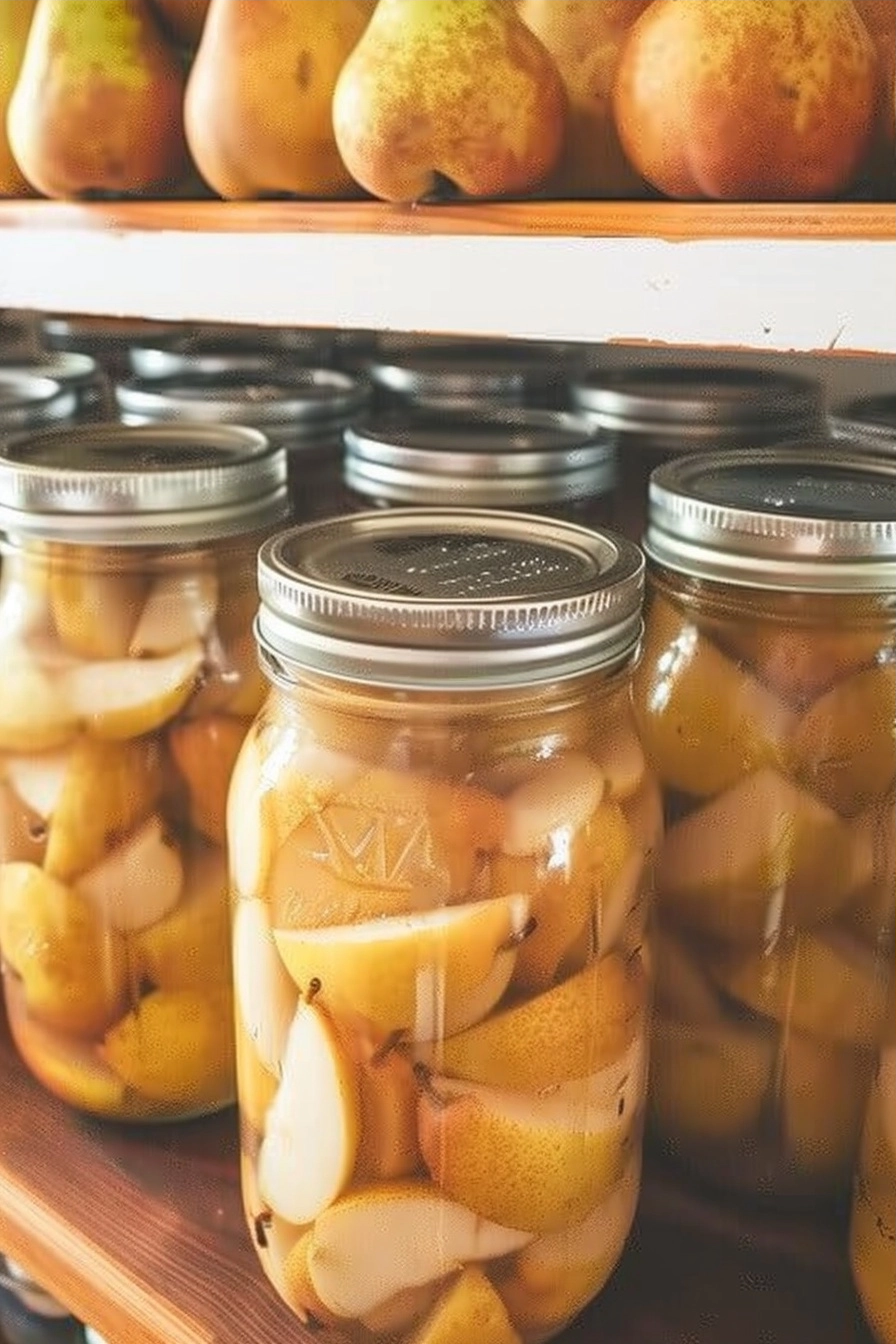
Choose pears that are firm but fragrant. If the pears are too soft, they will disintegrate during the canning process. Always check your jar rims for any tiny nicks or cracks before filling, as even a small imperfection can prevent the seal from forming correctly. Store your jars in a cool, dark place to maintain the bright color of the fruit for as long as possible.
Serving Suggestions
Serve your canned pears chilled over a bowl of Greek yogurt for a quick morning meal. They also pair wonderfully with warm spices like cinnamon or nutmeg in winter cobblers. For a simple dessert, serve them alongside a scoop of vanilla bean ice cream or blend them into a smooth puree for a sophisticated fruit topping.
Variations / Substitutions
You can adjust the sweetness of your syrup by using a ratio of three parts water to one part sugar for a lighter preserve. If you prefer to avoid processed sugar, high-quality honey or agave syrup can be substituted in equal measurements, though this will slightly alter the flavor profile. Adding a slice of fresh ginger or a cinnamon stick to each jar before sealing provides a warm, aromatic twist.
Storage and Reheating
Properly sealed jars can be stored in a cool, dry pantry for up to 18 months. Once a jar is opened, store it in the refrigerator and consume the contents within one week. If you prefer your pears warm, simply pour the contents into a small saucepan and heat gently over medium-low heat until the fruit is warmed through, which preserves the texture better than using a microwave.
Nutritional Info
Calories: 120 kcal
Protein: 0.5g
Carbohydrates: 31g
Fat: 0.1g
Conclusion
Canning your own fruit is a simple yet deeply satisfying way to connect with the seasons. The process transforms humble pears into a golden, delicious treat that waits patiently in your pantry for whenever you need a touch of sweetness.
We hope this guide encourages you to start your own canning journey. Remember that every jar you put away is a small victory against waste and a step toward more mindful, home-grown eating.
FAQ
How do I know if the jars sealed properly?
After the jars have cooled for 24 hours, press the center of the lid with your finger. If the lid stays down and does not pop, it has created a successful vacuum seal. If you hear a click, it did not seal and should be stored in the refrigerator for immediate use.
Can I reduce the sugar in this canning pears recipe?
Yes, you can use a lighter syrup ratio, but keep in mind that sugar helps maintain the shape and color of the fruit over time. Using less sugar may result in slightly softer pears after several months of storage.
Can I substitute white sugar with other sweeteners?
You can use natural sweeteners like honey or organic cane sugar, but avoid artificial sweeteners as they do not provide the same preservation qualities or texture maintenance. The fruit may also darken faster when using non-refined sweeteners.
Why do my pears turn brown in the jar?
Browning is usually caused by oxidation. Ensure that you submerge your pears in lemon water immediately after peeling and maintain the proper headspace when packing to minimize air contact. Using high-quality, fresh fruit is the best way to prevent discoloration.
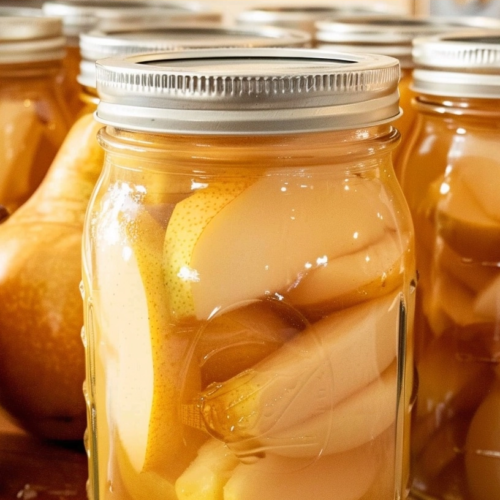
Canning Pears in Simple Syrup
Ingredients
- 10 to 12 pounds fresh, firm-ripe pears
- 2 tablespoons lemon juice
- 4 cups water
- 2 cups granulated sugar
Instructions
- Wash the pears, peel, halve, and core them.
- Place pear halves in a bowl of water with 1 tablespoon of lemon juice to prevent browning.
- Combine 4 cups water and 2 cups sugar in a saucepan and simmer until the sugar dissolves.
- Pack the prepared pear halves into sterilized wide-mouth canning jars.
- Pour the hot syrup over the pears, leaving 1/2 inch of headspace.
- Use a bubble remover to remove trapped air and wipe jar rims clean.
- Apply lids and bands, then process in a boiling water bath canner for 20 minutes.