
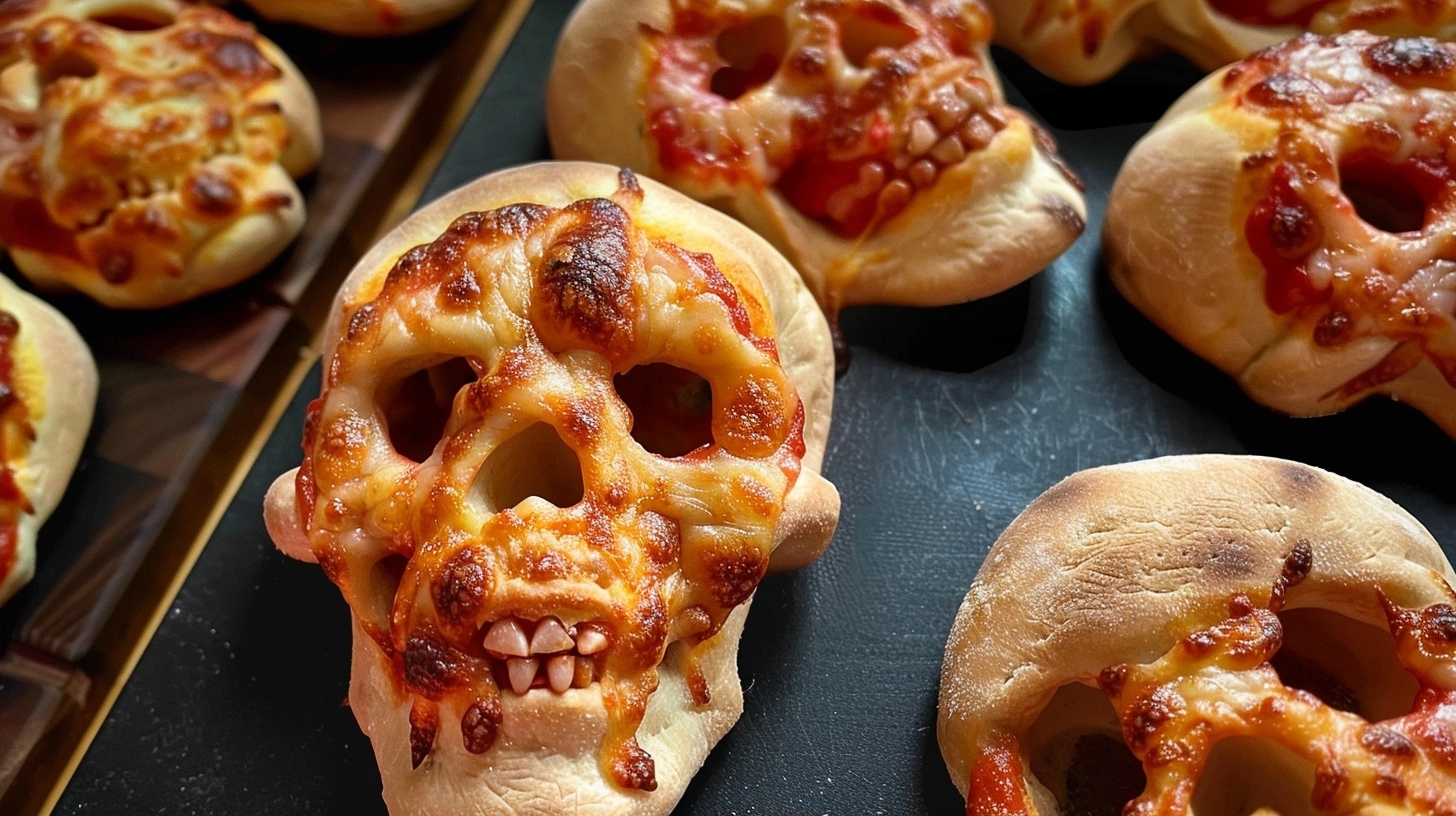
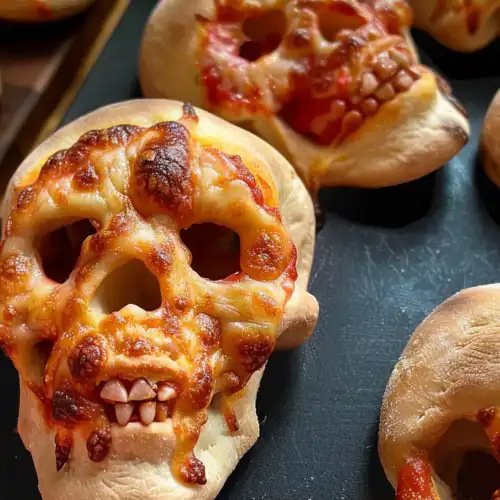
Halloween pizza skulls are festive savory pastries shaped like miniature craniums and filled with gooey mozzarella cheese and zesty tomato sauce. These spooky treats provide a creative way to serve a crowd-pleasing dinner that balances playful presentation with classic Italian-inspired flavors. They utilize simple refrigerated dough to make assembly efficient, ensuring a golden, crispy exterior that yields to a warm, molten center of melted cheese and herbs.
Table of Contents
Table of Contents
Why You’ll Love This Halloween Pizza Skulls Recipe
The texture contrast is the highlight of this dish, pairing a buttery, golden crust with the soft, stretchy melt of premium mozzarella. Every bite delivers that nostalgic pizza satisfaction in a fun, hand-held package that appeals to both children and adults alike during the spooky season.
Simplicity defines this recipe because it relies on high-quality store-bought dough and pantry staples. You can assemble a whole batch in less than fifteen minutes, making it an ideal choice for busy weeknight dinners or a centerpiece for a casual holiday gathering.
These skulls offer endless customization options for picky eaters. You can easily tuck in extra vegetables, beef crumbles, or even vegetarian pepperoni to suit your family preferences without compromising the structural integrity of the skull shape.
Ingredients of the Halloween Pizza Skulls
For the Dough
- 2 cans refrigerated pizza dough
- 1 tablespoon olive oil (for brushing)
- 1 teaspoon dried oregano
For the Filling
- 1 cup thick pizza sauce (ensure no alcohol-based vinegars)
- 2 cups shredded mozzarella cheese
- 1/2 cup finely diced bell peppers
- 1/2 cup sliced black olives (for eyes and nose)
Equipment / Tools Needed
- Skull-shaped silicone baking mold
- Small pastry brush
- Sharp paring knife
- Baking sheet (to place under the silicone mold)
- Measuring cups and spoons
Step-by-Step Instructions
Step 1: Prepare the Ingredients
Start by preheating your oven to 400°F (200°C). Lightly grease your skull-shaped silicone mold with a thin layer of olive oil to ensure the pizza skulls release easily once baked. Dice your bell peppers into very small pieces so they don’t tear the dough during the baking process.
Step 2: Shape the Dough
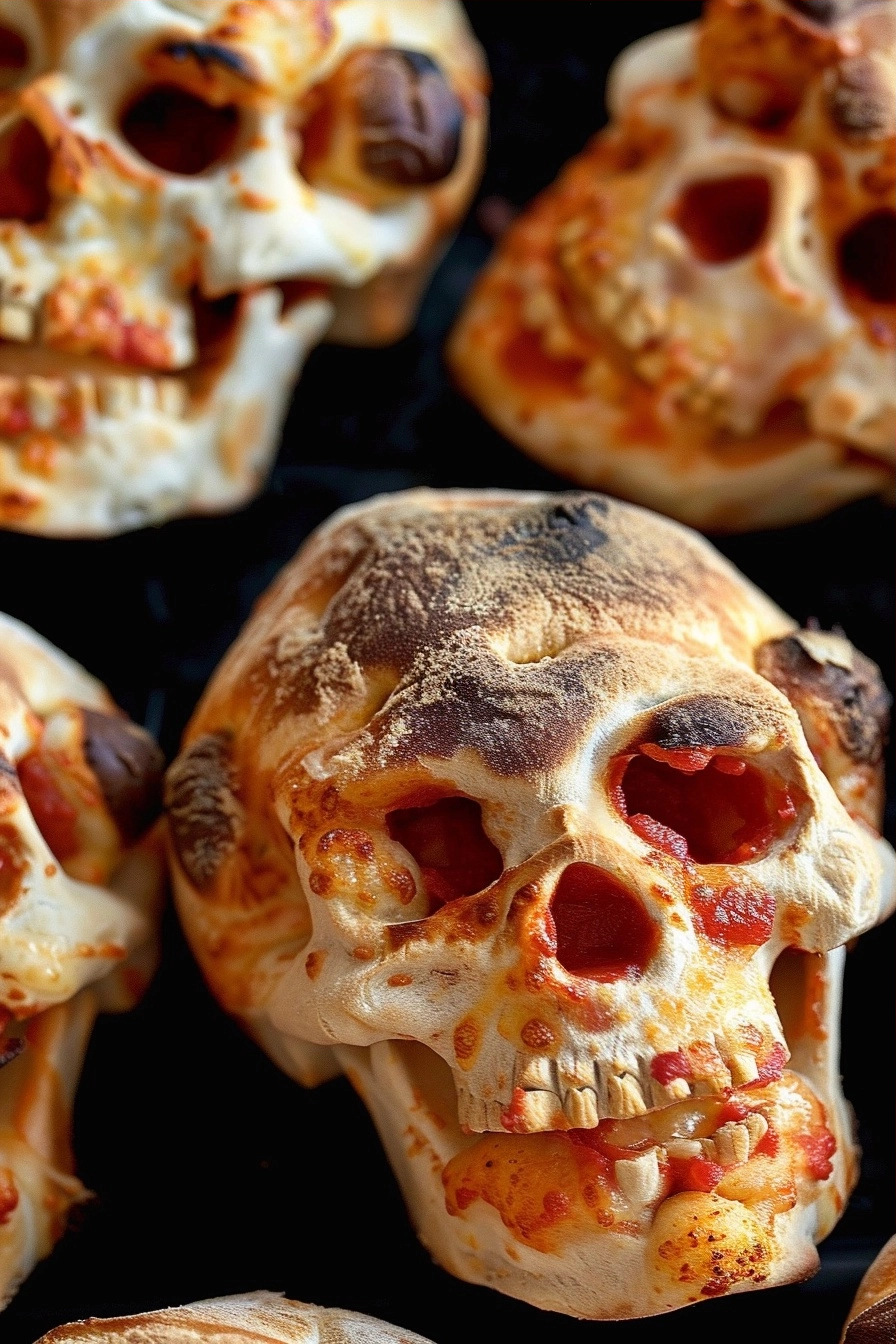
Roll out your pizza dough onto a floured surface. Using a knife, cut pieces of dough slightly larger than each individual skull cavity. Carefully press the dough into the mold, ensuring it reaches all the corners of the face, especially the eye sockets and the teeth area.
Step 3: Add the Filling
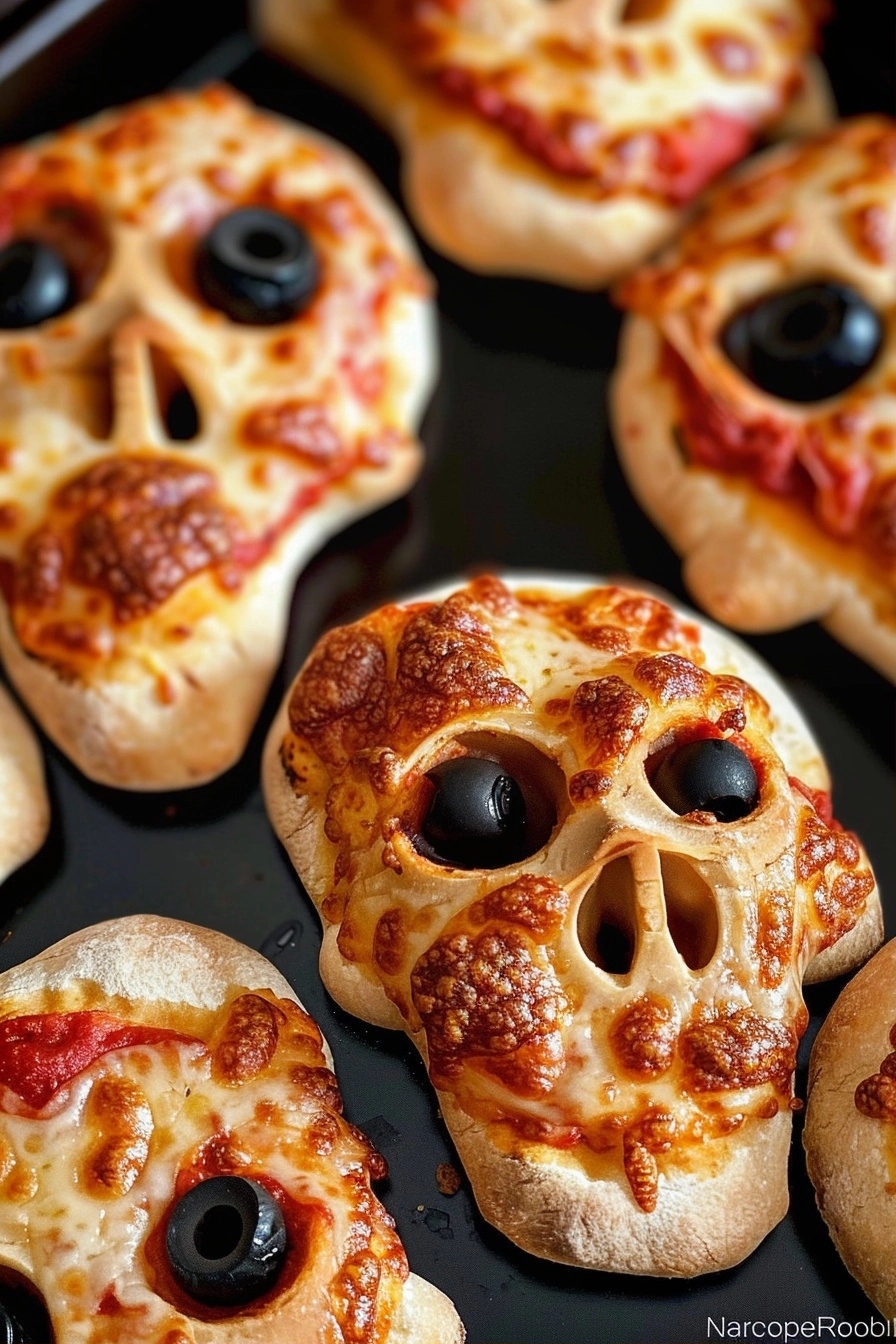
Place two sliced black olives into the eye sockets of each skull mold. Spoon a small amount of pizza sauce into the center, followed by a generous handful of mozzarella cheese and the diced peppers. Avoid overfilling, as the cheese will expand and might leak if the skull is packed too tightly.
Step 4: Seal the Skulls
Take another piece of dough and stretch it over the top of the filled skull. Pinch the edges of the top and bottom dough pieces firmly together to create a tight seal. This prevents the melted cheese from escaping while the skulls puff up in the oven.
Step 5: Bake to Perfection
Place the silicone mold on a flat baking sheet for stability. Brush the tops of the dough with a little olive oil and sprinkle with oregano. Bake for 15 to 18 minutes until the tops are a deep golden brown and the cheese is bubbling hot. Remove from the oven and let them rest for five minutes before carefully flipping the mold to reveal your spooky creations.
Tips & Tricks
Always ensure your pizza sauce is thick; watery sauce can make the bottom of the skulls soggy. If you find the skulls are sticking, ensure the mold was greased thoroughly before pressing the dough inside. For an extra glossy finish, brush the dough with a beaten egg yolk mixed with a splash of water just before popping them into the oven.
Serving Suggestions
Serve these skulls warm with a side of warm marinara or ranch dressing for dipping. They pair beautifully with a crisp garden salad or roasted seasonal vegetables to round out the meal. They are perfect for a festive October dinner party or a “before-trick-or-treating” snack.
Variations / Substitutions
- Add finely chopped spinach or sun-dried tomatoes to the filling for a Mediterranean twist.
- Replace standard mozzarella with a smoked provolone for a deeper, earthier flavor profile.
- Make a dessert version by filling the dough with nut butter and fruit jam instead of pizza ingredients.
Storage and Reheating
Store any leftover pizza skulls in an airtight container in the refrigerator for up to three days. To reheat, place them in a 350°F oven for 8-10 minutes. This method keeps the crust crispy, whereas the microwave tends to soften the dough significantly.
Nutritional Info
Calories: 280 kcal
Protein: 12g
Carbohydrates: 34g
Fat: 10g
Conclusion
Halloween pizza skulls are a delightful way to bring some thematic fun into your kitchen without spending hours prepping. The combination of crispy dough and gooey cheese is a timeless favorite that never fails to impress.
Gather your family and enjoy the process of filling and shaping these spooky snacks. It is a fantastic way to celebrate the holiday with a delicious, comforting meal that looks as good as it tastes.
FAQ
Can I make these ahead of time?
Yes, you can assemble the skulls up to four hours in advance. Keep them in the refrigerator, covered with plastic wrap, and bake them right when you are ready to serve.
What if I don’t have a skull mold?
While the skull mold is essential for the specific shape, you can use a regular muffin tin to create “pizza bombs” instead. The cooking time will remain nearly identical.
Can I freeze these after baking?
Absolutely, you can freeze them for up to one month. Allow them to cool completely before placing them in a freezer-safe bag, and reheat them directly from frozen in the oven until heated through.
Are these suitable for vegetarians?
Yes, as long as the pizza dough and sauce ingredients do not contain any animal-derived additives, these are completely vegetarian and halal-friendly.
Halloween Pizza Skulls
Ingredients
- 2 cans refrigerated pizza dough
- 1 tablespoon olive oil
- 1 teaspoon dried oregano
- 1 cup thick pizza sauce
- 2 cups shredded mozzarella cheese
- 1/2 cup finely diced bell peppers
- 1/2 cup sliced black olives
Instructions
- Preheat your oven to 400°F (200°C) and lightly grease a skull-shaped silicone mold with olive oil.
- Roll out the pizza dough on a floured surface and cut into portions slightly larger than each mold cavity.
- Press the dough into the mold, ensuring it fills the eye sockets and teeth details.
- Place two sliced black olives into each eye socket.
- Spoon a small amount of pizza sauce into the center of the skull dough.
- Top with a generous portion of mozzarella cheese and diced bell peppers.
- Seal the back of the skull with a layer of dough and trim the edges.
- Place the silicone mold on a baking sheet and bake for 15-20 minutes until the crust is golden brown.
- Allow to cool slightly before gently removing the skulls from the mold.