
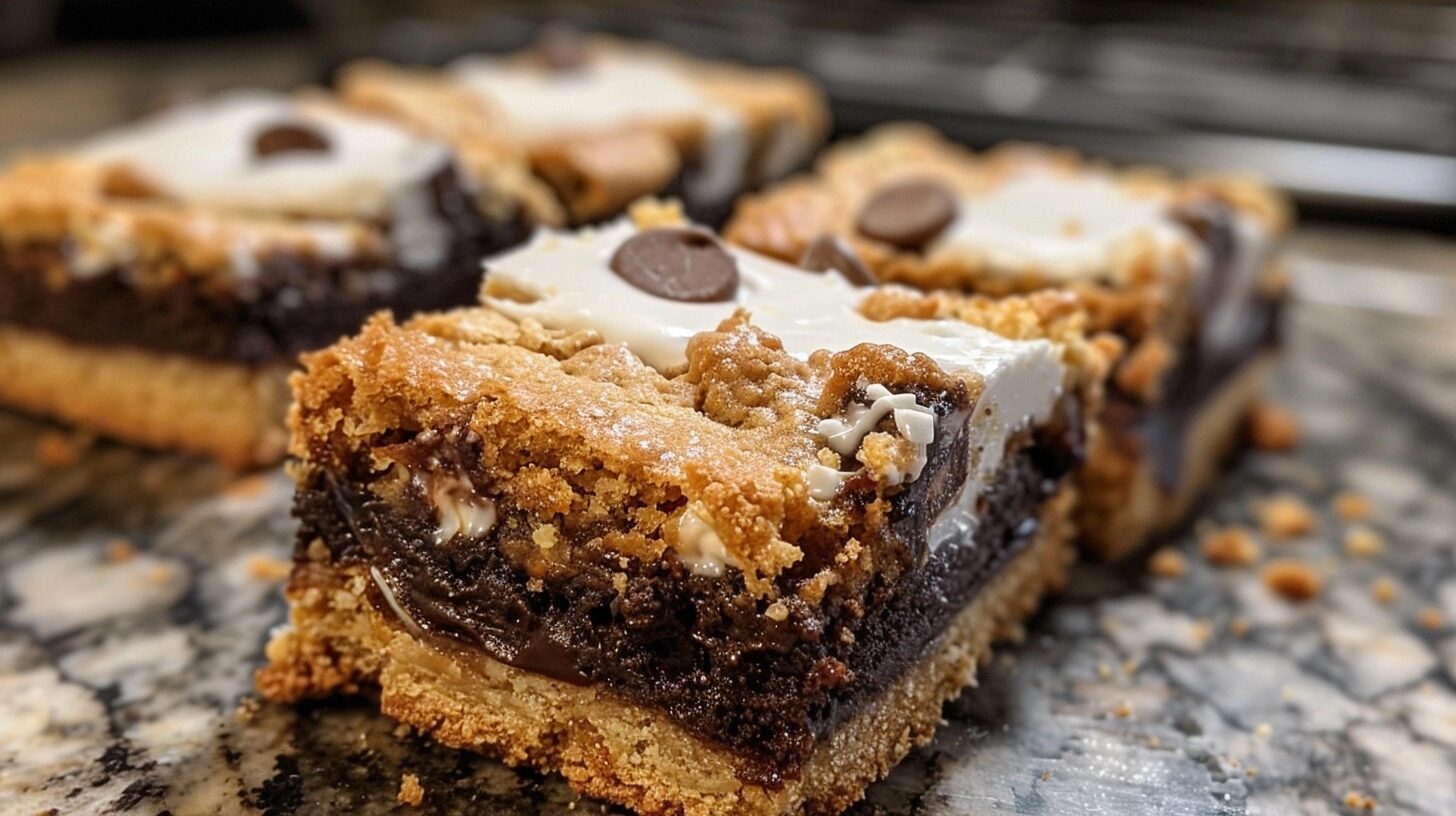
S’mores cookie bars combine the nostalgic flavors of a campfire treat with the chewy, golden texture of a buttery cookie. These dense, indulgent squares feature layers of graham cracker crumbs, melty milk chocolate, and gooey toasted marshmallows tucked into a soft, brown sugar dough. It is the perfect simplified alternative to traditional roasting, providing all the messy, sweet satisfaction without the need for an open fire or outdoor cleanup.
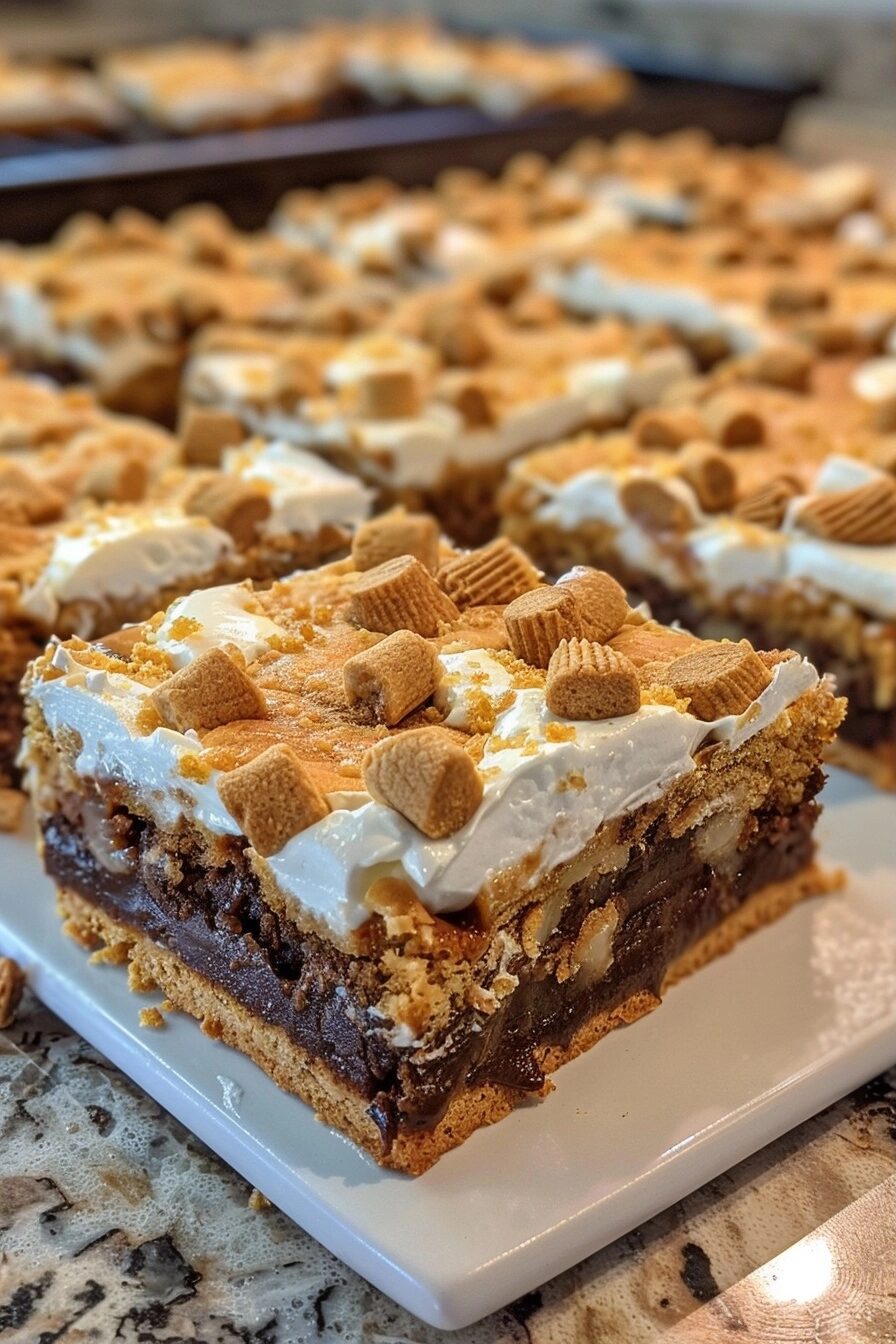
Why You’ll Love This S’mores Cookie Bars
These bars excel at balancing textures. You get the crunch of crushed graham crackers, the deep warmth of a vanilla-infused cookie base, and the stretchy, cloud-like consistency of marshmallows. It is an elevated take on a childhood favorite that feels just as comforting on a rainy afternoon as it does at a summer gathering.
Convenience is the biggest advantage here. Baking a batch takes significantly less effort than individual cookies, as the dough presses directly into your pan. You avoid the need to rotate multiple baking sheets or monitor timing for different batches. Once the pan is out of the oven, simply cut them into squares and serve.
The versatility of these bars makes them a reliable staple for any host. They store beautifully for several days and actually taste better after the flavors have melded for a few hours. Whether you are bringing them to a potluck or keeping a stash in the kitchen for a quiet weeknight, they never fail to impress.
Ingredients of the S’mores Cookie Bars
For the Dough
- 1 cup unsalted butter, softened
- 3/4 cup light brown sugar, packed
- 1/2 cup granulated sugar
- 2 large eggs
- 1 teaspoon vanilla extract
- 2 cups all-purpose flour
- 1 teaspoon baking soda
- 1/2 teaspoon salt
- 1 1/2 cups graham cracker crumbs
For the Filling
- 2 cups milk chocolate chips
- 3 cups mini marshmallows
Equipment / Tools Needed
- 9×13 inch baking pan
- Parchment paper
- Electric hand mixer
- Large mixing bowl
- Rubber spatula
- Measuring cups and spoons
Step-by-Step Instructions
Step 1: Prepare the Oven and Pan
Preheat your oven to 350°F (175°C). Line your baking pan with a sheet of parchment paper, leaving a slight overhang on the sides. This ensures that when the marshmallow layer becomes sticky, you can easily lift the entire tray out to slice clean squares.
Step 2: Cream the Butter and Sugars
In a large bowl, beat the softened butter with both the brown and granulated sugars until the mixture is light, fluffy, and pale in color. This aeration step is crucial for achieving that signature chewy texture in the base layer.
Step 3: Combine Wet and Dry Ingredients
Add the eggs one at a time, beating well after each addition, then stir in the vanilla extract. Gradually mix in the flour, baking soda, salt, and graham cracker crumbs until a thick, uniform dough forms. The smell should be buttery and slightly nutty from the cracker crumbs.
Step 4: Layer and Bake
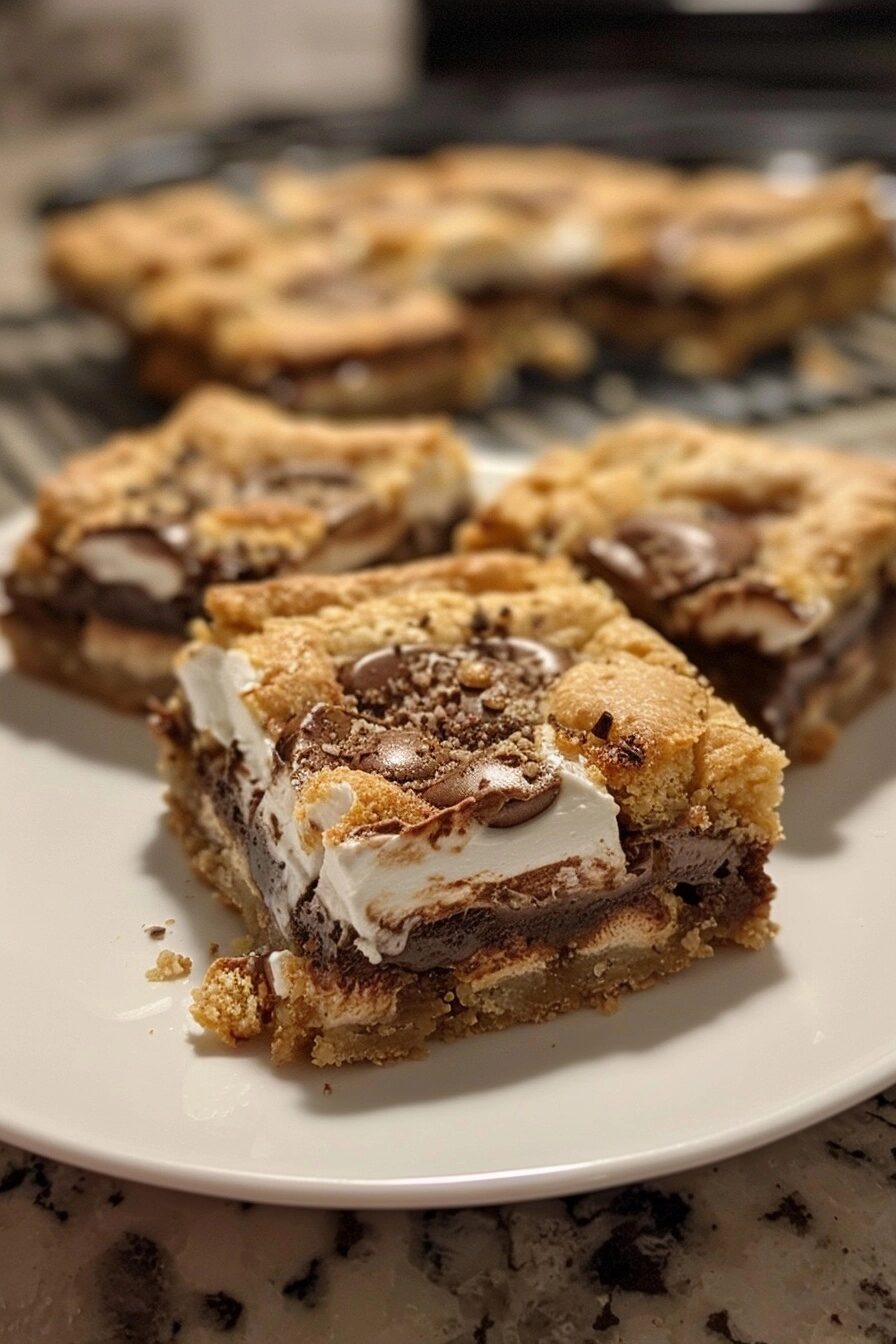
Press two-thirds of the dough into the bottom of the prepared pan. Sprinkle the chocolate chips evenly over the dough, followed by the mini marshmallows. Take the remaining dough and drop small, flattened pieces over the top, allowing some of the marshmallows to peek through. Bake for 20 to 25 minutes until the edges are golden brown and the marshmallows are slightly toasted.
Tips & Tricks
For the best flavor, use high-quality chocolate chips as they provide the structural foundation for the melty center. If you prefer a toasted marshmallow top, you can turn on the broiler for the last 60 seconds of baking, but keep a very close eye on the oven to prevent burning. Letting the bars cool completely before slicing is essential, as the chocolate and marshmallow need time to set, ensuring perfect, sharp edges on your squares.
Serving Suggestions
These bars are best served at room temperature with a cold glass of milk. For an extra indulgent dessert, serve them warm with a small scoop of vanilla bean ice cream. They are an ideal treat for backyard movie nights, school lunches, or casual weekend get-togethers.
Variations / Substitutions
If you want a deeper chocolate experience, substitute half of the milk chocolate chips with dark chocolate chunks. You can also add a pinch of sea salt on top right after taking the pan out of the oven to balance the sweetness of the marshmallows. For a gluten-free version, simply use gluten-free all-purpose flour and certified gluten-free graham crackers.
Storage and Reheating
Store leftover bars in an airtight container at room temperature for up to three days. If you prefer them warm, reheat individual squares in the microwave for 10 to 15 seconds. You can also freeze these bars for up to two months; wrap them tightly in plastic wrap and place them in a freezer-safe bag to prevent freezer burn.
Nutritional Info
Calories: 280 kcal
Protein: 3g
Carbohydrates: 42g
Fat: 12g
Conclusion
S’mores cookie bars offer a wonderful bridge between a traditional cookie and a campfire classic. Their chewy, chocolatey, and toasted marshmallow profile is consistently satisfying, making them a go-to recipe for any occasion that calls for comfort food.
Take the time to enjoy the process of layering these ingredients. Once you taste the combination of the buttery crust and the gooey center, you will likely find yourself making this recipe time and time again.
FAQ
How do I stop the marshmallows from burning?
The key is to cover the marshmallows with small pieces of the cookie dough or bake them in the middle rack of the oven. If you notice them browning too quickly, loosely tent a piece of foil over the pan for the last five minutes of baking.
Can I prepare the dough ahead of time?
Yes, you can make the dough up to 24 hours in advance and keep it chilled in the refrigerator. Just be sure to bring it to room temperature for about 20 minutes before trying to press it into the pan, as cold dough can be difficult to spread.
How do I get clean slices without the marshmallows sticking?
Grease your knife with a little bit of butter or non-stick spray before each cut. This prevents the melted marshmallow from dragging across the surface of the bars, allowing you to achieve clean, professional-looking squares.
Can I swap milk chocolate for semi-sweet?
Absolutely, swapping in semi-sweet chocolate chips is a great way to cut down the overall sugar content. Many people prefer the slight bitterness of semi-sweet chocolate against the intense sweetness of the marshmallows.
Recipe Card
Prep Time: 15 mins
Cook Time: 25 mins
Total Time: 40 mins
Yield: 16 bars
S'mores Cookie Bars
Ingredients
- 1 cup unsalted butter, softened
- 3/4 cup light brown sugar, packed
- 1/2 cup granulated sugar
- 2 large eggs
- 1 teaspoon vanilla extract
- 2 cups all-purpose flour
- 1 teaspoon baking soda
- 1/2 teaspoon salt
- 1 1/2 cups graham cracker crumbs
- 2 cups milk chocolate chips
- 3 cups mini marshmallows
Instructions
- Preheat your oven to 350°F (175°C) and line a 9x13 inch baking pan with parchment paper.
- In a large bowl, cream the softened butter with brown and granulated sugars until light and fluffy.
- Beat in the eggs one at a time, followed by the vanilla extract.
- Gradually mix in the flour, baking soda, and salt until a soft dough forms.
- Fold in the graham cracker crumbs until evenly distributed.
- Press two-thirds of the dough into the prepared pan.
- Sprinkle the milk chocolate chips over the dough, followed by the mini marshmallows.
- Drop the remaining dough in small chunks over the marshmallows.
- Bake for 20-25 minutes until the edges are golden and the marshmallows are toasted.
- Allow the bars to cool completely before lifting out of the pan and slicing into squares.