
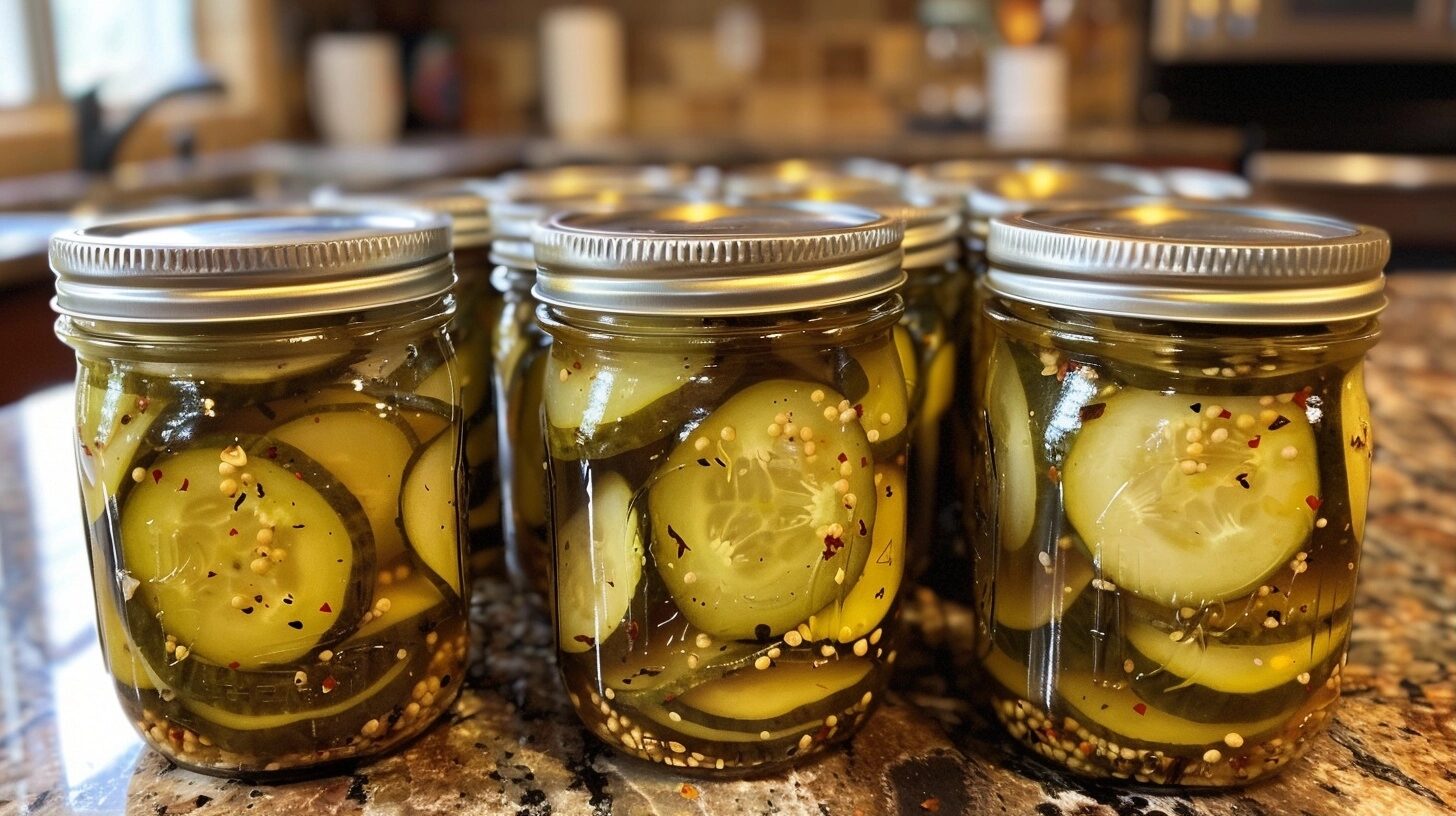
Bread and butter pickle recipe creations deliver that quintessential balance of sweet, tangy, and crunchy goodness that elevates any sandwich or platter. These homemade pickles rely on a simple brine and fresh aromatics to achieve a vibrant flavor profile that store-bought varieties simply cannot match. By brining fresh cucumbers with onions, you create a shelf-stable, crisp condiment perfect for pantry stocking.
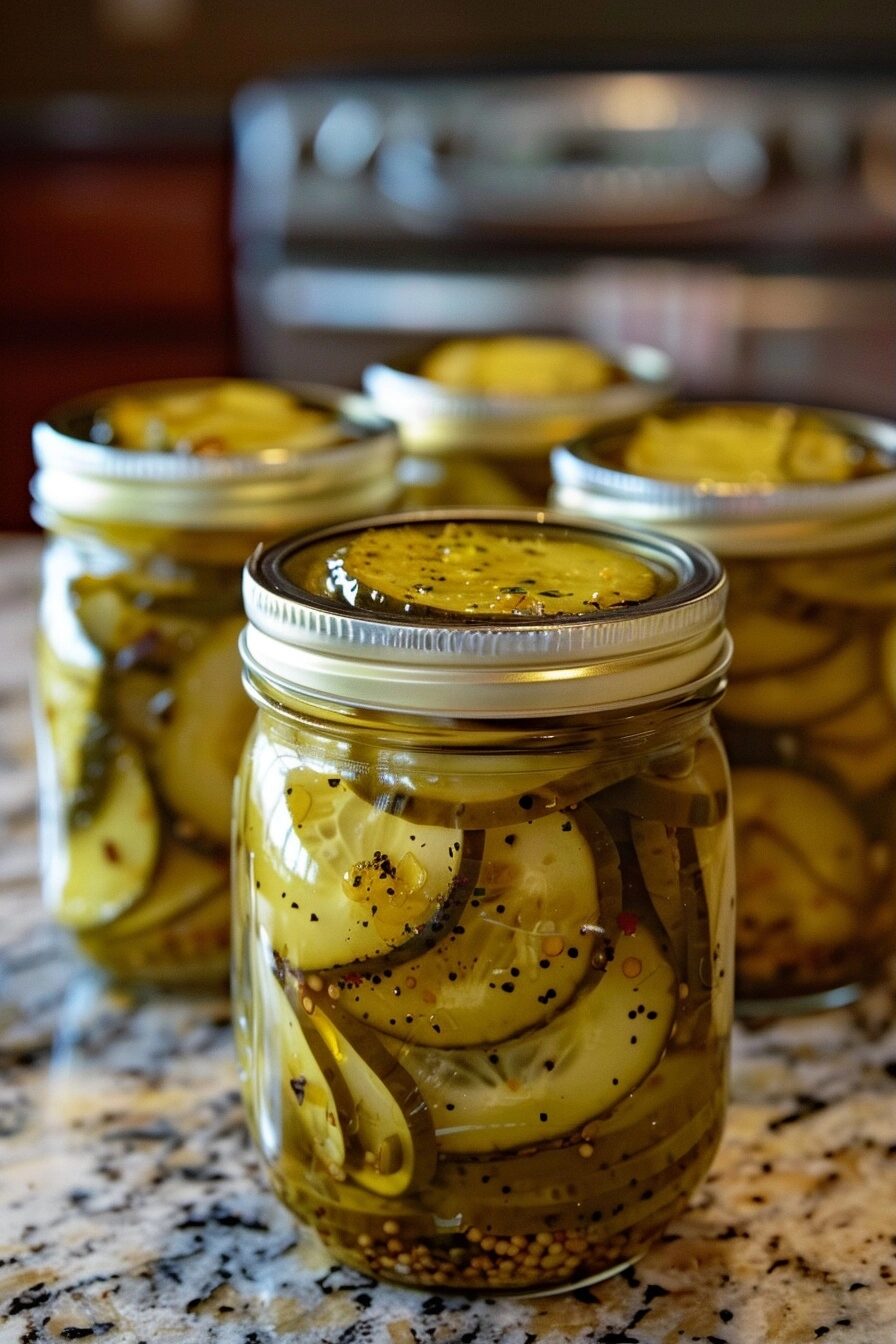
Why You’ll Love This Bread and Butter Pickle Recipe
The magic of this recipe lies in its texture. You get that satisfying, sharp ‘snap’ when you bite into a cucumber slice, a testament to using fresh produce and a careful soaking process. It is about as far from mushy mass-produced jars as you can get, offering a farmhouse-fresh quality that brings life to simple lunch staples.
Flavor-wise, the profile is beautifully rounded. The sharpness of the vinegar is tempered by the perfect amount of sugar, while the mustard seeds and celery seeds add that classic savory hint that defines the tradition. It is a harmonious blend that feels nostalgic and comforting.
Convenience is another major pillar of this method. While it looks like a project, the active hands-on time is minimal. You can prepare a batch during a weekend afternoon and enjoy the results for weeks. It is an accessible entry point into the world of home canning that provides a massive payoff in kitchen cred.
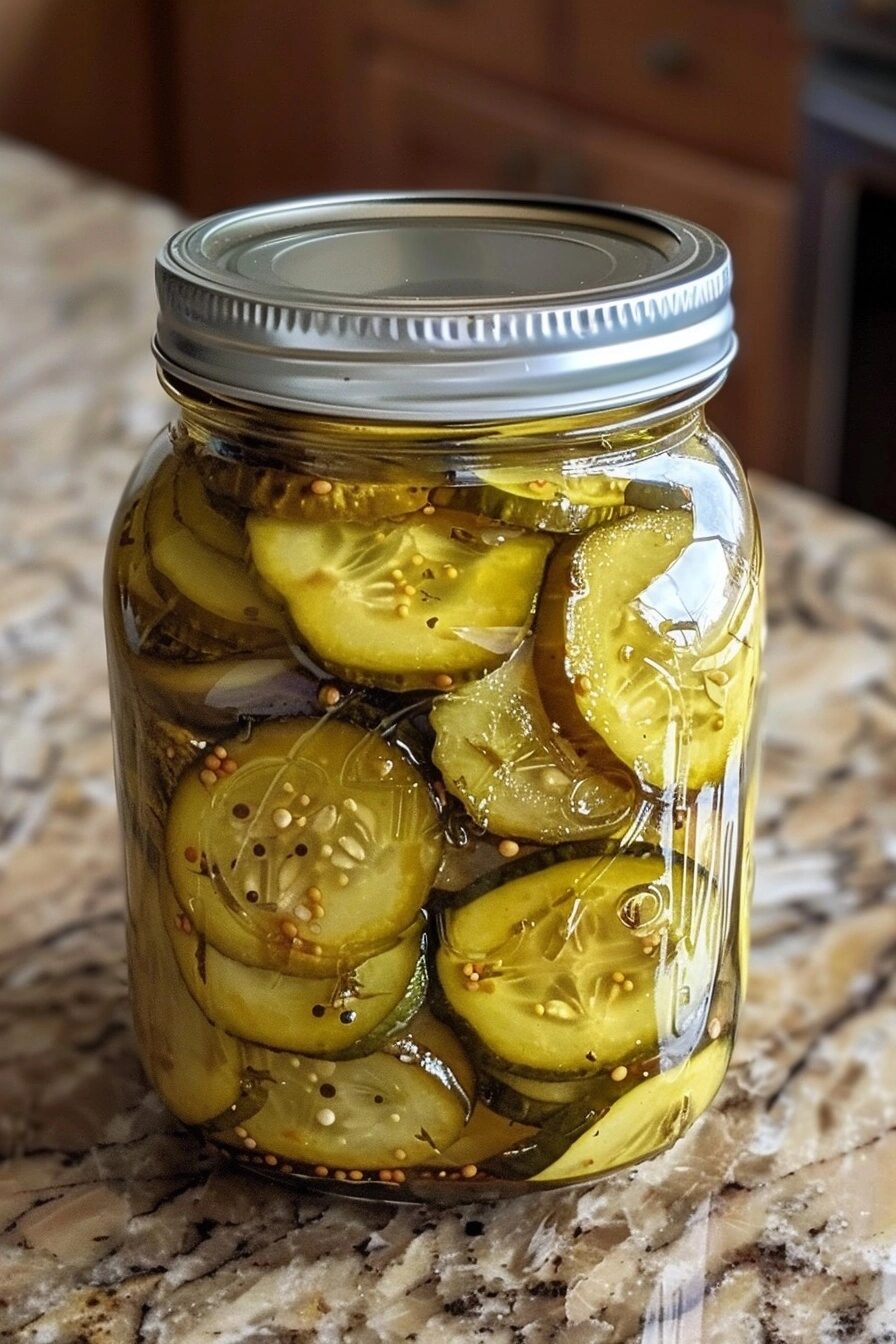
Ingredients of the Bread and Butter Pickle Recipe
For the Cucumber Base
- 4 pounds pickling cucumbers, sliced into 1/4 inch rounds
- 2 large yellow onions, thinly sliced
- 1/4 cup pickling salt (or kosher salt)
- 2 cups crushed ice
For the Brine
- 3 cups apple cider vinegar
- 2 cups granulated sugar
- 1 tablespoon yellow mustard seeds
- 1 tablespoon celery seeds
- 1 teaspoon ground turmeric
- 1/2 teaspoon crushed red pepper flakes
Equipment / Tools Needed
- Large mixing bowl
- Heavy kitchen knife
- Mandoline slicer (optional for uniform slices)
- Large stainless steel saucepan
- Sterilized mason jars with lids
- Tongs or magnetic lid lifter
Step-by-Step Instructions
Step 1: Slice and Salt the Vegetables
Begin by washing your cucumbers thoroughly to remove any dirt or surface debris. Slice the cucumbers and onions into uniform rounds. Place them in a large bowl and toss with the salt and crushed ice. Let the mixture sit for at least two hours; the salt draws out excess water, which is the secret to ensuring your pickles remain famously crunchy rather than soft.
Step 2: Prepare the Aromatic Brine
Drain the liquid that has accumulated in the bowl and rinse the cucumbers and onions under cold water to remove excess salt. In your stainless steel saucepan, combine the apple cider vinegar, sugar, mustard seeds, celery seeds, turmeric, and red pepper flakes. Bring the mixture to a slow boil over medium heat, stirring until the sugar is completely dissolved and the liquid turns a bright, inviting golden yellow.
Step 3: Combine and Heat
Gently add your drained cucumber and onion mixture to the boiling brine. Heat the mixture just until it returns to a near-boil. Be careful not to let the cucumbers boil for more than a minute, as you want to maintain their fresh, crisp texture throughout the pickling process.
Step 4: Pack and Process
Using a clean slotted spoon, pack the hot vegetables into your prepared, sterilized mason jars. Pour the hot brine over the vegetables, ensuring there is about a half-inch of headspace at the top. Seal the jars tightly. Allow them to cool to room temperature before transferring them to the refrigerator, or process them in a water bath canner if you intend to store them at room temperature for long periods.
Tips & Tricks
Always use ‘pickling’ cucumbers like Kirby varieties rather than standard salad cucumbers. The thinner, bumpier skin and tighter seeds hold up better to the hot brine. If you find the brine too sweet, you can reduce the sugar by up to half a cup, though sugar is essential for both flavor and shelf stability. For an extra pop of color and bite, a small sliver of a bell pepper can be tucked into each jar.
Serving Suggestions
These pickles are naturally at home tucked inside a grilled cheese sandwich or on top of a savory veggie burger. They pair exceptionally well with sharp cheddar cheese or as part of an afternoon snack platter alongside savory crackers and hummus. During the summer, finely dice them and stir into potato salad or a creamy coleslaw for a surprise tang.
Variations / Substitutions
You can easily adjust the spice level by adding more red pepper flakes or including a slice of fresh jalapeno in each jar for a kick. If you prefer a more herbal flavor, add a sprig of fresh dill or a bay leaf to each jar before sealing. For a different floral note, a pinch of coriander seeds can be introduced alongside the mustard seeds.
Storage and Reheating
These pickles are best if allowed to sit in the refrigerator for at least 48 hours before eating; this allows the flavors to deepen significantly. They will stay crunchy and fresh in the refrigerator for up to three months. They do not require reheating; serve them straight from the cold jar to maintain that perfect, refreshing crunch.
Nutritional Info
Calories: 45 kcal | Protein: 1g | Carbohydrates: 11g | Fat: 0g
Conclusion
Making your own bread and butter pickles is a rewarding kitchen ritual that turns simple pantry staples into a gourmet addition to your meals. The process is straightforward, the results are consistently crisp and delicious, and your future self will thank you every time you open a jar for a quick snack.
We encourage you to experiment with your first batch this weekend. There is a unique joy in hearing that satisfying crunch, knowing you created the perfect balance of flavors entirely from scratch.
FAQ
How do I keep my pickles crispy?
The secret is removing as much water as possible before pickling. By letting the cucumbers sit with salt and ice for at least two hours, you draw out moisture that would otherwise make them soggy later.
Can I substitute white vinegar?
You can use white distilled vinegar, but it has a much harsher bite than apple cider vinegar. If you choose white vinegar, you may want to increase the sugar slightly to balance the higher acidity.
How long should they sit before I eat them?
While you can eat them right away once the jars cool, they reach their peak flavor after about two to three days in the refrigerator. This allows the vinegar and spices to fully permeate the cucumbers.
Are these shelf-stable?
If you process the jars in a boiling water bath for 10 minutes, they can be stored in a cool, dark pantry for up to a year. Otherwise, they must be kept in the refrigerator and consumed within three months.
Recipe Card: Bread and Butter Pickles
Prep Time: 20 mins | Cook Time: 10 mins | Total Time: 3 hours (including chilling) | Yield: 4 jars
Ingredients: 4 lbs cucumbers, 2 onions, 1/4 cup pickling salt, 2 cups ice, 3 cups ACV, 2 cups sugar, 1 tbsp mustard seed, 1 tbsp celery seed, 1 tsp turmeric, 0.5 tsp red pepper flakes.
Instructions: Slice veggies, salt them with ice, drain after 2 hours. Boil vinegar, sugar, and spices. Add veggies, return to boil, pack into jars.
Classic Crispy Bread and Butter Pickles
Ingredients
- 4 pounds pickling cucumbers, sliced into 1/4 inch rounds
- 2 large yellow onions, thinly sliced
- 1/4 cup pickling salt
- 2 cups crushed ice
- 3 cups apple cider vinegar
- 2 cups granulated sugar
- 1 tablespoon yellow mustard seeds
- 1 tablespoon celery seeds
- 1 teaspoon ground turmeric
- 1/2 teaspoon crushed red pepper flakes
Instructions
- Wash cucumbers and slice into uniform rounds with onions.
- Place into a large bowl, toss with pickling salt and crushed ice, and let sit for 2 hours to draw out moisture.
- Drain and rinse thoroughly with cold water to remove excess salt.
- Combine vinegar, sugar, mustard seeds, celery seeds, turmeric, and red pepper flakes in a saucepan.
- Heat the brine mixture until the sugar dissolves and the liquid begins to simmer.
- Pack the cucumber and onion mixture into sterilized mason jars.
- Pour the hot brine over the vegetables, ensuring they are completely covered while leaving minimal headspace.
- Seal with lids and process jars in a boiling water bath if desired for longer shelf storage.
Notes
Do not skip the 2-hour salt-soaking step as this is crucial for the crispy texture.
Store in the refrigerator for immediate consumption or process in a water bath to store at room temperature.
Label with the date for best quality usage within one year.