
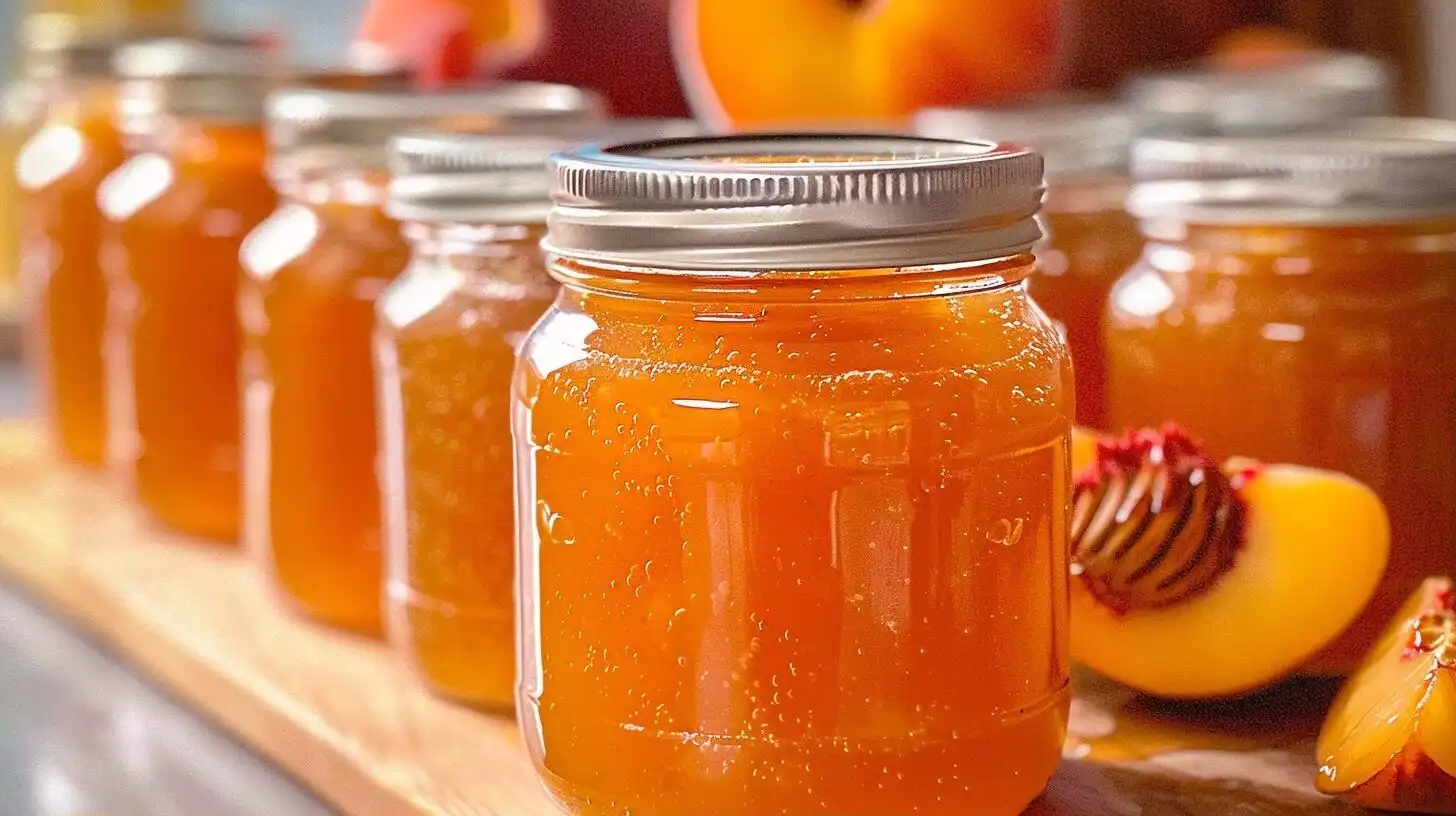
Homemade Peach Jam captures the essence of peak summer fruit in a sweet, velvety spread perfect for morning toast or buttery biscuits. This recipe relies on the natural pectin in fresh fruit and a gentle boiling process to achieve a thick, spreadable consistency without artificial additives. By focusing on high-quality summer peaches, you create a vibrant preserve that tastes like sunshine throughout the cooler months.
Table of Contents
Table of Contents
Why You’ll Love This Homemade Peach Jam
The flavor profile of this preserve is incredibly bright, showcasing the delicate floral notes of fresh peaches that are often lost in store-bought versions. Because you control the sugar levels, the natural acidity and sweetness of the orchard fruit remain the star of the show.
You will appreciate the texture, which strikes the perfect balance between soft, jammy fruit pieces and a smooth, syrupy base. It is a rewarding project that turns a simple basket of fruit into a pantry staple, making breakfast feel special even on a Tuesday morning.
This jam offers great convenience for your morning routine. A single batch provides plenty of jars for your own pantry and a few extras to share with friends or family as a thoughtful handmade gift.
Ingredients of the Homemade Peach Jam
For the Jam Base
- 4 pounds fresh, ripe peaches
- 3 cups granulated sugar
- 2 tablespoons fresh lemon juice
- 1/2 teaspoon ground cinnamon (optional)
Equipment / Tools Needed
- Large heavy-bottomed pot or Dutch oven
- Potato masher or immersion blender
- Clean glass jars with lids
- Ladles for transferring the hot jam
- Large bowl for peeling the fruit
Step-by-Step Instructions
Step 1: Prepare the Fruit
Begin by blanching the peaches to make peeling effortless. Submerge the fruit in a pot of boiling water for about 45 seconds, then immediately transfer them into a bowl of ice water. The skins should slip off easily with a soft tug. Chop the flesh into small, uniform cubes, discarding the pits.
Step 2: Macerate with Sugar
Combine the diced peaches, sugar, and lemon juice in your heavy-bottomed pot. Stir the mixture well and let it sit for at least an hour. You will notice the peaches releasing their juices, creating a syrupy liquid that helps prevent burning during the initial cooking phase.
Step 3: Simmer to Perfection
Place the pot over medium-high heat and bring the mixture to a rolling boil. Reduce the heat to medium-low and simmer, stirring frequently to prevent sticking. Use a masher to reach your desired consistency—keep it rustic with larger chunks or puree it for a smoother finish. Cook until the jam darkens to a deep golden hue and thickens to a glossy consistency, which usually takes about 45 to 60 minutes.
Step 4: Jar and Seal
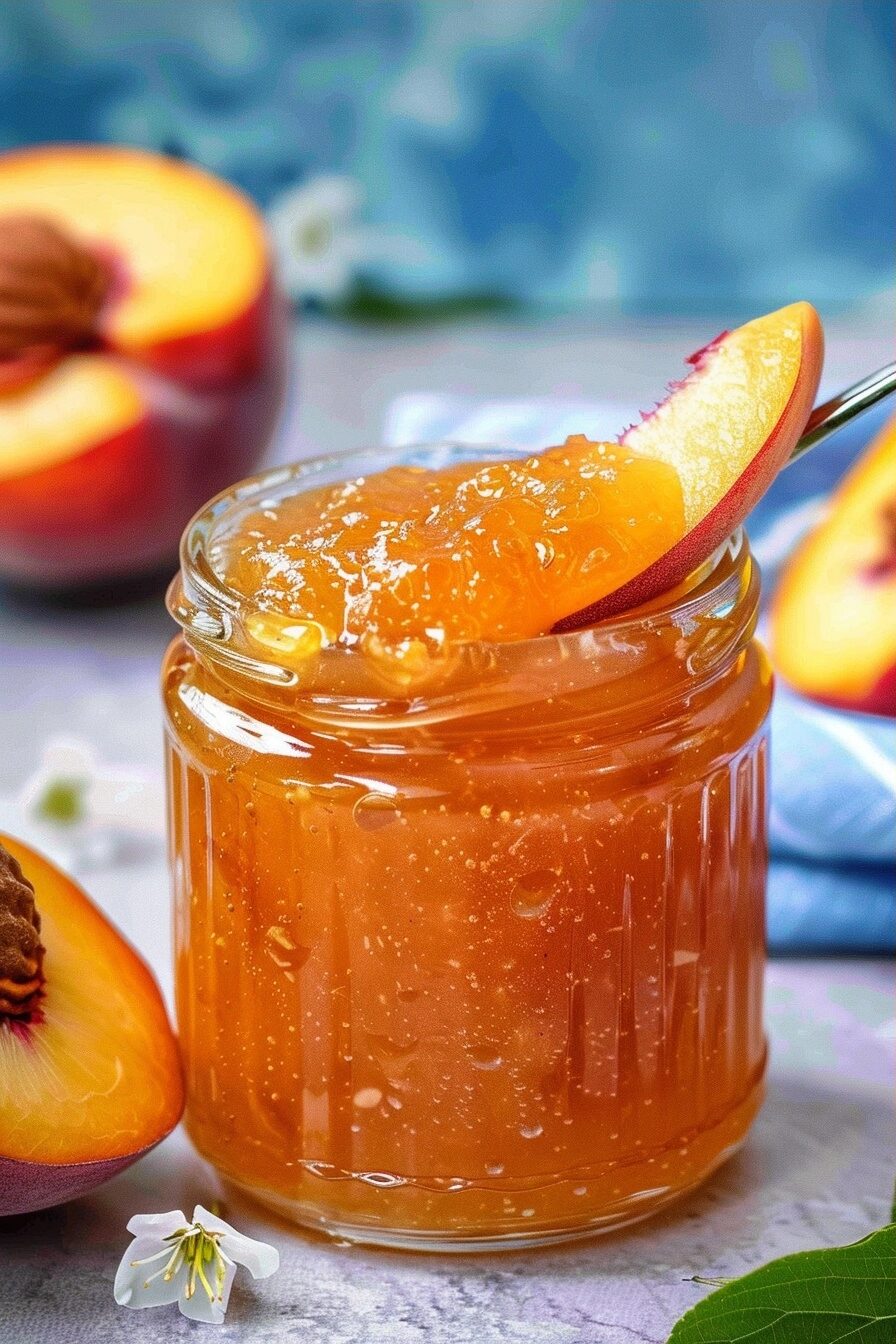
Once the jam reaches the target thickness, remove it from the heat. Carefully ladle the hot jam into sterilized glass jars, leaving about a half-inch of headspace at the top. Wipe the rims clean, secure the lids tightly, and allow them to cool completely before refrigerating.
Tips & Tricks
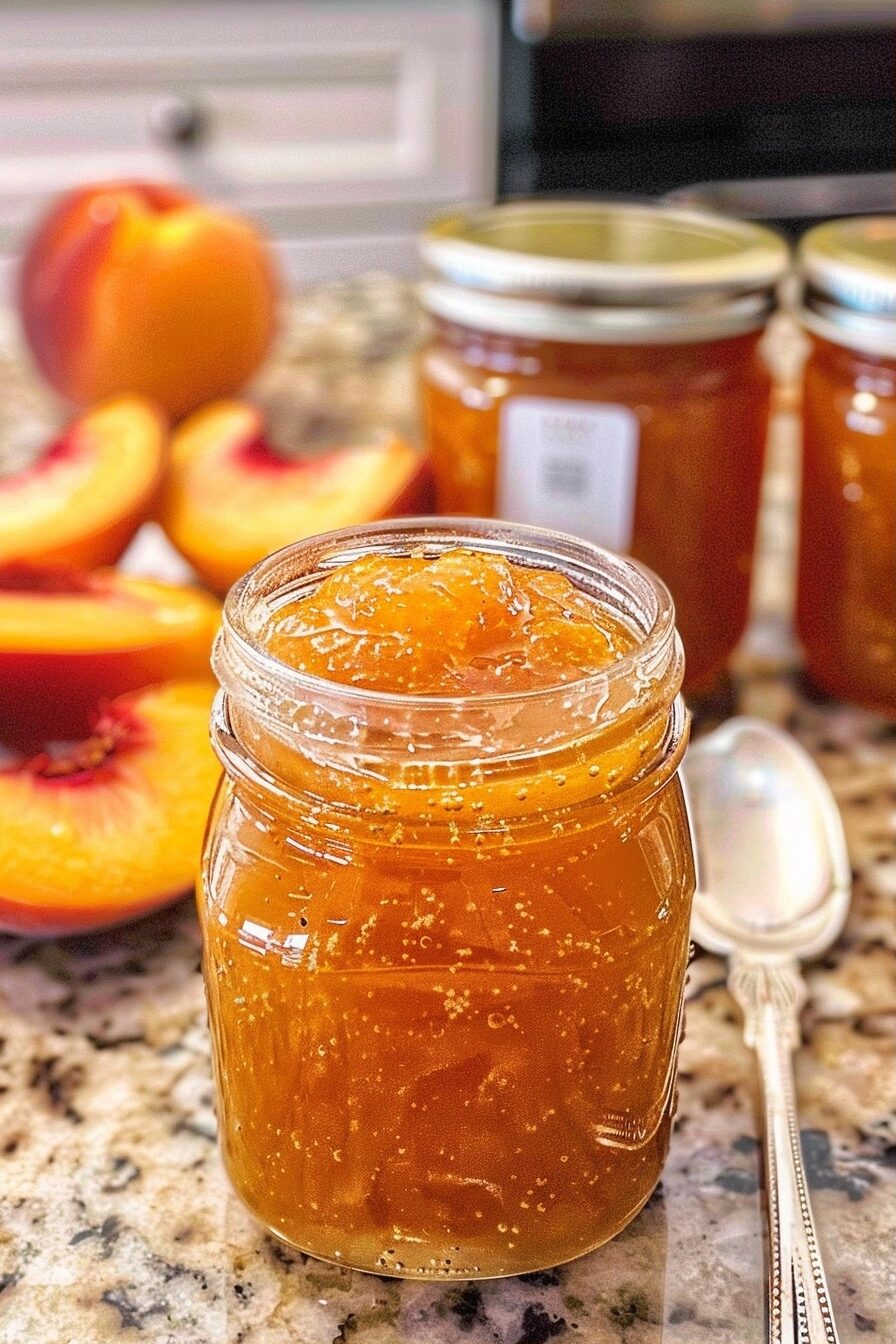
For the best flavor, choose peaches that are fragrant and slightly soft to the touch. If your peaches are under-ripe, the jam will lack that deep, sun-ripened sweetness. Always stir frequently once the jam reaches a boil, as the high sugar content can caramelize or burn on the bottom of the pot quickly.
Serving Suggestions
Serve this jam warm over buttermilk pancakes or crusty sourdough bread. It also makes an exceptional topping for natural yogurt or stirred into warm oatmeal for a seasonal breakfast treat.
Variations / Substitutions
You can add a teaspoon of vanilla extract at the end for a dessert-like profile, or toss in some fresh thyme leaves during the cooking process for a sophisticated, savory edge. If you prefer a lower-sugar version, ensure you use a specific low-sugar pectin product to help the set.
Storage and Reheating
Store your sealed jars in the refrigerator for up to three weeks. If you prefer to keep it for longer, you can freeze the jam in freezer-safe containers for up to six months. When ready to eat, simply let it thaw in the refrigerator overnight; no reheating is required.
Nutritional Info
Calories: 85 kcal
Protein: 0.5g
Carbohydrates: 22g
Fat: 0.1g
Conclusion
Mastering Homemade Peach Jam is a simple way to bring the best of the harvest into your kitchen. Once you taste the difference between fresh, handmade preserves and commercial varieties, it becomes difficult to go back.
Enjoy the process of simmering your peaches and take pride in stocking your shelves with something made entirely from scratch.
FAQ
How do I know when the jam is set?
Place a small plate in the freezer before you start cooking. When you think the jam is ready, put a small spoonful on the chilled plate; if it wrinkles when you push it with your finger, it has reached the perfect set.
Can I use frozen peaches for this recipe?
Yes, frozen peaches work well and are great if you missed the peak harvest season. Thaw them completely and drain any excess water before beginning the recipe.
Can I substitute the sugar?
It is best to stick with granulated sugar for the proper chemical reaction and shelf stability. If you use a sugar alternative, the jam will likely remain runny or fail to set properly without added pectin.
How long will this stay fresh in the fridge?
Kept in an airtight container, your jam will remain fresh and tasty for up to three weeks. Ensure your jars are properly sterilized before filling them to maximize longevity.
Homemade Peach Jam
Ingredients
- 4 pounds fresh, ripe peaches
- 3 cups granulated sugar
- 2 tablespoons fresh lemon juice
- 1/2 teaspoon ground cinnamon (optional)
Instructions
- Blanch peaches in boiling water for 45 seconds, then transfer to ice water and peel away the skins.
- Chop the peach flesh into small, uniform cubes, removing any pits.
- Combine diced peaches, sugar, and lemon juice in a heavy-bottomed pot and let sit for at least one hour.
- Bring the mixture to a rolling boil over medium-high heat, then reduce heat to medium-low.
- Stir frequently while simmering, using a potato masher to break down the fruit pieces to your desired consistency.
- Continue cooking until the jam thickens and darkens, then transfer to clean glass jars.