
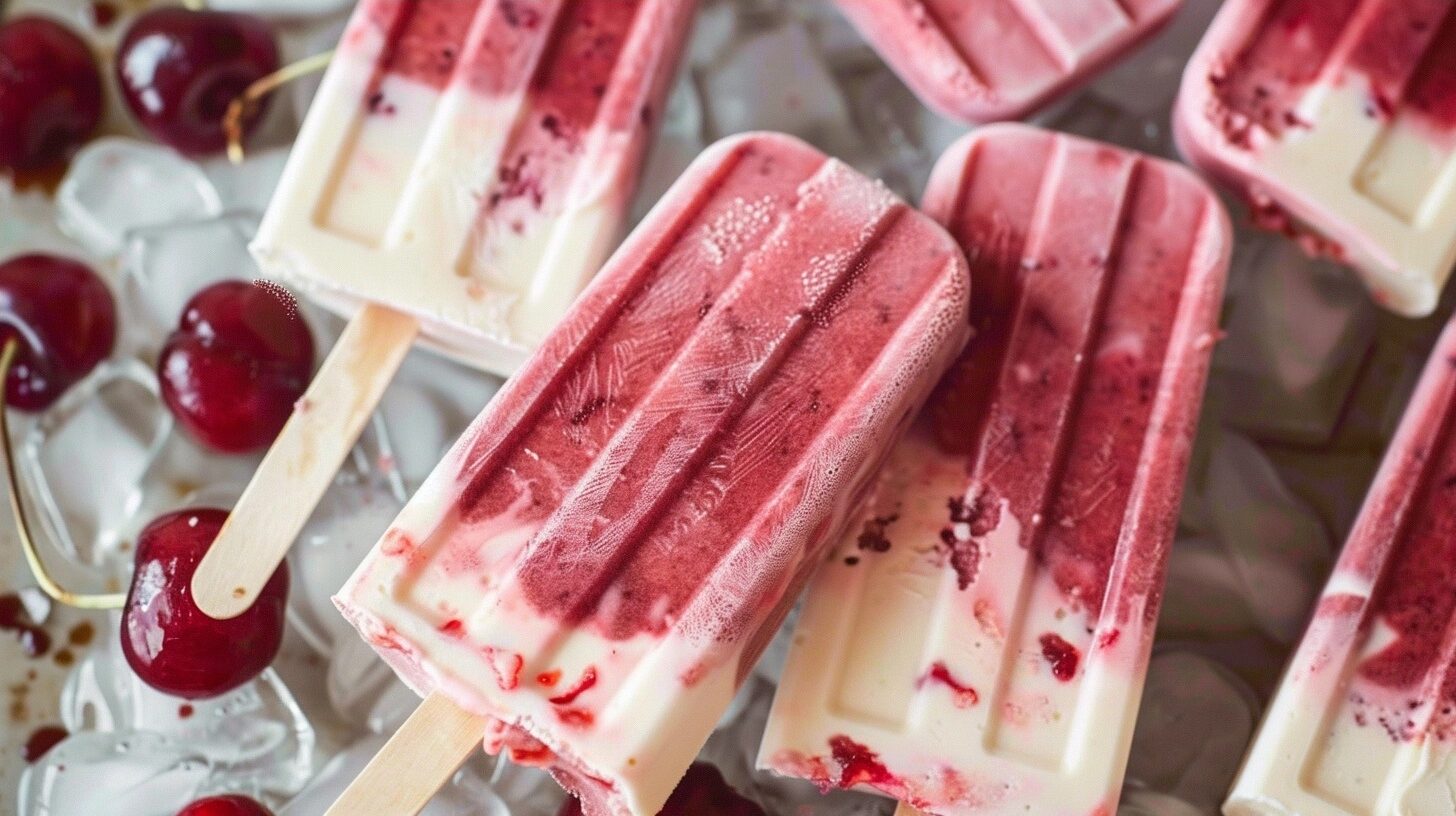
Old Fashioned Cherry Creamsicles combine the rich taste of cherries with creamy, dreamy textures for a nostalgic frozen treat. These homemade delights bring a rush of refreshing sweetness that’s perfect for hot summer days or a simple dessert after dinner.
Table of Contents
Table of Contents
Why You’ll Love This Old Fashioned Cherry Creamsicles
Experience a burst of flavor with every bite of these creamsicles! The vibrant cherry notes are balanced with a smooth and creamy base, creating a satisfying dessert that’s both cooling and indulgent. They offer the perfect sweetness without overwhelming your palate, making them a perfect treat for both kids and adults alike.
What truly makes these creamsicles special is their simplicity. With just a handful of ingredients, these old-fashioned treats can be made quickly, allowing you to enjoy the fresh fruit flavor in no time. The incredible texture, layering the fruity cherry mix with rich creaminess, adds an element of fun that appeals to all ages.
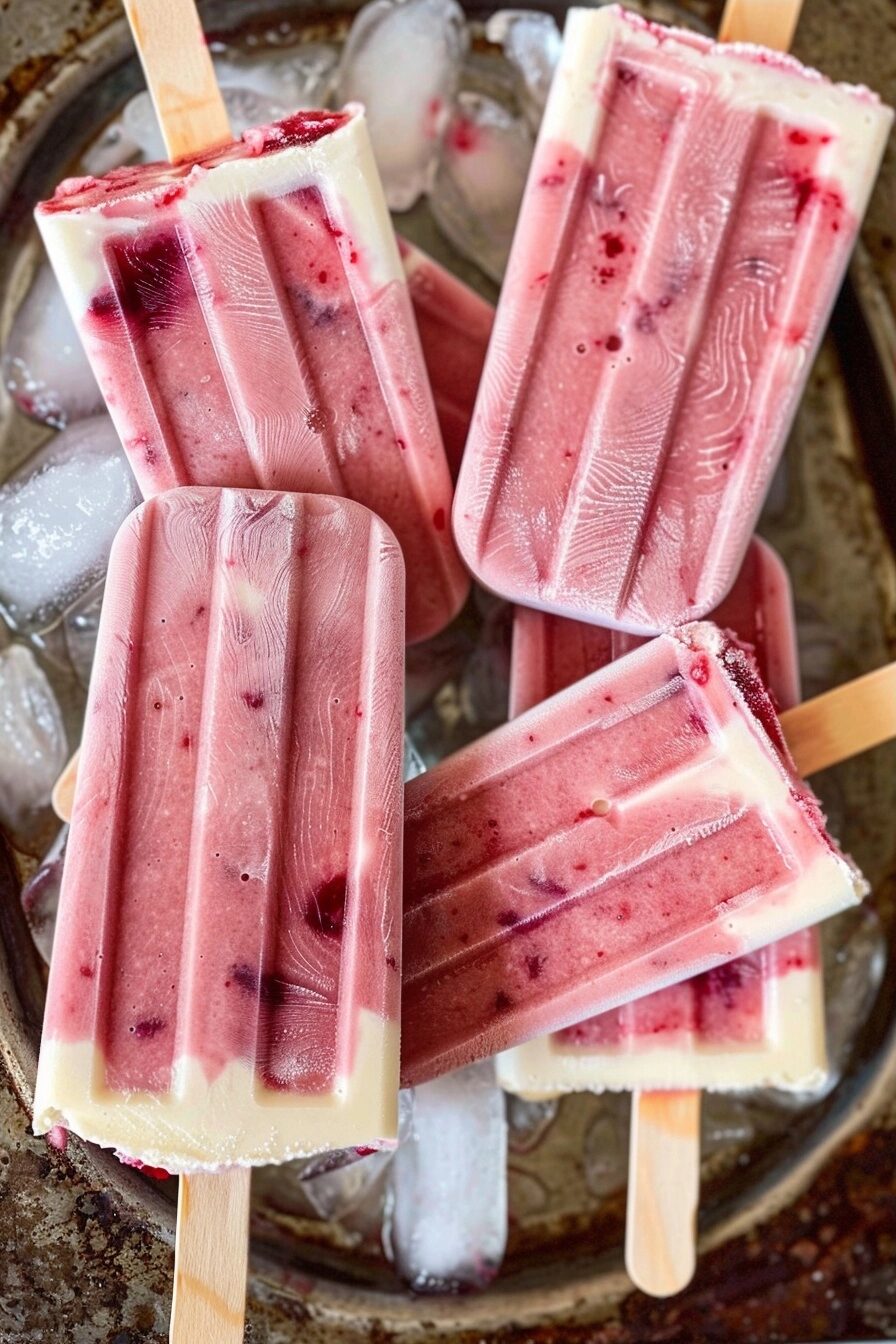
These creamsicles also evoke a sense of nostalgia, reminiscent of childhood summers spent enjoying homemade frozen sweets. Their bright, cheerful appearance is sure to bring a smile to your face and a warm feeling in your heart as you savor each bite.
Ingredients of the Old Fashioned Cherry Creamsicles
For the Cherry Layer
- 2 cups fresh or frozen cherries, pitted
- 1/4 cup cherry juice or water
- 1/4 cup honey or maple syrup
- 1 tablespoon lemon juice
For the Cream Layer
- 1 cup coconut cream or heavy cream
- 1/3 cup honey or maple syrup
- 1 tsp vanilla extract
Optional Toppings
- Chopped fresh cherries
- Shredded coconut
- Chocolate drizzle
Equipment / Tools Needed
- Blender or food processor
- Mixing bowl
- Popsicle molds
- Spoon
- Freezer
Step-by-Step Instructions
Step 1: Prepare the Cherry Blend
Start by adding the pitted cherries, cherry juice (or water), honey (or maple syrup), and lemon juice into a blender or food processor. Blend until the mixture is smooth, ensuring all the cherries are puréed to create a lovely pink color. You can taste the mix and adjust sweetness as needed.
Step 2: Assemble the Cream Layer
In a mixing bowl, combine the coconut cream (or heavy cream), honey (or maple syrup), and vanilla extract. Whisk together until everything is well incorporated and creamy. The mixture should have a smooth consistency, ready to create the creamy layer of your creamsicles.
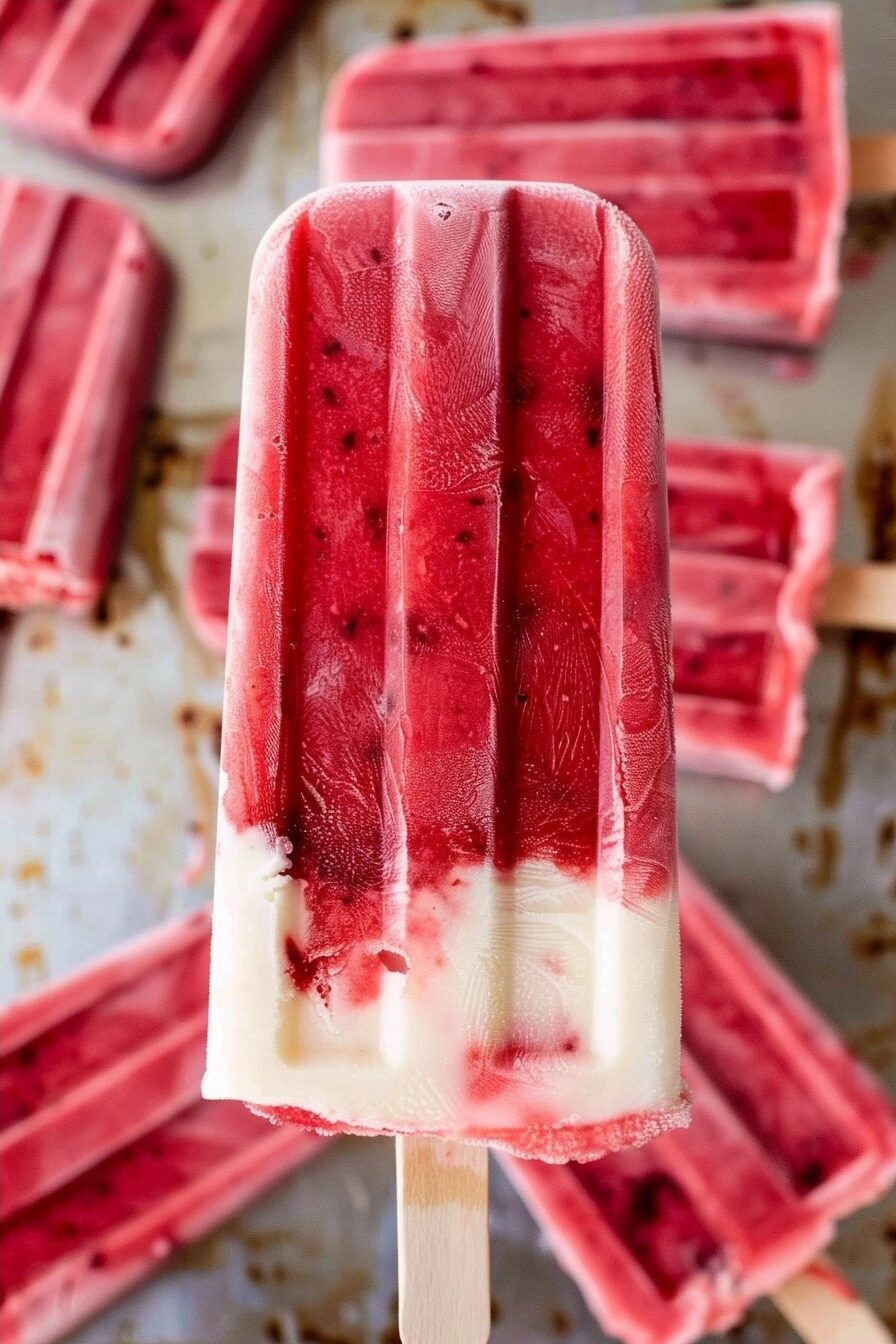
Step 3: Layer the Mixtures in Popsicle Molds
Start by pouring a layer of the cherry blend into your popsicle molds, filling each about a third of the way. Next, use a spoon to add a layer of the cream mixture on top of the cherry blend. Repeat the process until the molds are filled, leaving a little space at the top.
Step 4: Insert the Sticks and Freeze
Carefully insert the popsicle sticks into the molds, ensuring they are centered. Place the molds in the freezer and let them freeze for at least 4-6 hours or until solid. The longer they freeze, the better they’ll hold their shape.
Step 5: Unmold and Serve
Once frozen, remove the molds from the freezer. To easily release the creamsicles, run warm water over the outside of the molds for a few seconds. Gently pull on the sticks to release each creamsicle. They should come out smoothly, presenting beautiful layers of bright cherry and creamy goodness.
Tips & Tricks
- For an extra touch, incorporate chopped nuts or bits of chocolate in the cream layer for added texture.
- Using fresh cherries will enhance the flavor profile, but frozen cherries work just as well for this recipe.
- Feel free to adjust the sweetness according to your taste preference, especially if your cherries are particularly sweet or tart.
Serving Suggestions
These Old Fashioned Cherry Creamsicles are perfect for warm weather gatherings or picnics in the park. Pair them with a light summer salad or a refreshing drink, like lemonade or iced tea, to create a delightful treat to enjoy together. They also make for a lovely homemade dessert after dinner, especially when served alongside fresh fruit or whipped cream.
For more seasonal appeal, consider serving these creamsicles with a sprinkle of shredded coconut during tropical-themed get-togethers or slice some fresh peaches to balance the flavors.
Variations / Substitutions
If cherries aren’t in season, you can easily swap them for other fruits, such as strawberries or raspberries, to create similar creamsicles. For a more tropical twist, try using mango puree instead of cherries and coconut cream. If you prefer a lactose-free version, stick to the coconut cream or almond milk as your base.
You can also opt for different sweeteners; agave syrup or date syrup can be used in place of honey or maple syrup. Each variation will bring a unique twist without losing the essence of this refreshing treat.
Storage and Reheating
To store leftovers, ensure that your creamsicles are sealed in an airtight container in the freezer, where they can stay fresh for up to 2 months. If you want to enjoy them beyond that period, consider wrapping them individually in plastic wrap before placing them in a freezer bag to prevent freezer burn.
There is no need for reheating; these creamsicles are best enjoyed frozen! Simply take them out of the freezer, let them sit at room temperature for a minute or two, and then enjoy!
Nutritional Info
Calories: 130 kcal
Protein: 2g
Carbohydrates: 25g
Fat: 4g
Conclusion
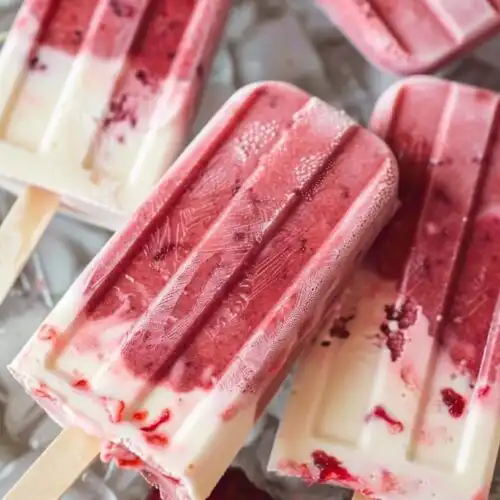
Old Fashioned Cherry Creamsicles are a wonderful blend of refreshing cherry flavor and creamy texture that will transport you back to simpler times. They are perfect for any occasion, offering the joy of homemade ice pops without complicated steps.
As a comforting treat, they are not only delicious but also allow for creative expression in the kitchen. You’ll love the vibrant colors and flavors, making them a sure hit for gatherings or a cozy night in.
FAQ
How should I store my creamsicles?
Store your creamsicles in an airtight container in the freezer. This will keep them fresh for up to 2 months while preventing freezer burn.
Can I substitute the cherries in this recipe?
Absolutely! You can swap cherries for other fruits, such as strawberries, raspberries, or even mango. The recipe remains versatile while still being delicious.
What can I serve with these creamsicles?
These creamsicles are delightful on their own but pair well with light salads, fresh fruit, or a refreshing drink like lemonade or iced tea.
Can I make these ahead of time?
Yes! You can prepare the creamsicles in advance and leave them in the freezer for a ready-to-enjoy dessert whenever you desire.
Old Fashioned Cherry Creamsicles
Ingredients
- 2 cups fresh or frozen cherries, pitted
- 1/4 cup cherry juice or water
- 1/4 cup honey or maple syrup
- 1 tablespoon lemon juice
- 1 cup coconut cream or heavy cream
- 1/3 cup honey or maple syrup
- 1 tsp vanilla extract
- Optional toppings: chopped fresh cherries, shredded coconut, chocolate drizzle
Instructions
- Blend pitted cherries, cherry juice/water, 1/4 cup honey/maple syrup, and lemon juice until smooth
- Whisk together coconut cream/heavy cream, 1/3 cup honey/maple syrup, and vanilla extract
- Fill popsicle molds one-third with cherry purée
- Top with cream mixture
- Insert popsicle sticks and freeze for at least 4-6 hours or overnight
- Run warm water over molds to release creamsicles
Notes
Use frozen cherries for a denser texture
For non-dairy version, always use coconut cream
Best served chilled