
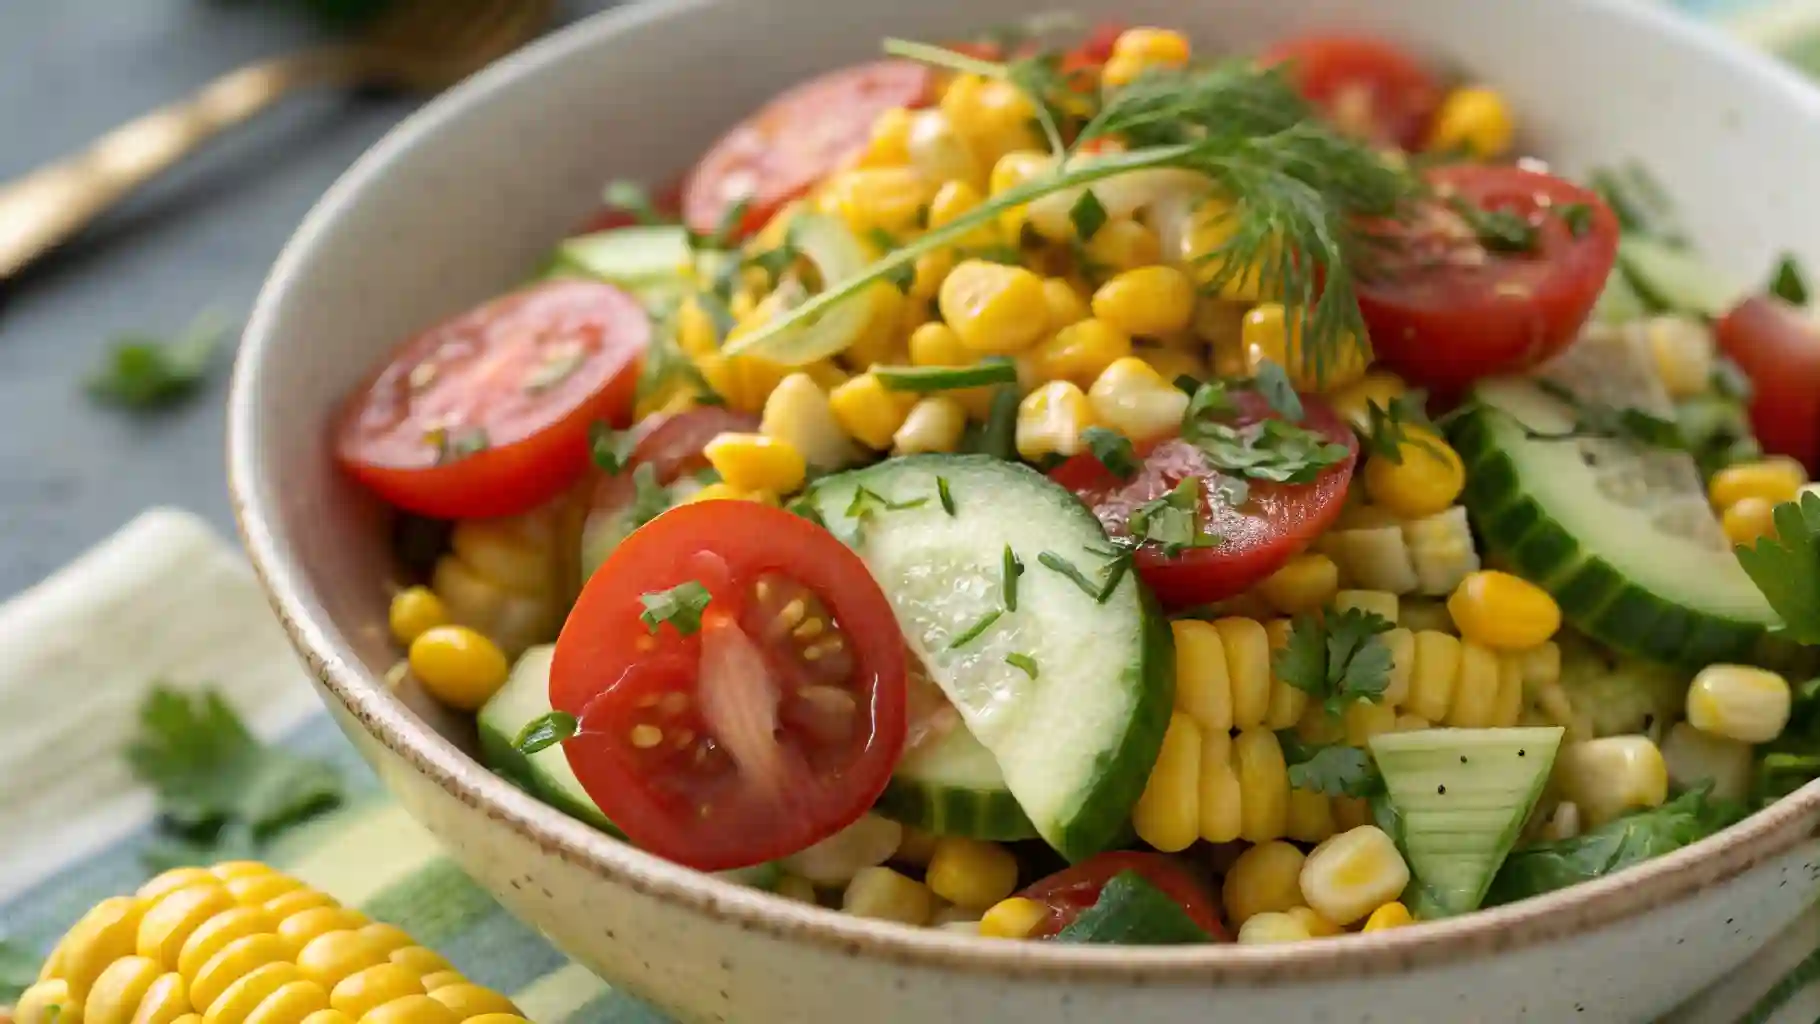
Sweet, juicy corn paired with crisp vegetables and a light, zesty dressing—this Summer Corn Salad is the ultimate side dish for sunny days. It’s bright, refreshing, and packed with natural flavor that makes every bite feel fresh and satisfying.
The combination of tender corn and crunchy vegetables creates the perfect texture, while the simple dressing enhances everything without overpowering it. It’s light, colorful, and made to complement any BBQ spread.
Whether you’re hosting a cookout or preparing a quick side, this Summer Corn Salad is always a winning choice.
Table of Contents
Table of Contents
Why You’ll Love This Summer Corn Salad
This Summer Corn Salad is all about freshness and simplicity.
The natural sweetness of corn shines through, while the vegetables add crunch and balance. The light dressing keeps it refreshing, making it perfect for warm weather.
It’s also quick to prepare and can be made ahead, which makes it ideal for gatherings.
Another reason to love this recipe is how versatile it is—you can customize it with your favorite ingredients.
And like all your recipes, this Summer Corn Salad is made with halal-friendly ingredients.
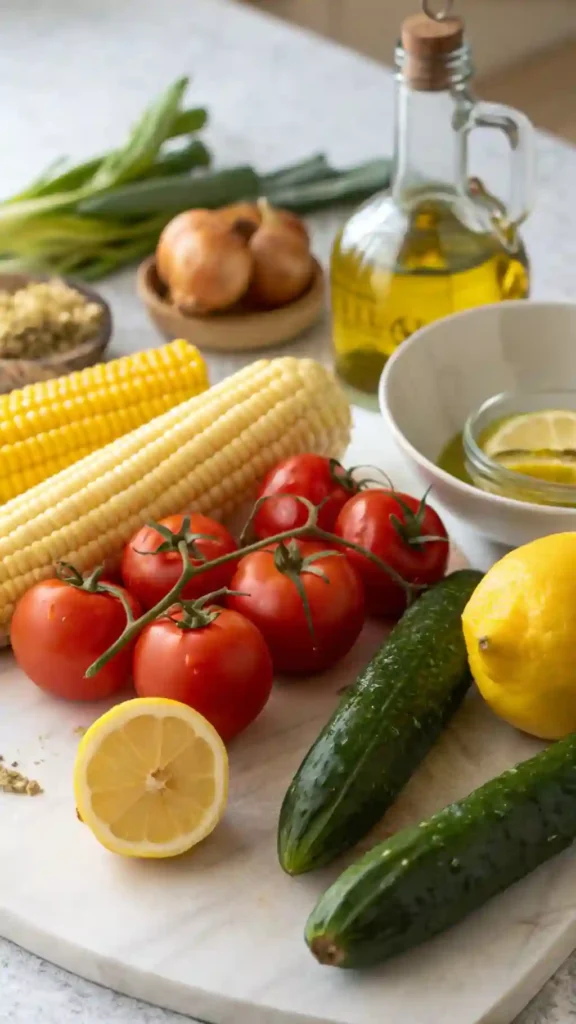
Ingredients of the Summer Corn Salad
- 3 cups corn (fresh, grilled, or canned)
- 1 cup cherry tomatoes (halved)
- 1/2 cup cucumber (diced)
- 1/4 cup red onion (finely chopped)
- 2 tablespoons olive oil
- 1 tablespoon lemon juice
- 1/2 teaspoon salt
- 1/4 teaspoon black pepper
Optional:
- Fresh cilantro or parsley
- Avocado (diced)
- Crumbled cheese (halal-friendly)
Equipment / Tools Needed
- Mixing bowl
- Knife and cutting board
- Spoon
Step-by-Step Instructions
Step 1: Prepare the Corn
If using fresh corn, cook or grill it, then let it cool. If using canned, drain well.
Step 2: Prepare the Vegetables
Chop tomatoes, cucumber, and onion.
Step 3: Make the Dressing
In a bowl, mix olive oil, lemon juice, salt, and pepper.
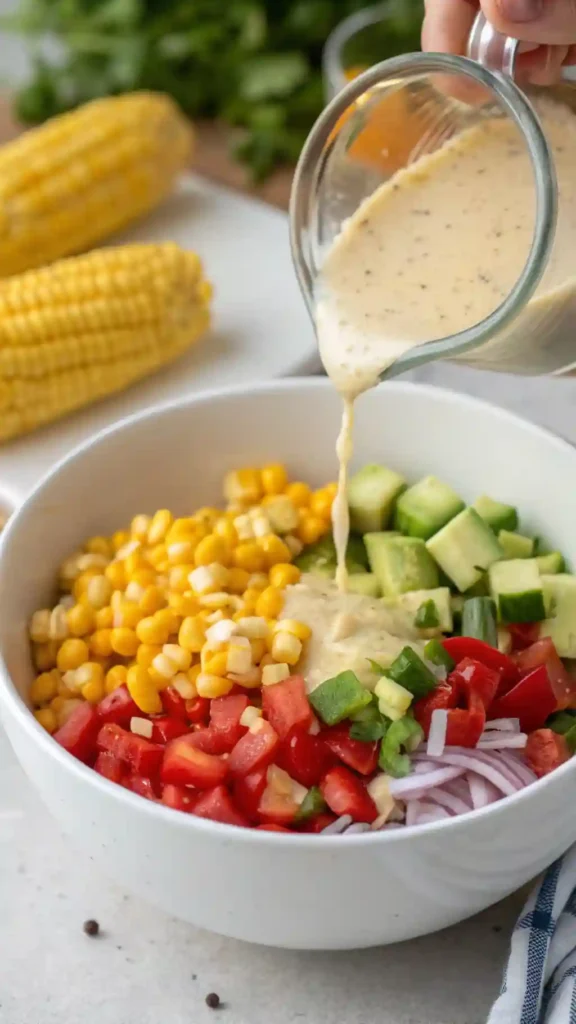
Step 4: Combine Ingredients
Add corn and vegetables to a large bowl.
Step 5: Mix Everything Together
Pour dressing over the salad and toss until evenly combined.
Step 6: Chill
Refrigerate for 15–30 minutes for best flavor.
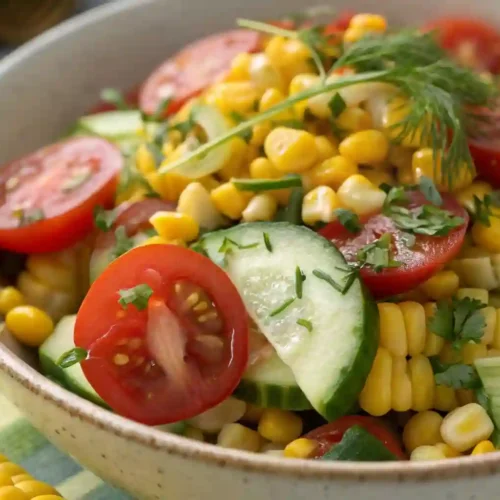
Step 7: Serve
Mix lightly again and serve fresh.
Cooking Tips & Tricks
Use grilled corn for extra flavor.
Let the salad chill before serving.
Use fresh lemon juice for brightness.
Adjust seasoning to taste.
Serving Suggestions
Serve this Summer Corn Salad at BBQs, picnics, or gatherings.
Perfect as a side for grilled meats or chicken.
Pair with salads, wraps, or light meals.
Serve chilled for a refreshing taste.
Variations / Substitutions
Add avocado for creaminess.
Include beans for extra protein.
Use lime instead of lemon for a twist.
Add chili flakes for a spicy kick.
Nutritional Info
- Calories: 180 kcal
- Fat: 7g
- Carbohydrates: 26g
- Protein: 4g
Conclusion
This Summer Corn Salad is fresh, juicy, and full of vibrant flavor. It’s easy to make, refreshing, and perfect for any summer occasion.
With its simple ingredients and bright taste, it’s a dish that everyone will enjoy.
Once you try this Summer Corn Salad, it will quickly become a staple at your BBQs and gatherings.
FAQ
Can I make Summer Corn Salad ahead of time?
Yes, it tastes even better after chilling.
What corn works best?
Fresh or grilled corn gives the best flavor.
How do I store leftovers?
Store in an airtight container in the fridge.
Can I make it more filling?
Add avocado or protein like chicken.
Summer Corn Salad That Is Fresh, Juicy & Perfect for BBQ Days
Equipment
- 1 Mixing Bowl
- 1 Knife
- 1 Cutting board
Ingredients
- 3 cup Corn
- 1 cup Cherry tomatoes
- 0.5 cup Cucumber
- 0.25 cup Red onion
- 2 tablespoon Olive oil
- 1 tablespoon Lemon juice
- 0.5 teaspoon Salt
- 0.25 teaspoon Black pepper
- 2 tablespoon Fresh herbs (optional)
- 1 cup Avocado (optional)
- 0.5 cup Cheese (optional)
Instructions
Step 1: Prepare corn
- Cook or grill corn and let cool.
Step 2: Prep vegetables
- Chop vegetables.
Step 3: Make dressing
- Mix olive oil, lemon juice, salt, and pepper.
Step 4: Combine
- Add corn and vegetables to bowl.
Step 5: Mix
- Toss with dressing.
Step 6: Chill
- Refrigerate before serving.
Step 7: Serve
- Serve fresh.